
Sweet potatoes are not only nutritious and delicious but also surprisingly easy to grow at home, provided you know the right time and place to plant them. Whether you’re a home gardener or looking to start a sustainable kitchen garden, understanding the best planting conditions can make all the difference in your harvest. This comprehensive guide will help you discover the ideal timing, location, and conditions for planting sweet potatoes for the most bountiful results.
Why Timing and Location Matter
Sweet potatoes are tropical to subtropical plants and require a long, warm growing season. If you plant them too early, cold temperatures can stunt or kill the vines. Plant them too late, and you risk not having enough time for tubers to mature. Similarly, placing them in an unsuitable environment (too shady, poor soil, overly wet) will lead to disappointing yields. That’s why understanding when and where to plant is critical.
Best Time to Plant Sweet Potatoes
1. Check Your Climate Zone
Sweet potatoes thrive in USDA Zones 8 through 11, where the soil warms early and remains warm throughout the growing season. In cooler regions (Zones 6-7), they can still be grown, but you’ll need to start slips indoors or use protective methods like black plastic mulch to warm the soil.
2. Wait Until After the Last Frost
Sweet potatoes are very frost-sensitive. Planting should only be done 2-3 weeks after the last expected frost date, when the soil temperature has warmed to at least 60°F (16°C). For optimal growth, soil temps should ideally be 70°F (21°C) or higher.

3. Ideal Planting Months by Region
- Southern U.S. (Zones 8–11): Late March to May
- Midwest/Northeast U.S. (Zones 6–7): Late May to early June
- Tropical Climates: Year-round, but best results during the dry season
- Cooler Regions: Start slips indoors 6 weeks before last frost and transplant outdoors after soil warms
Best Location to Plant Sweet Potatoes
1. Full Sun is a Must
Sweet potatoes love the sun! Choose a location that receives at least 6–8 hours of direct sunlight per day. Shaded or partially shaded areas will result in leggy vines and small or deformed tubers.
2. Well-Drained, Loose Soil
Sweet potatoes grow underground, so soil structure matters. Avoid compacted or clay-heavy soil. Instead, look for:
- Sandy or loamy soil with good drainage
- Raised beds or mounds to improve airflow and prevent root rot
- A pH range between 5.8 and 6.5, which is slightly acidic and ideal for tuber formation
If your soil is too heavy, consider amending it with compost, coconut coir, or sand to improve drainage and loosen it up.
Preparing the Planting Area
1. Clear the Land
Remove all weeds, rocks, and debris. These not only compete with sweet potatoes for nutrients but may also inhibit the growth of the tubers.

2. Add Organic Matter
Mix in compost or aged manure to enrich the soil. This adds nutrients, improves texture, and increases microbial activity—essential for root crops like sweet potatoes.
3. Create Raised Rows or Mounds
Sweet potatoes perform best in raised rows 8–12 inches high and 12–18 inches apart. This encourages tuber growth, provides better aeration, and protects against water-logging.
How to Plant Sweet Potatoes for Best Results
1. Use Slips, Not Seeds
Sweet potatoes aren’t grown from seeds but from slips—vine cuttings grown from mature sweet potatoes. You can purchase slips from nurseries or grow your own by placing a healthy sweet potato in water or moist soil until it sprouts shoots.
2. Spacing Matters
Plant each slip 12–18 inches apart in rows that are 3 feet apart. This spacing allows each plant enough room to develop a healthy root system and prevents overcrowding.

3. Planting Technique
- Dig a small hole deep enough to bury the slip up to the leaves (4–6 inches).
- Place the slip in the hole and firm the soil around it.
- Water thoroughly to help establish roots.
Caring for Sweet Potatoes After Planting
1. Water Consistently
Sweet potatoes need about 1 inch of water per week. Avoid overwatering, especially during the last 3–4 weeks before harvest, to prevent cracking and rot.
2. Mulch for Moisture and Weed Control
Use straw, hay, or grass clippings as mulch. This helps retain soil moisture, reduce weed growth, and keep the soil warm.
3. Monitor for Pests
Keep an eye out for common pests like sweet potato weevils, whiteflies, and wireworms. Use organic treatments like neem oil or beneficial nematodes if necessary.
4. Do Not Overfertilize
Too much nitrogen will result in lush vines but poor root development. Use a balanced fertilizer or one slightly lower in nitrogen (such as 5-10-10).

Common Mistakes to Avoid
- Planting too early in cold soil, which can cause rotting.
- Using compacted or soggy soil, leading to poor tuber formation.
- Overcrowding, which limits root expansion.
- Ignoring sunlight needs—less than 6 hours of sun will reduce yields significantly.
- Overwatering, especially close to harvest, increasing risk of rot.
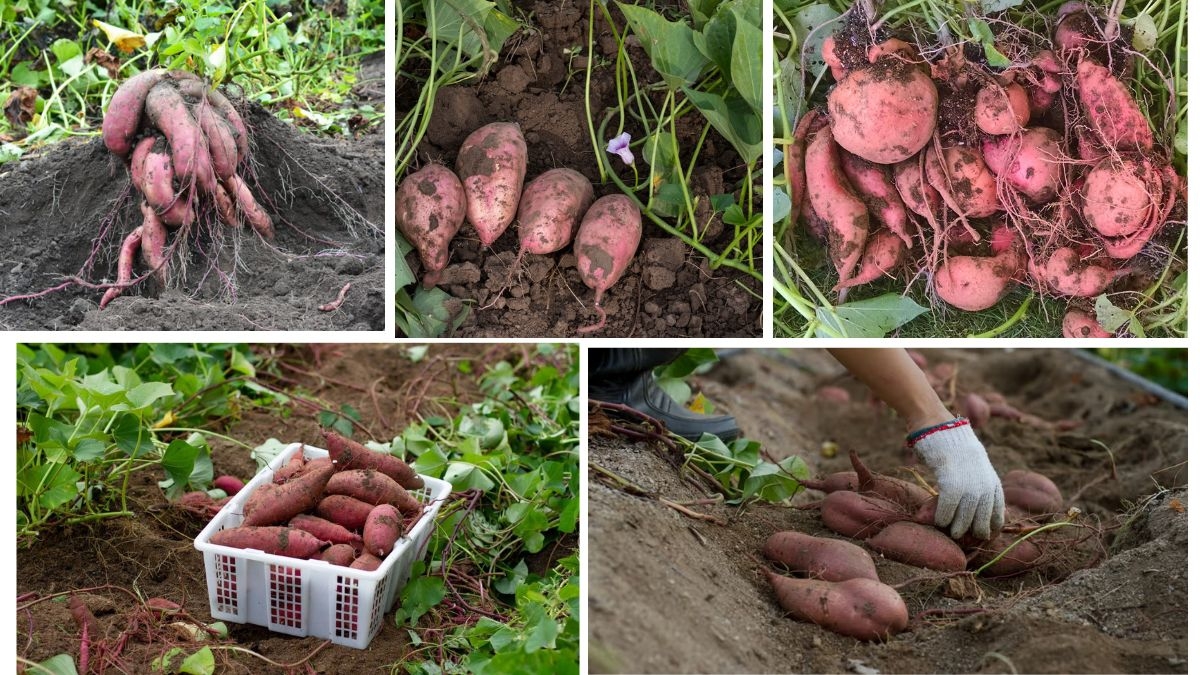
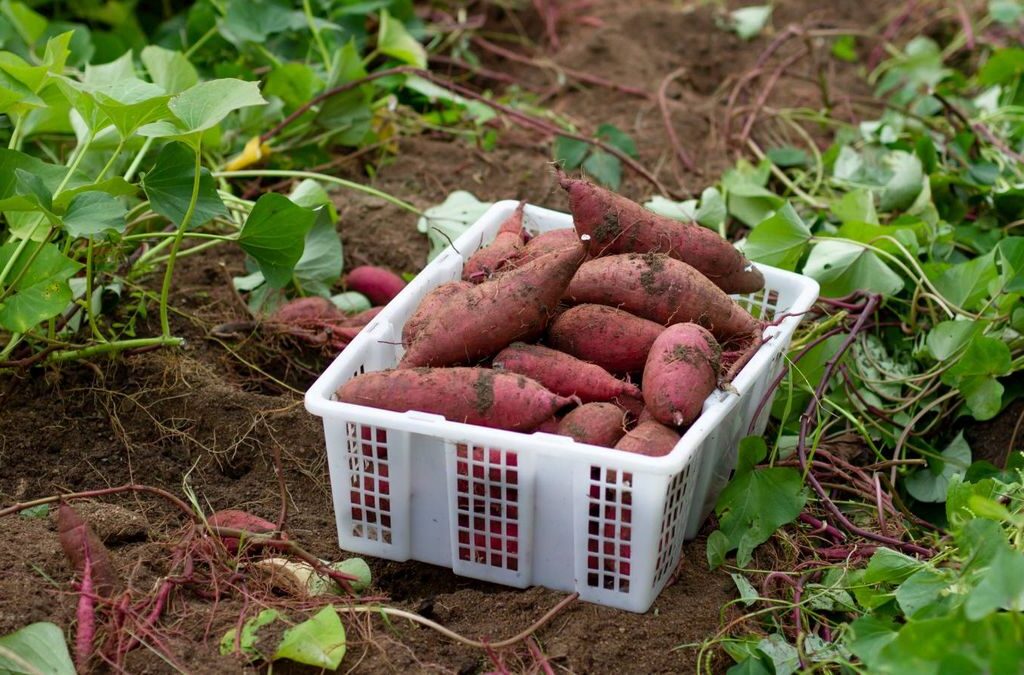
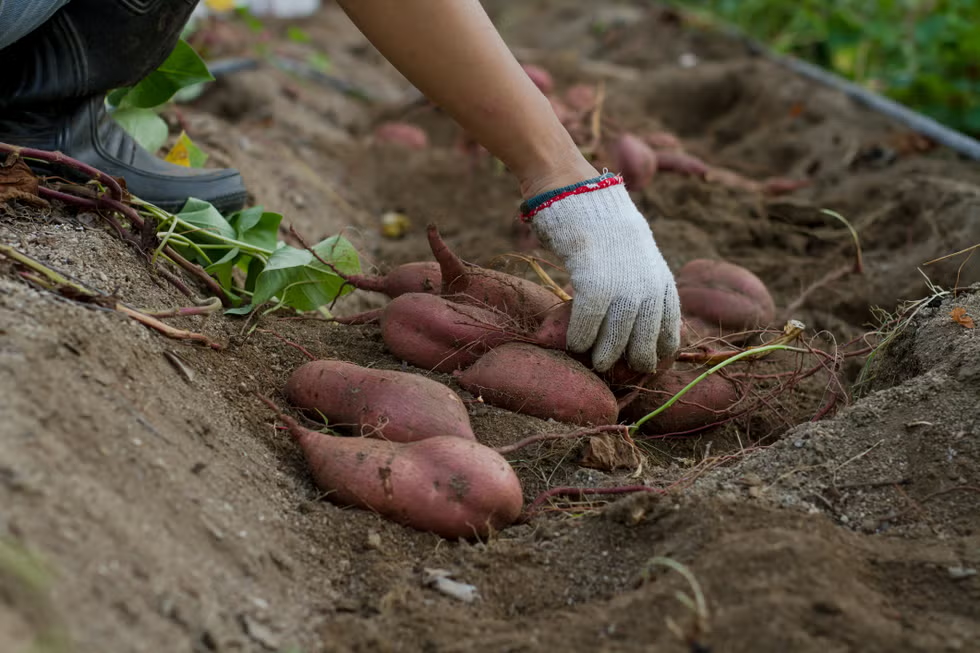
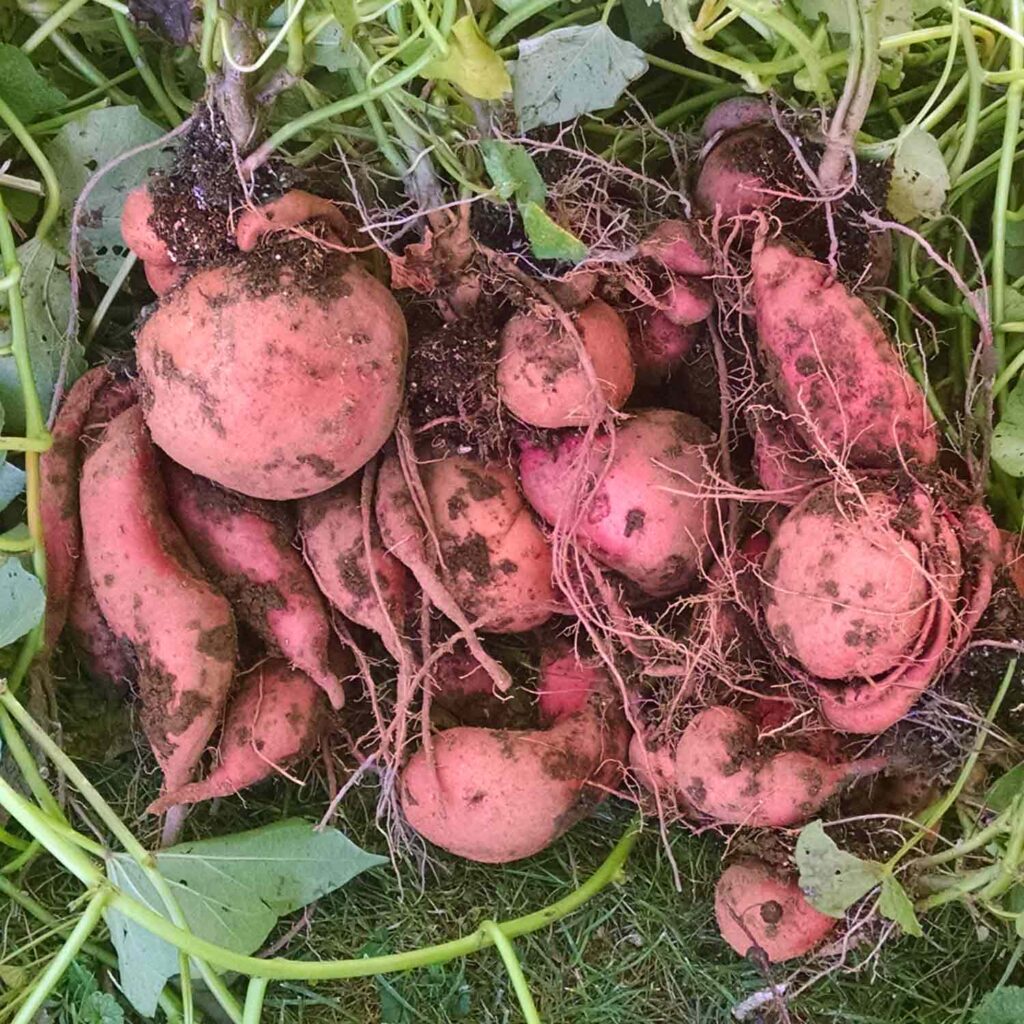
Harvesting Your Sweet Potatoes
Depending on the variety, sweet potatoes take 90 to 120 days to mature. Harvest when the leaves begin to yellow or before the first frost. Use a fork to gently dig up tubers to avoid damaging them.
After harvesting, cure the tubers in a warm, humid area (around 85°F and 85% humidity) for 7–10 days. This process improves flavor and allows them to store longer.
Conclusion
Knowing when and where to plant your sweet potatoes is the foundation for a thriving and productive crop. With the right sunlight, warm temperatures, loose and fertile soil, and timely planting, your garden can yield delicious and nutrient-packed sweet potatoes perfect for roasting, baking, or even desserts. Whether you’re an urban gardener or managing a backyard patch, these tips will ensure sweet success from slip to harvest.

Leave A Comment