
Potatoes (Solanum tuberosum) are one of the most versatile and widely grown vegetables in the world. They are rich in carbohydrates, vitamins, and minerals, making them a staple in many diets. Growing potatoes at home is not only rewarding but also allows gardeners to enjoy fresh, nutritious, and chemical-free tubers. With proper care and attention, home gardeners can achieve bountiful harvests and even experiment with different potato varieties.
This guide provides a comprehensive, step-by-step approach to growing potatoes successfully, from selecting seed potatoes to planting, caring, and harvesting.
Why Grow Potatoes at Home?
Growing potatoes in your backyard offers several advantages:
- Fresh and Nutritious: Homegrown potatoes are healthier and free from pesticides.
- Cost-Effective: Save money by producing your own potatoes.
- Variety Choice: Experiment with different colors, shapes, and flavors.
- Educational: Learn about plant growth, soil health, and sustainable gardening.
- High Yield: Properly managed potato plants can produce large harvests from minimal space.
Step 1: Choosing the Right Potato Variety

Potatoes come in different types, each suited for specific purposes:

- Early Varieties: Mature in 60–90 days; ideal for quick harvests. Examples: Red Norland, Yukon Gold.
- Maincrop Varieties: Mature in 100–120 days; produce large tubers suitable for storage. Examples: Russet, Maris Piper.
- Specialty Varieties: Purple or fingerling potatoes for unique flavor and aesthetics.
Select a variety based on your climate, soil conditions, and desired harvest timing.
Step 2: Preparing Seed Potatoes
Potatoes are grown from seed potatoes, which are small, disease-free tubers:
- Choose certified seed potatoes from garden centers or reputable suppliers.
- Avoid using grocery store potatoes as they may carry diseases or be treated with sprout inhibitors.
- Cut larger seed potatoes into pieces, each with 1–2 healthy “eyes”, about the size of a golf ball.
- Let cut pieces cure for 1–2 days in a cool, dry place before planting to prevent rot.
Step 3: Preparing the Soil
Potatoes prefer well-draining, loose soil that is rich in organic matter:
- Soil Type: Sandy loam or loamy soil is ideal.
- pH Level: Slightly acidic soil (pH 5.0–6.5) helps prevent diseases.
- Soil Enrichment: Mix compost, aged manure, or organic fertilizer into the soil.
- Soil Preparation: Loosen soil to a depth of 12–15 inches to allow tuber expansion.
Raised beds or mounded rows improve drainage and tuber formation.

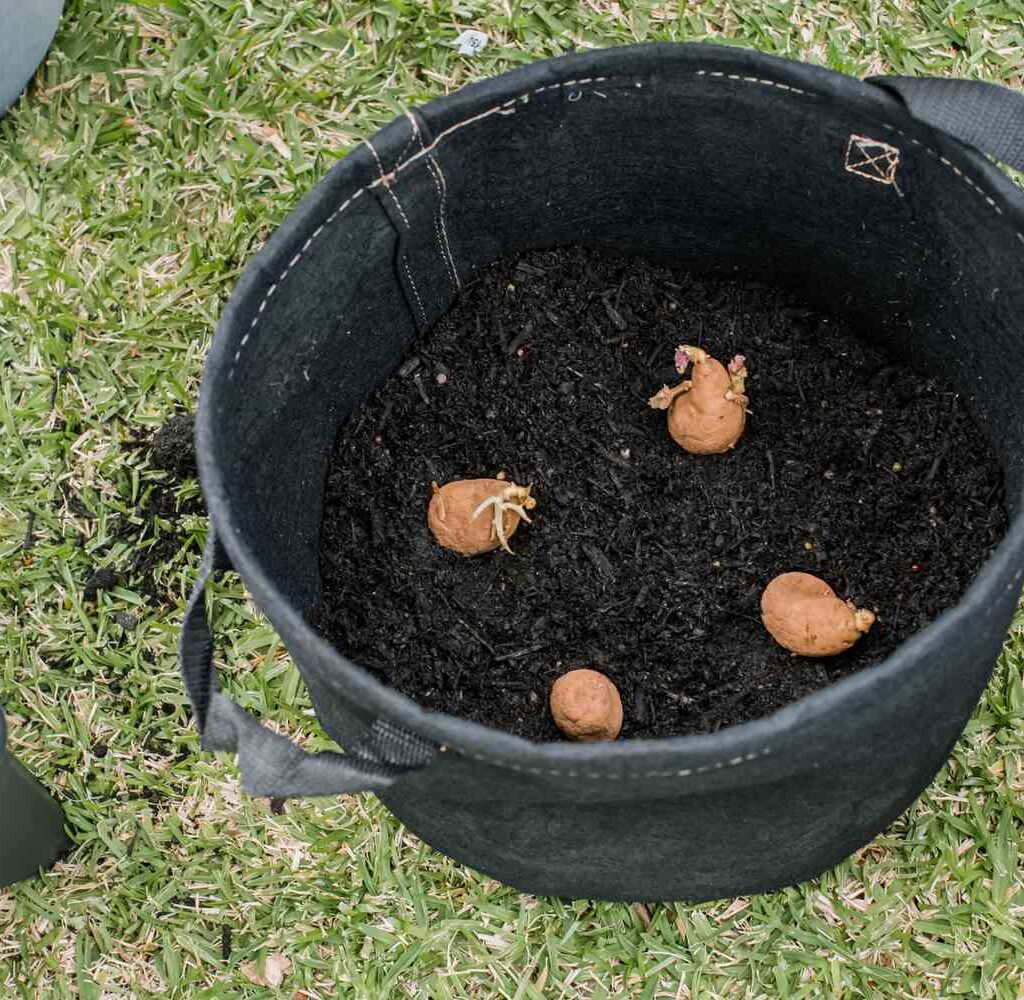
Step 4: Planting Potatoes
Proper planting ensures healthy growth and high yields:
- Spacing: Plant seed pieces 12 inches apart in rows 24–36 inches apart.
- Planting Depth: Place seed pieces 3–4 inches deep with eyes facing upward.
- Watering: Water thoroughly after planting to help roots establish.
- Row Preparation: Plant in mounded rows (hilling) to protect developing tubers from sunlight and promote growth.
Plant potatoes in early spring, 2–4 weeks before the last expected frost.
Step 5: Watering and Mulching
Potatoes require consistent moisture for tuber development:
- Watering: Provide 1–2 inches of water per week. Avoid waterlogging to prevent rot.
- Mulching: Apply straw, grass clippings, or leaves around plants to retain soil moisture, regulate temperature, and suppress weeds.
- Soil Monitoring: Keep soil evenly moist, especially during tuber formation, to ensure large, uniform potatoes.
Step 6: Fertilization and Nutrient Management
Potatoes are nutrient-hungry plants and require balanced fertilization:
- Before Planting: Incorporate compost or organic fertilizer into the soil.
- During Growth: Use a balanced NPK fertilizer (10:10:10) when plants are 6 inches tall.
- Side Dressing: Apply nitrogen-rich fertilizer once tubers start forming for improved yields.
Avoid excessive nitrogen late in the season to prevent lush foliage at the expense of tuber growth.
Step 7: Hilling and Plant Care
Hilling is essential for promoting tuber formation and preventing disease:
- Hilling Technique: When plants reach 6–8 inches, mound soil around the base to cover stems. Repeat every 2–3 weeks.
- Weed Control: Remove weeds carefully to reduce competition for nutrients.
- Pest Management:
- Watch for potato beetles, aphids, and wireworms.
- Use neem oil, insecticidal soap, or hand-picking to control pests.
- Disease Management: Rotate crops, avoid planting potatoes in the same soil consecutively, and remove infected plants.
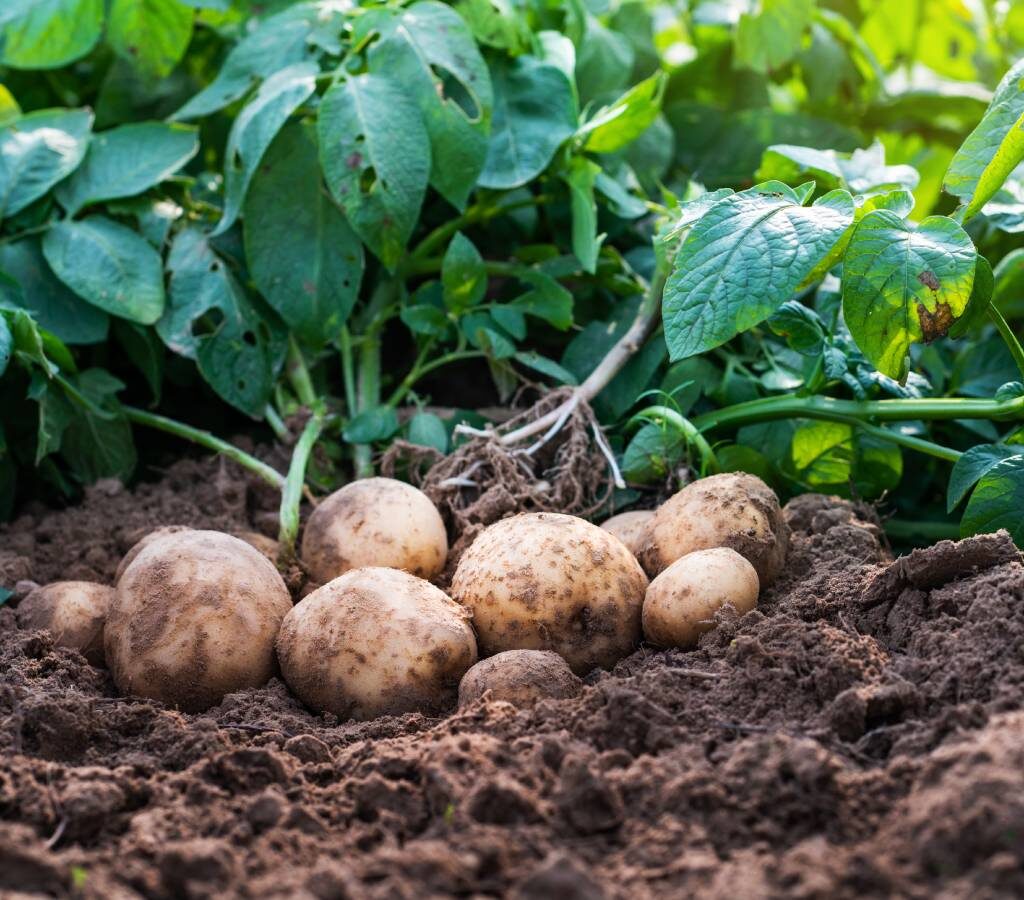
Step 8: Flowering and Tuber Development
Potatoes typically flower 6–8 weeks after planting, indicating tuber development underground:
- Avoid disturbing the soil excessively during this period.
- Maintain consistent watering and nutrient supply.
- Monitor plants for signs of pests or disease, particularly late blight, which can devastate tubers if unchecked.
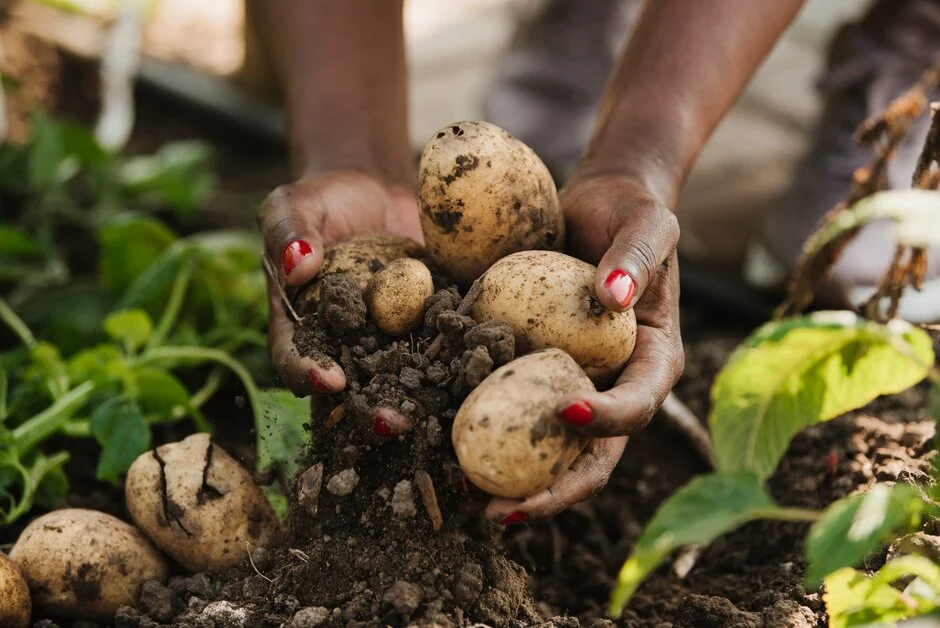
Step 9: Harvesting Potatoes

Timing is crucial for a successful harvest:

- New Potatoes: Harvest early varieties about 2–3 weeks after flowering for tender, small tubers.
- Mature Potatoes: Wait until foliage turns yellow and dies back for maincrop potatoes.
- Harvesting Method: Gently loosen soil with a fork and lift tubers carefully to avoid bruising.
Curing for Storage
- Place harvested tubers in a cool, dark, and ventilated area for 1–2 weeks.
- Keep them at 45–55°F with moderate humidity.
- Remove any damaged tubers to prevent spoilage.
Proper curing enhances storage life and preserves flavor.
Step 10: Tips for Maximum Potato Yields
- Select Disease-Free Seed Potatoes: Large, healthy seed pieces produce bigger harvests.
- Plant in Loose, Fertile Soil: Enhances tuber growth.
- Practice Hilling: Prevents greening of tubers and promotes size.
- Maintain Consistent Watering: Avoid drought stress during tuber formation.
- Control Pests and Diseases: Early intervention prevents yield loss.
- Crop Rotation: Plant potatoes in different locations each year to reduce soil-borne diseases.
Step 11: Expanding to Larger Gardens or Mini-Orchards
For gardeners planning multiple rows or small-scale potato orchards:
- Row Spacing: 2–3 feet apart to allow easy access for maintenance and harvesting.
- Irrigation: Use drip irrigation or soaker hoses for efficient watering.
- Soil Management: Add organic matter annually to maintain fertility.
- Variety Planning: Grow early and maincrop varieties for staggered harvests throughout the season.
With proper planning, backyard potato gardens can provide a continuous supply of fresh potatoes for months.
Conclusion
Growing potatoes at home is a highly rewarding gardening project that combines careful planning, consistent care, and patience. By selecting the right varieties, preparing fertile soil, planting seed potatoes correctly, and maintaining proper watering, fertilization, and pest management, home gardeners can enjoy bountiful, healthy potato harvests.

From new potatoes for salads to mature tubers for storage, backyard-grown potatoes provide flavor, nutrition, and the satisfaction of nurturing plants from planting to harvest. With dedication and attention to detail, potatoes can become a staple crop in your home garden, ensuring a sustainable and delicious supply for years to come.