The ZZ plant (Zamioculcas zamiifolia) has quickly become one of the most beloved houseplants worldwide. Known for its glossy green leaves, remarkable resilience, and ability to thrive in low-light conditions, it’s no surprise that plant lovers want more of these beauties around their homes. Instead of buying new ones, propagation is a rewarding way to multiply your collection and even share the joy with friends and family.
This complete guide will walk you through everything you need to know about propagating ZZ plants — from different methods to tips for ensuring healthy growth.
Why Propagate ZZ Plants?
Before diving into the how-to, let’s explore why propagation is worth trying:
- Cost-Effective Expansion – Instead of purchasing multiple ZZ plants, you can grow new ones from a single plant.
- Sharing the Greenery – Propagation allows you to gift a piece of your plant to loved ones.
- Therapeutic Experience – Many gardeners find the process of nurturing new life deeply rewarding.
- Plant Insurance – By propagating, you ensure you always have backup plants in case your main one struggles.
Tools and Materials You’ll Need
To propagate ZZ plants successfully, gather the following items:

- A healthy mother ZZ plant
- Sharp, sterilized scissors or pruning shears
- Small pots with drainage holes
- A well-draining potting mix (preferably cactus or succulent soil)
- A clean container of water (for water propagation)
- Rooting hormone (optional but helpful)
- Clear plastic bag or humidity dome (optional for leaf propagation)
3 Main Methods of Propagating ZZ Plants
Unlike fast-growing houseplants like pothos, ZZ plants are slower to propagate, requiring patience. But with the right method, you’ll be rewarded with lush new greenery.
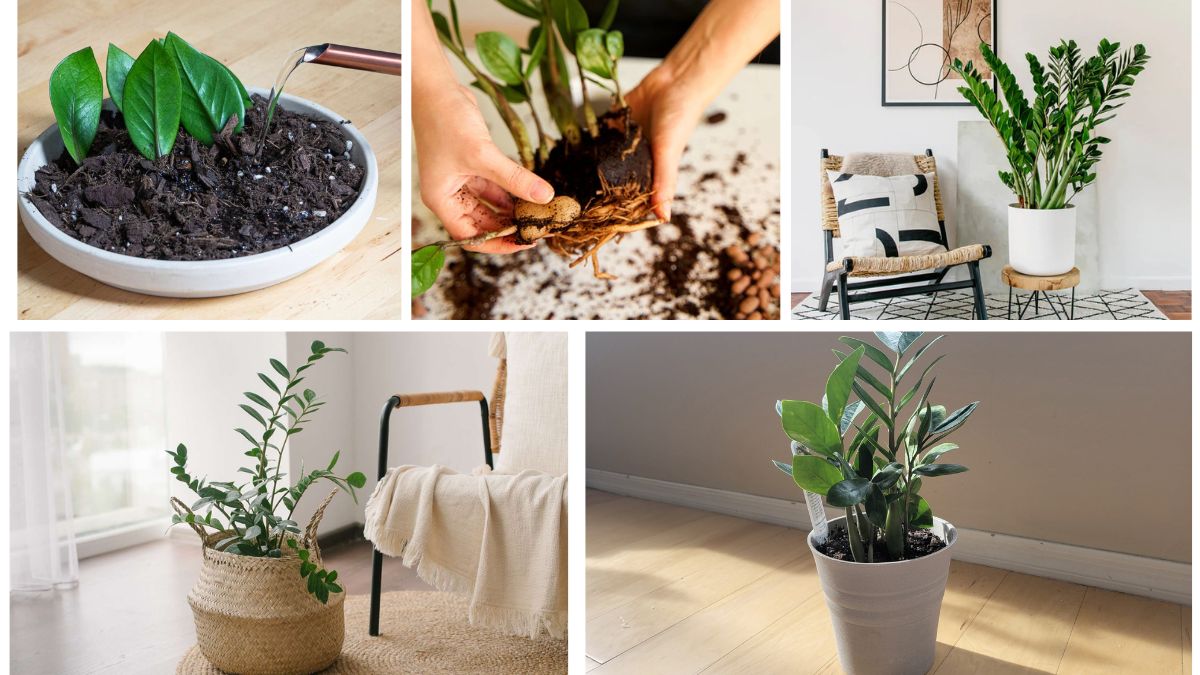
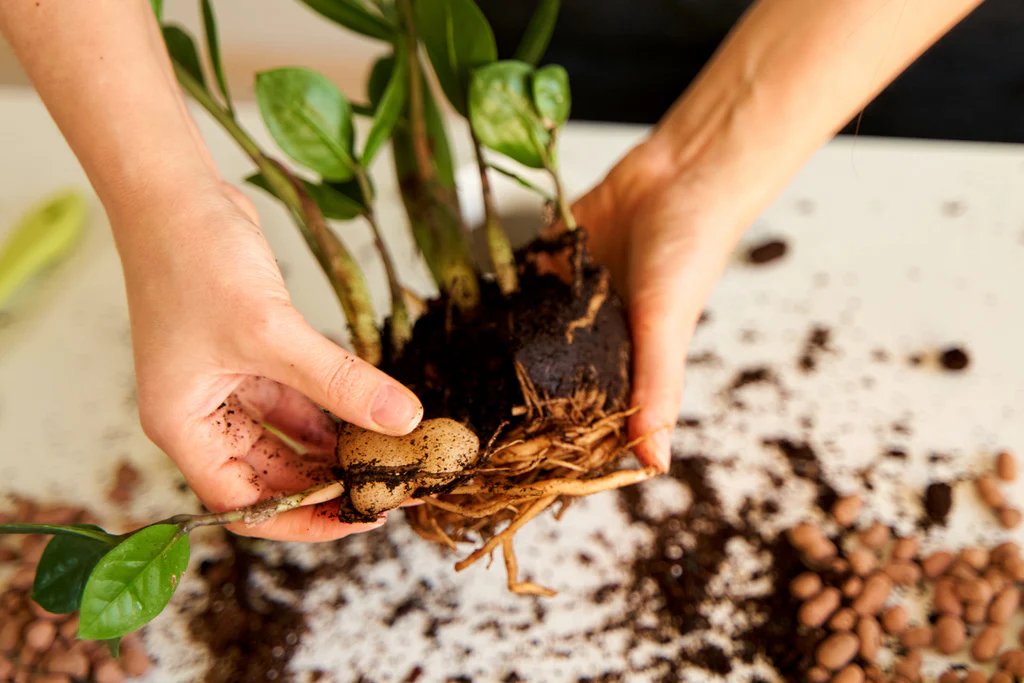
1. Division Method (Fastest and Easiest)
Division is the most reliable way to propagate ZZ plants because it uses already established rhizomes (the underground tubers that store nutrients and water).
Steps:
- Remove the mother plant from its pot and gently brush off excess soil.
- Locate the rhizomes — they look like thick, potato-like bulbs.
- With a clean knife or your hands, carefully separate the rhizomes, ensuring each division has roots and at least a few stems or leaves attached.
- Replant each division in a new pot with well-draining soil.
- Water lightly and place in bright, indirect light.
Pros: Quick results, strong established plants.
Cons: Requires a mature plant large enough to divide.

2. Stem Cutting Propagation (Medium Difficulty)
This method involves cutting a healthy stem and encouraging it to grow new roots.
Steps:
- Choose a healthy stem with several leaves and cut it near the base.
- Remove any leaves near the bottom of the cutting.
- Dip the cut end in rooting hormone (optional).
- Place the cutting in a glass of clean water or directly into soil.
- Water Method: Place in water until roots form, then transfer to soil.
- Soil Method: Insert directly into moist, well-draining soil and cover with a plastic bag for humidity.
- Be patient! Root growth may take 2–3 months.
Pros: Simple, works well with healthy cuttings.
Cons: Slow root development, requires patience.
3. Leaf Cutting Propagation (Most Patience Needed)
This method uses individual leaves to grow new rhizomes and eventually a plant.

Steps:
- Gently twist off a healthy leaf close to the stem.
- Allow the leaf to dry for a few hours to prevent rot.
- Place the leaf cut-end into moist soil or water.
- Keep in a warm, humid environment with indirect light.
- After several months, tiny rhizomes may form, followed by roots and shoots.
Pros: Great way to use a single leaf to start a plant.
Cons: Extremely slow — it may take 6–9 months before you see noticeable growth.
Best Conditions for ZZ Plant Propagation
No matter which method you choose, ZZ plants require the right environment to root successfully.
- Light – Bright, indirect light is ideal. Avoid direct sunlight, which can scorch the leaves.
- Temperature – Keep the environment warm (65–75°F / 18–24°C). ZZ plants dislike cold drafts.
- Humidity – Average household humidity works, but slightly higher humidity speeds up growth.
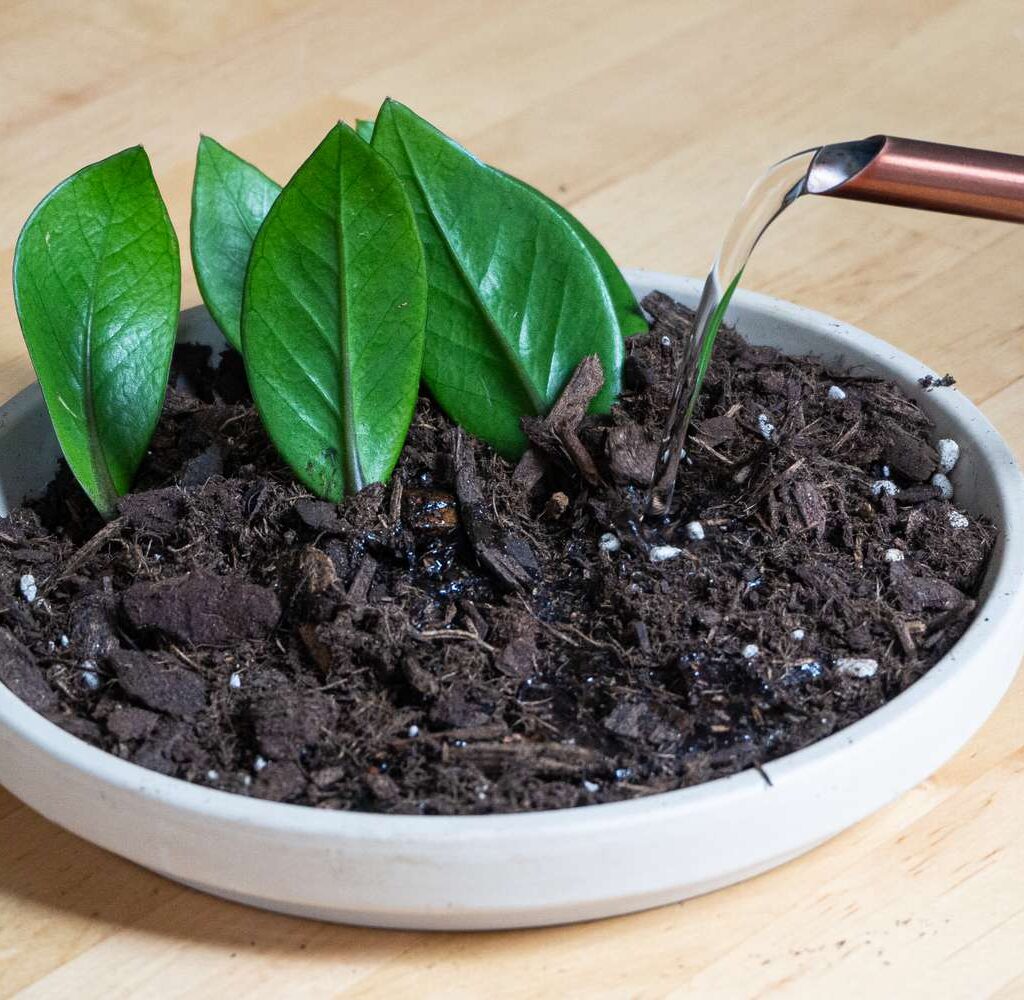
- Watering – Keep soil lightly moist during propagation, but never soggy. Overwatering leads to rot.
- Soil – Use a well-draining mix, preferably one designed for succulents or cacti.
Common Mistakes to Avoid
- Overwatering – The number one cause of failed propagation. Always let soil dry slightly before watering.
- Impatience – ZZ plants are slow growers. Don’t toss cuttings too early; they may just need more time.
- Using Unhealthy Cuttings – Always choose vibrant, green stems and leaves for the best results.
- Ignoring Root Health – If propagating in water, change the water every 1–2 weeks to prevent rot.
When to Transplant Propagated ZZ Plants
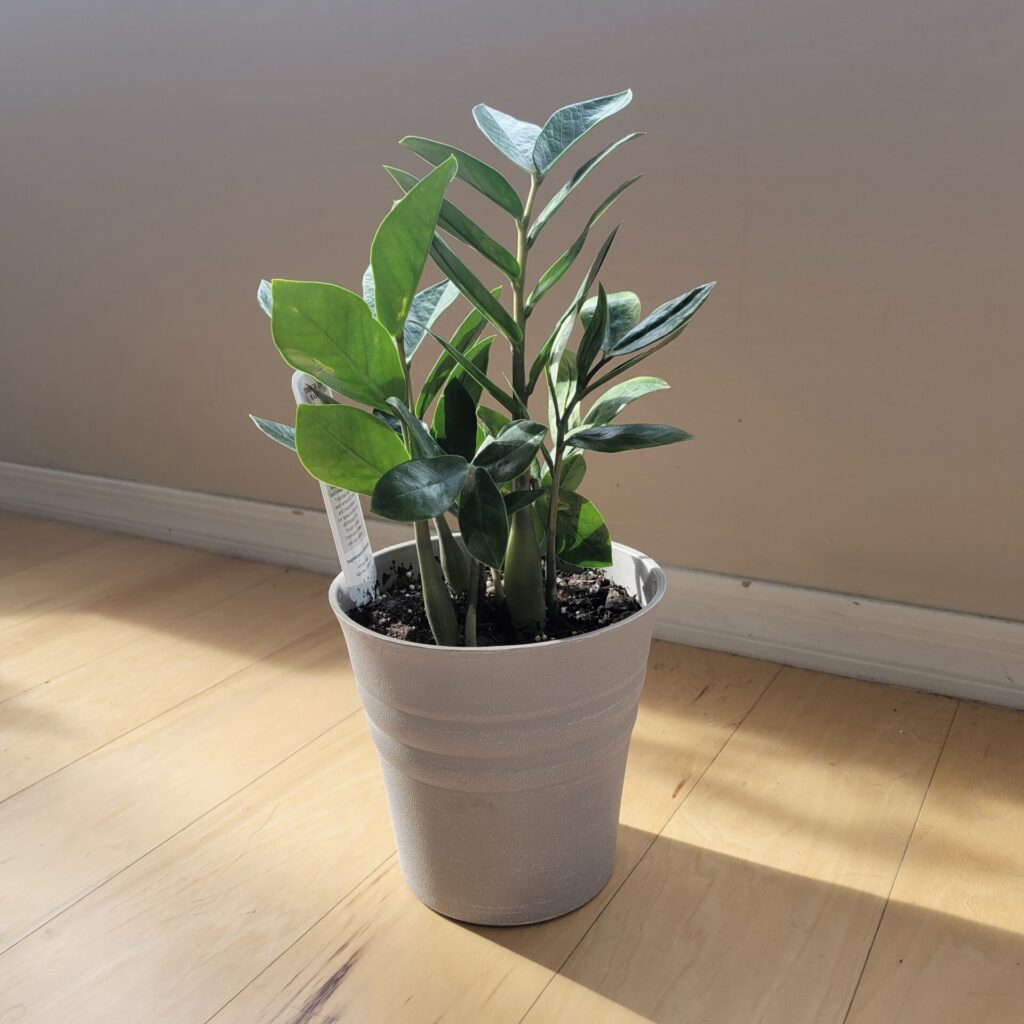
Once your propagated cuttings or divisions show strong roots and new leaf growth, it’s time to transplant them into their own pots. Choose a pot slightly larger than the root system and ensure it has proper drainage.

After transplanting:
- Resume a normal ZZ plant care routine (water sparingly, indirect light).
- Fertilize lightly during the growing season (spring and summer).
- Avoid disturbing the plant too often, as ZZs prefer stability.
Benefits of Having Multiple ZZ Plants Indoors
After successful propagation, you’ll enjoy more greenery and added benefits:
- Air Purification – ZZ plants are known for filtering indoor air.
- Low Maintenance – Even beginners can care for them.
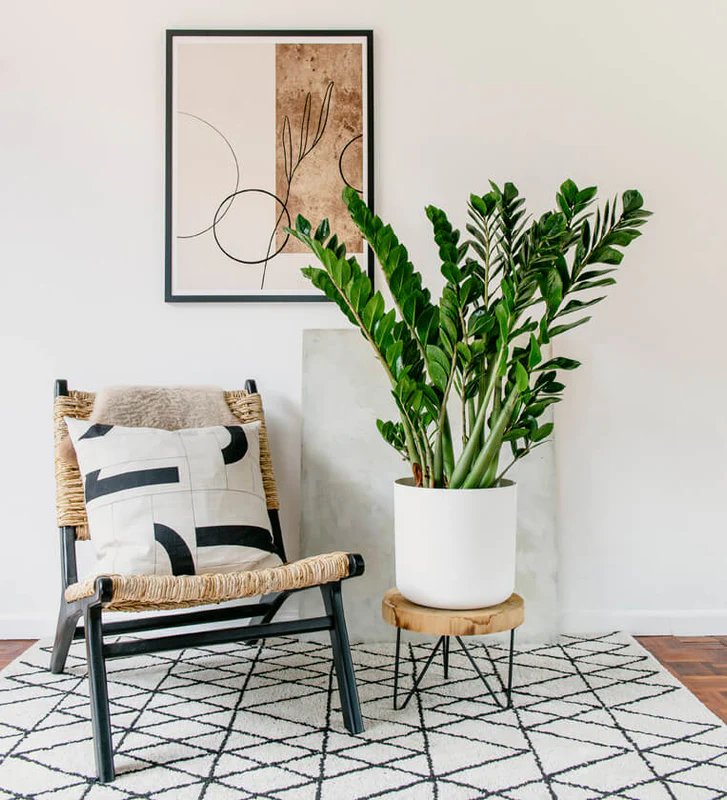
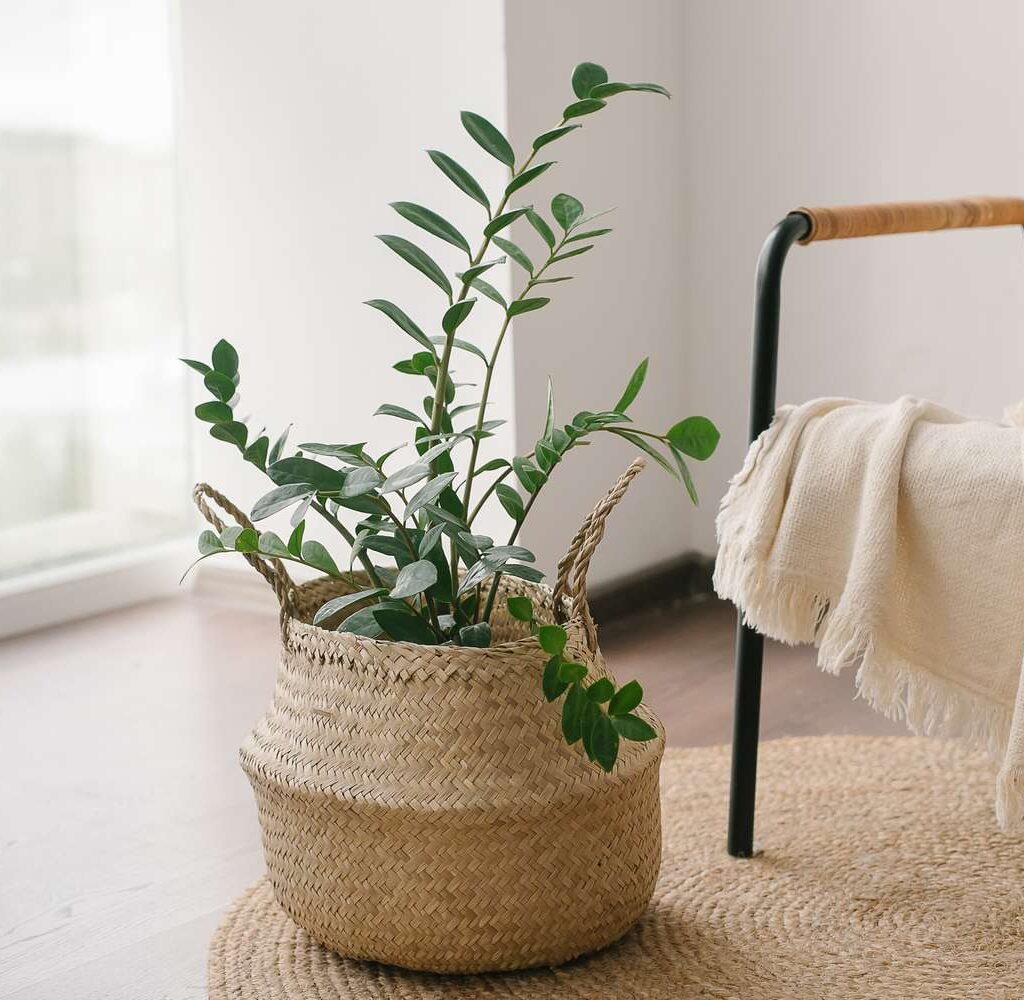
- Decor Versatility – Use them in offices, bedrooms, or living rooms.
- Gift Potential – A propagated ZZ in a cute pot makes a thoughtful, eco-friendly gift.
Final Thoughts
Propagating ZZ plants is a rewarding way to expand your indoor garden and connect more deeply with your greenery. Whether you choose division for faster results, stem cuttings for a balance of effort and time, or leaf cuttings for the ultimate patience test, the outcome is always worth it. With the right conditions, care, and a little perseverance, you’ll soon be surrounded by thriving ZZ plants that add beauty, freshness, and life to your home.
So, grab your shears, prepare some pots, and start propagating — your future self (and your home décor) will thank you.