
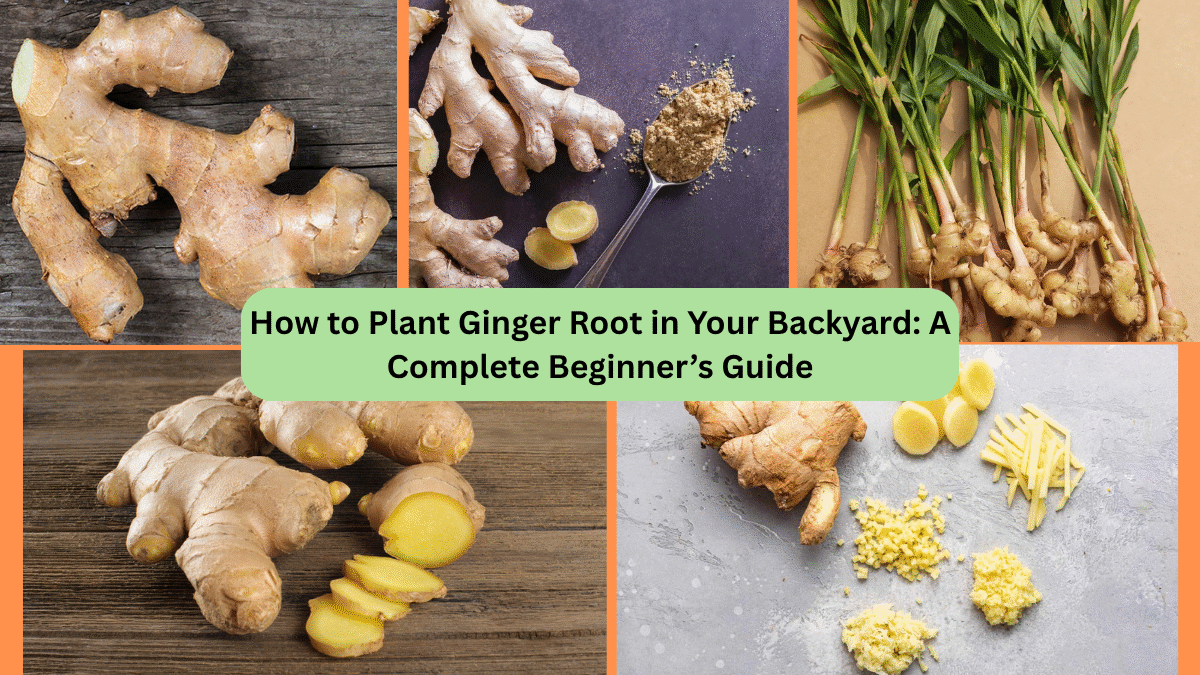
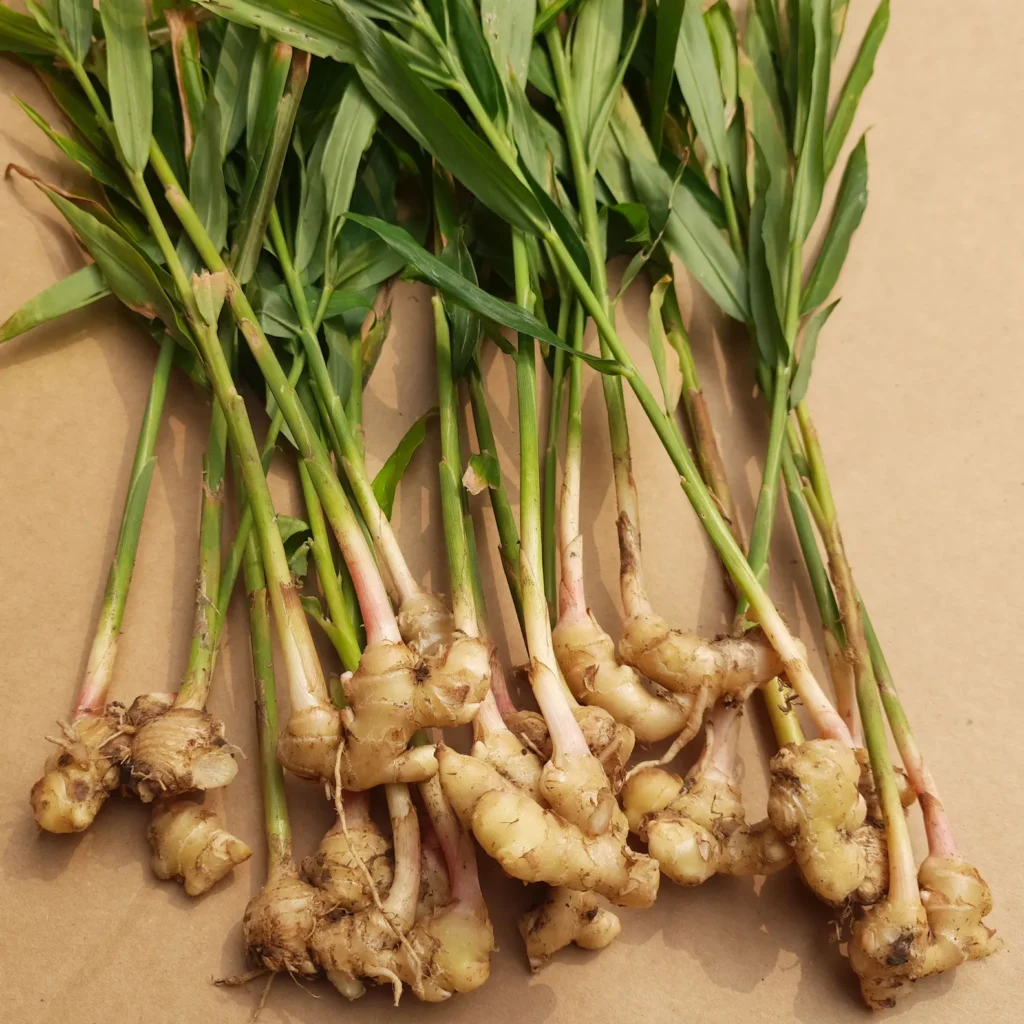
Ginger is a prized culinary and medicinal plant known for its bold, aromatic flavor and powerful health benefits. Used in teas, curries, desserts, and natural remedies for centuries, ginger (Zingiber officinale) is surprisingly easy to grow right in your own backyard — even if you’re new to gardening!
Unlike many common herbs and vegetables, ginger grows from rhizomes (a type of underground stem), and with the right care, one piece can yield multiple fresh, fragrant ginger roots. Best of all, it requires minimal effort, thrives in partial shade, and can even be grown in containers for small spaces.
In this comprehensive guide, we’ll show you exactly how to plant ginger root in your backyard, care for it, and harvest fresh ginger for your kitchen.
Why Grow Ginger at Home?
Growing ginger in your backyard is a rewarding, sustainable practice. Here’s why you should try it:
- Easy to Grow: Low-maintenance and beginner-friendly.
- Compact Plant: Ideal for small gardens, raised beds, or containers.
- Health Benefits: Fresh ginger boosts immunity, aids digestion, and fights inflammation.
- Cost-Effective: One store-bought piece of ginger can produce multiple new rhizomes.
- Tropical Beauty: Attractive foliage with bright green leaves adds visual appeal.
What You’ll Need
Before you begin, gather the following:
- Fresh ginger root (organic preferred)
- Raised bed, garden plot, or large container with drainage holes
- Nutrient-rich, well-draining soil
- Compost or aged organic manure
- Garden trowel
- Watering can or hose with a gentle spray nozzle
- Mulch (optional but helpful)
Step-by-Step: How to Plant Ginger Root in Your Backyard
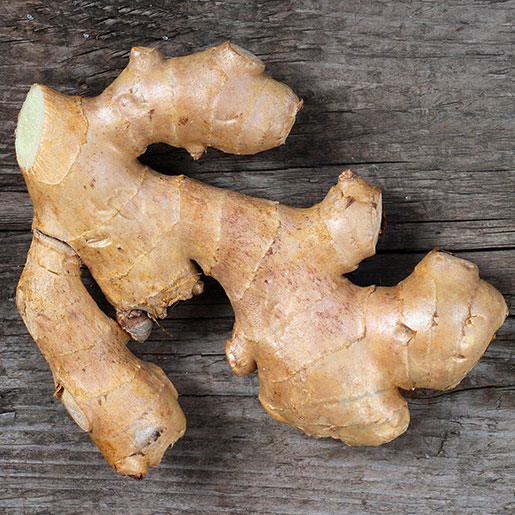
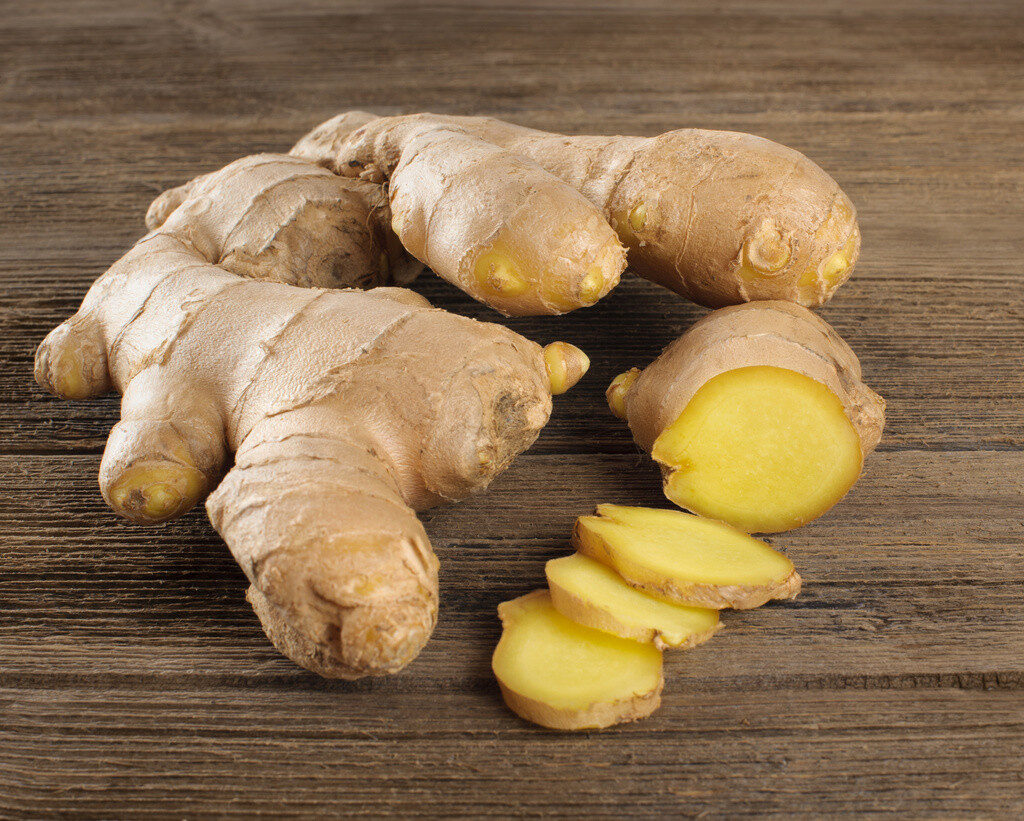
Step 1: Select Fresh, Healthy Ginger Rhizomes
Choose ginger rhizomes (roots) with:
- Firm, plump bodies
- Light brown skin
- Visible ‘eyes’ or growth buds (small yellow-green points on the surface)
Pro Tip: Organic ginger from a grocery store or farmer’s market is best since conventionally grown ginger may be treated with growth inhibitors.
Step 2: Prepare the Ginger for Planting
- Cut large ginger rhizomes into 1–2 inch pieces.
- Ensure each piece has at least one visible growth bud.
- Leave the cut pieces in a shaded, dry area for 24–48 hours. This allows the cut surfaces to callous over and reduces the risk of rot.
Step 3: Choose the Right Location
Ginger loves warm, humid environments with indirect sunlight.
Ideal growing conditions:
- Partial shade or dappled sunlight.
- Sheltered from strong winds.
- Temperature range: 68–86°F (20–30°C).
Avoid planting ginger in waterlogged or heavy clay soil.
Step 4: Prepare the Soil
Ginger thrives in light, loamy, well-draining soil rich in organic matter.
Best soil mix:

- 60% garden soil
- 20% sand or perlite for drainage
- 20% well-rotted compost or aged manure
Loosen the soil to a depth of 8–10 inches and mix in compost evenly.
Step 5: Plant the Ginger
- Dig shallow holes or trenches 2–4 inches deep and 8 inches apart.
- Place each ginger piece with the growth buds facing upward.
- Cover gently with soil, leaving about 1 inch of soil above the rhizome.
- Water lightly to settle the soil.
Container tip: Use a wide, shallow container at least 12 inches deep, with plenty of drainage holes.
Step 6: Watering and Mulching
Ginger needs consistent moisture but hates waterlogged soil.
Watering tips:
- Keep soil evenly moist but not soggy.
- Water deeply once or twice a week.
- Reduce watering in cooler months when the plant’s growth slows.
Mulching: Apply a 2–3 inch layer of straw, dry leaves, or compost mulch around the plants to retain soil moisture, suppress weeds, and regulate temperature.
Ginger Plant Care Essentials
Sunlight:
- Prefers partial shade or filtered sunlight.
- Avoid full, harsh midday sun, which can scorch leaves.
Temperature:
- Ideal: 68–86°F (20–30°C).
- Protect from frost or temperatures below 50°F (10°C).
In colder climates, plant ginger in containers and move them indoors during winter.
Feeding:
- Apply a balanced organic liquid fertilizer or compost tea every 4–6 weeks during active growing season (spring to early fall).
- Top-dress with compost every couple of months to replenish soil nutrients.
Pests and Problems:
Ginger is generally pest-resistant but watch out for:
- Aphids and mealybugs: Remove by spraying with water or neem oil.
- Root rot: Prevent by ensuring good drainage and avoiding overwatering.
Harvesting Your Homegrown Ginger
Ginger is typically ready for harvest 8–10 months after planting, once the leaves turn yellow and begin to dry.
Early Harvest:
You can gently dig up a small section of rhizome after 4–6 months for tender, young ginger with mild flavor.
Full Harvest:
- Carefully dig up the entire plant after 8–10 months.
- Shake off soil and remove the leafy tops.
- Save a few healthy rhizomes with growth buds for replanting next season.
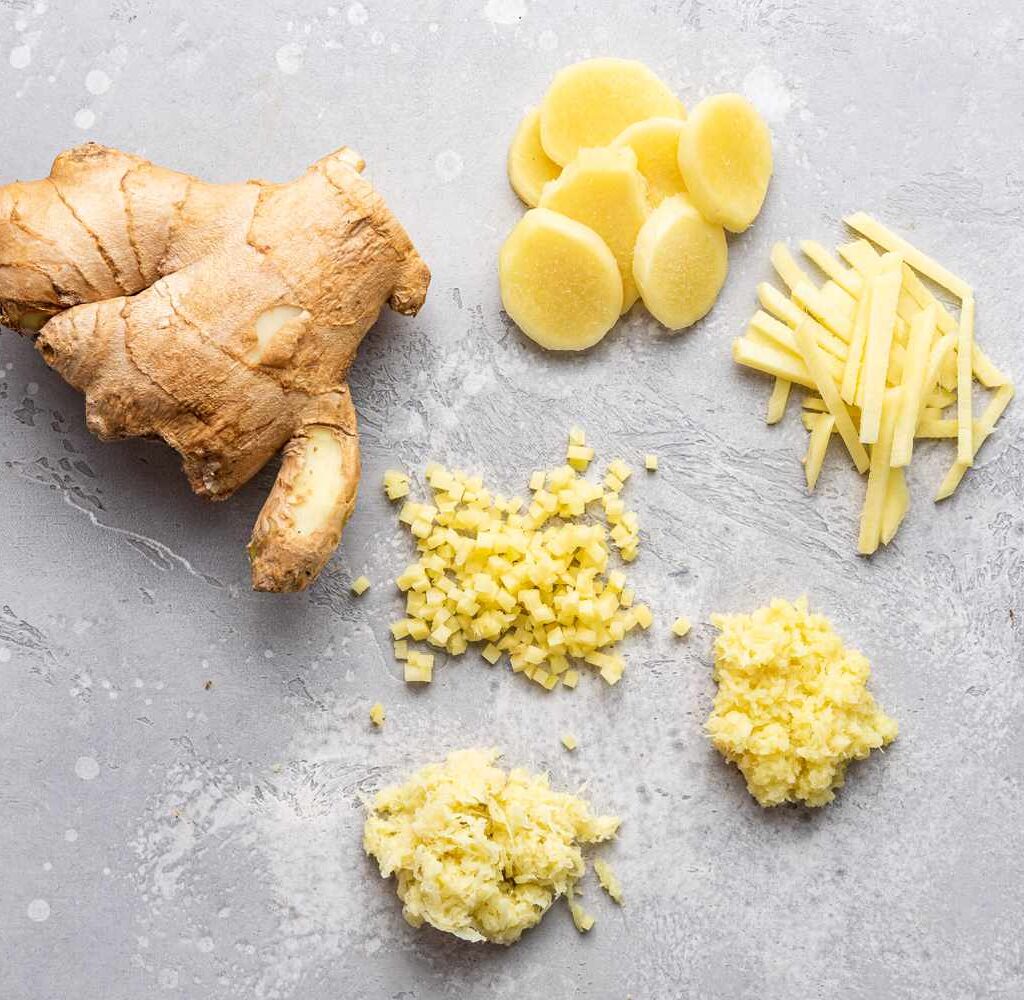
Storing Freshly Harvested Ginger
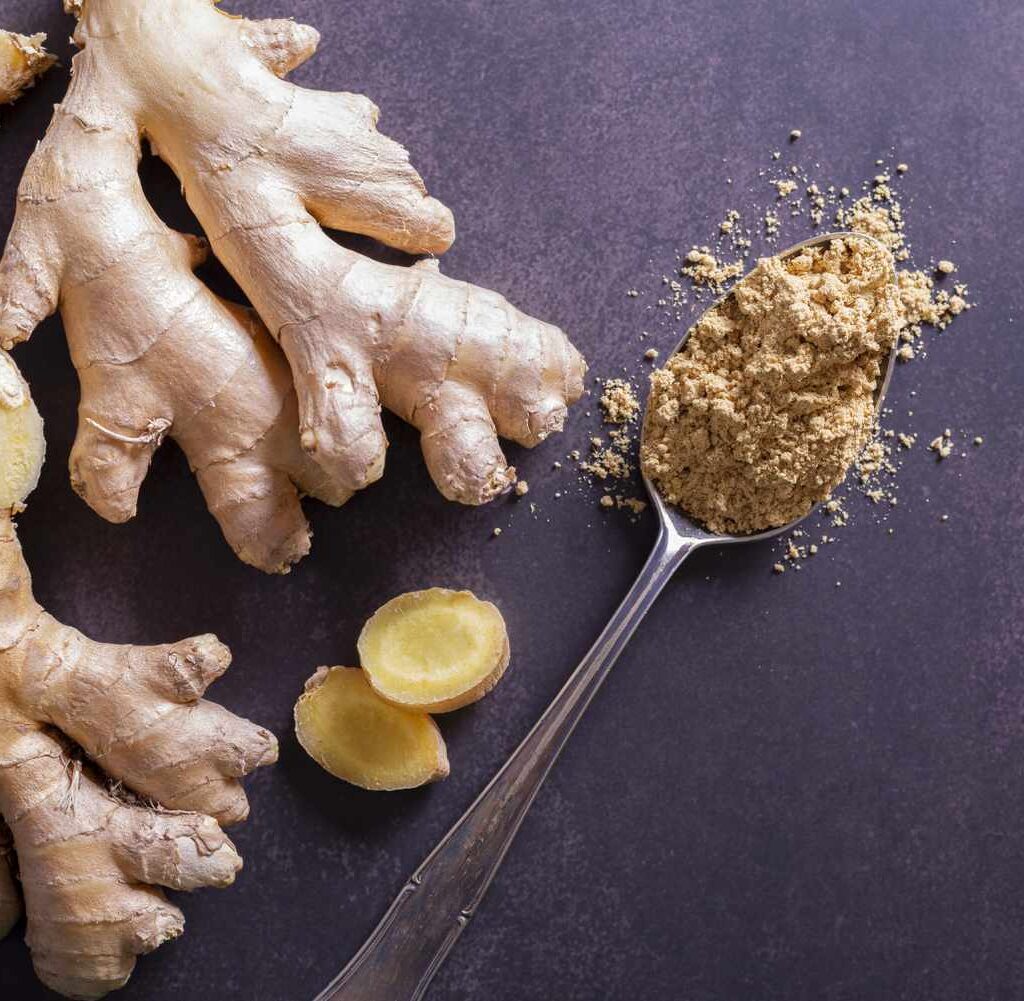
- Fresh: Store in a cool, dry place for up to 3 weeks.
- Refrigerated: Wrap in paper towels and place in a plastic bag in the fridge for up to 3 months.
- Frozen: Peel and freeze for up to 6 months.
- Dried: Slice thinly and dry in a dehydrator for long-term storage.
Can You Grow Ginger Year-Round?
In tropical and subtropical regions, yes — ginger can be grown year-round outdoors.
In temperate or cooler climates:
- Grow in containers.
- Move indoors when temperatures drop.
- Resume regular watering and feeding in spring.
Health Benefits of Homegrown Ginger
- Boosts immunity and fights colds
- Aids digestion and relieves nausea
- Reduces inflammation and joint pain
- Improves circulation and heart health
- Rich in antioxidants
Adding fresh ginger to your diet enhances both flavor and wellness.
Final Thoughts
Growing ginger in your backyard is a simple, sustainable, and highly rewarding gardening project. With minimal care, even beginners can enjoy a steady supply of aromatic, homegrown ginger for cooking, teas, and natural remedies.
By following this easy guide — selecting quality rhizomes, planting in rich, well-draining soil, providing indirect sunlight, and maintaining consistent moisture — you’ll soon be savoring the distinctive taste of freshly harvested ginger straight from your own garden.
So, the next time you see a plump, fresh piece of ginger at the market, don’t just cook with it — plant it, and start your own backyard spice garden adventure!
Leave A Comment