

If you’ve ever tasted a ripe, sun-warmed mulberry fresh from the tree, you already know the irresistible charm of these juicy, jewel-toned fruits. Sweet, tangy, and packed with nutrients, mulberries are not only delicious but also surprisingly easy to grow — even from seed.
While most gardeners propagate mulberries from cuttings or grafted saplings for quicker harvests, growing mulberries from seed is a wonderfully rewarding experience. Watching a tiny sprout evolve into a fruit-bearing tree can be one of the purest joys in gardening.
In this detailed guide, we’ll take you through every step of growing mulberries from seed, from harvesting and germinating seeds to nurturing young saplings and eventually enjoying a lush, fruiting tree.
Why Grow Mulberries from Seed?
Growing mulberries from seed requires a bit more patience than planting a nursery-grown sapling, but the benefits are well worth it:
- Budget-Friendly: Seeds are far more affordable than established trees.
- Genetic Diversity: Seed-grown trees can produce unique, sometimes superior fruit variations.
- Gardening Satisfaction: There’s unmatched joy in watching a tree grow from scratch.
- Resilience: Seed-grown trees often adapt better to local soil and climate conditions.
If you’re a patient gardener who loves nurturing plants from the very beginning, mulberries are a perfect choice.

Types of Mulberries You Can Grow
Before you start, it’s helpful to know about the main types of mulberries:
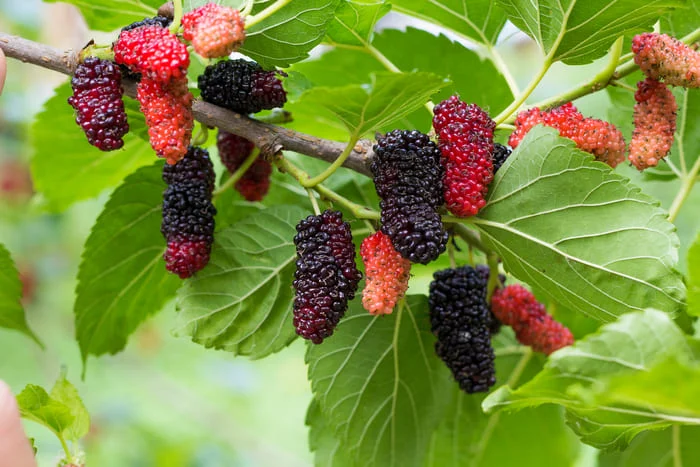
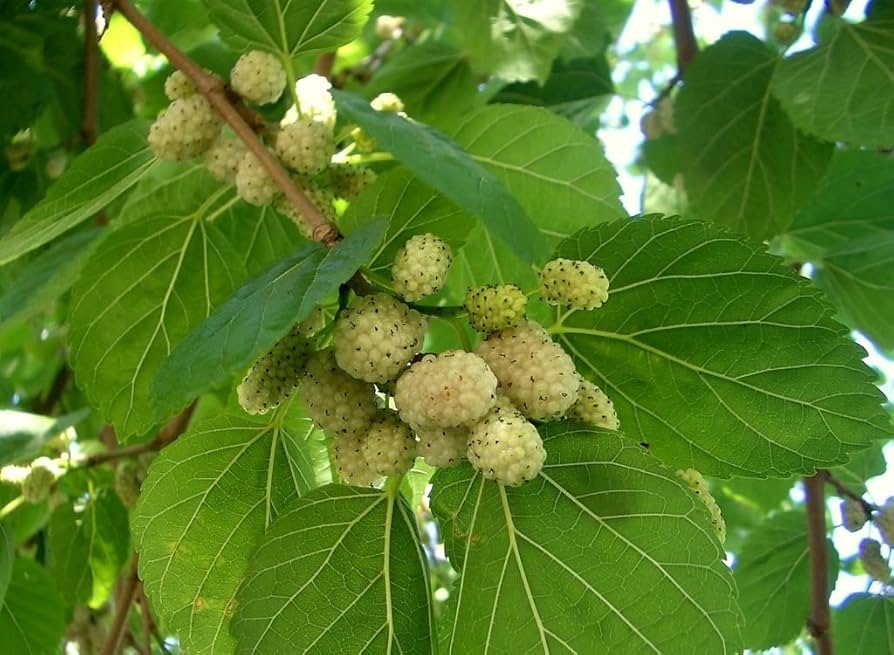
- Morus alba (White Mulberry): Fast-growing, adaptable, and the most common species. Berries range from white to purple-black.
- Morus nigra (Black Mulberry): Produces the most flavorful, rich, dark berries but grows slower.
- Morus rubra (Red Mulberry): Native to North America with sweet, reddish-purple fruits.
Note: Seed-grown trees may vary from the parent tree in size, flavor, and berry color because of natural genetic differences.
How to Collect Mulberry Seeds
You can either purchase mulberry seeds from a reliable supplier or harvest them from fresh, ripe mulberries. Here’s how:
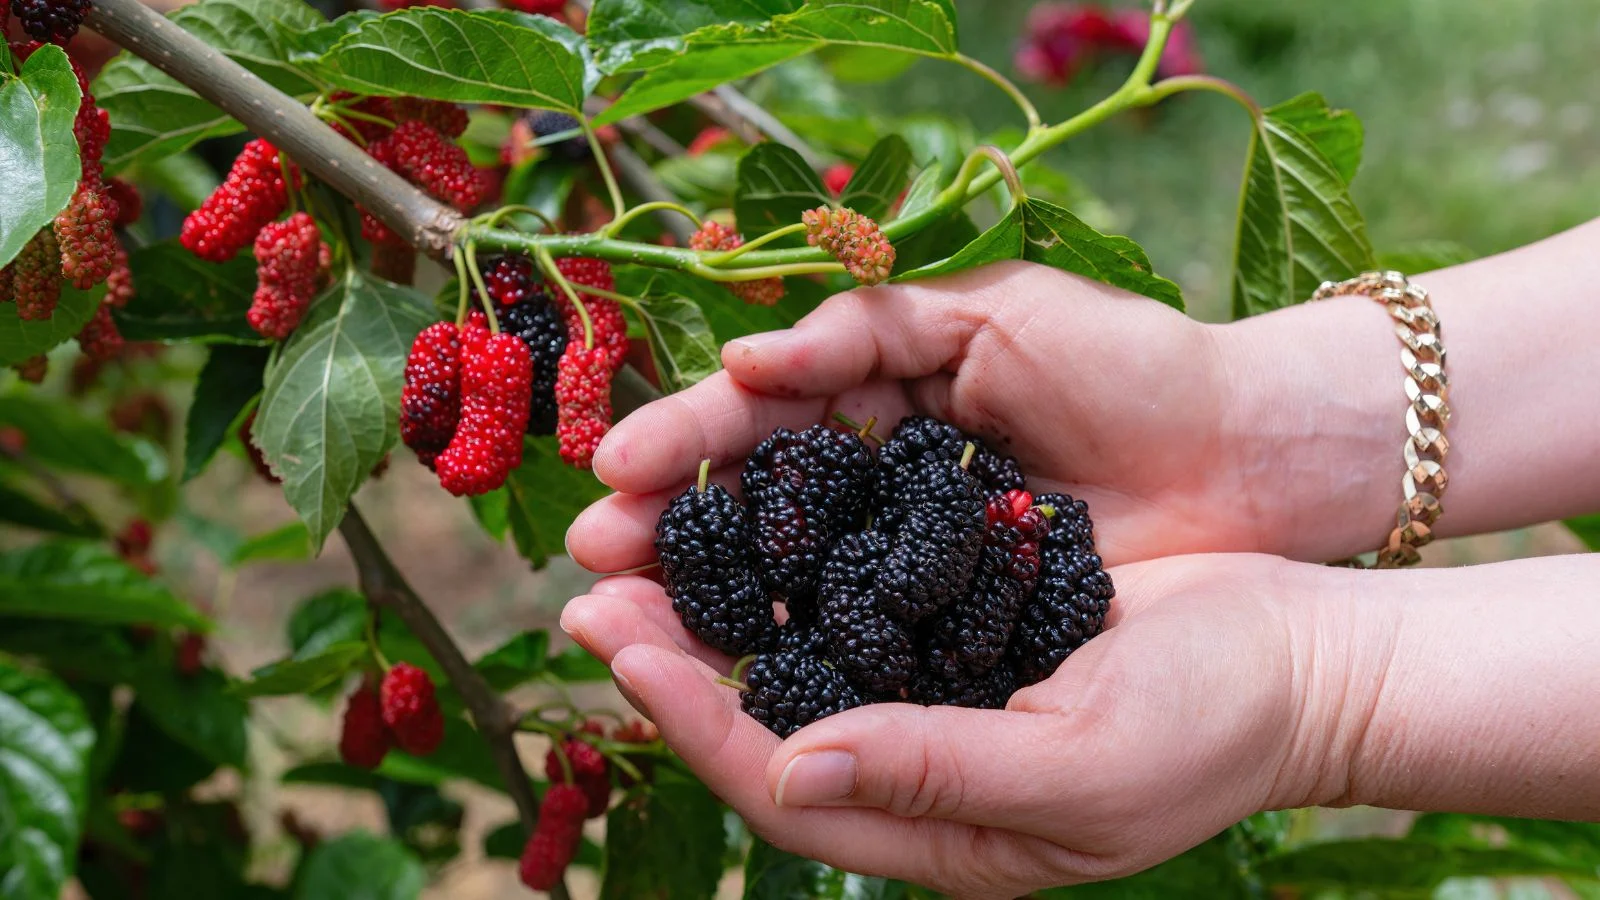
Step 1: Harvest Ripe Mulberries
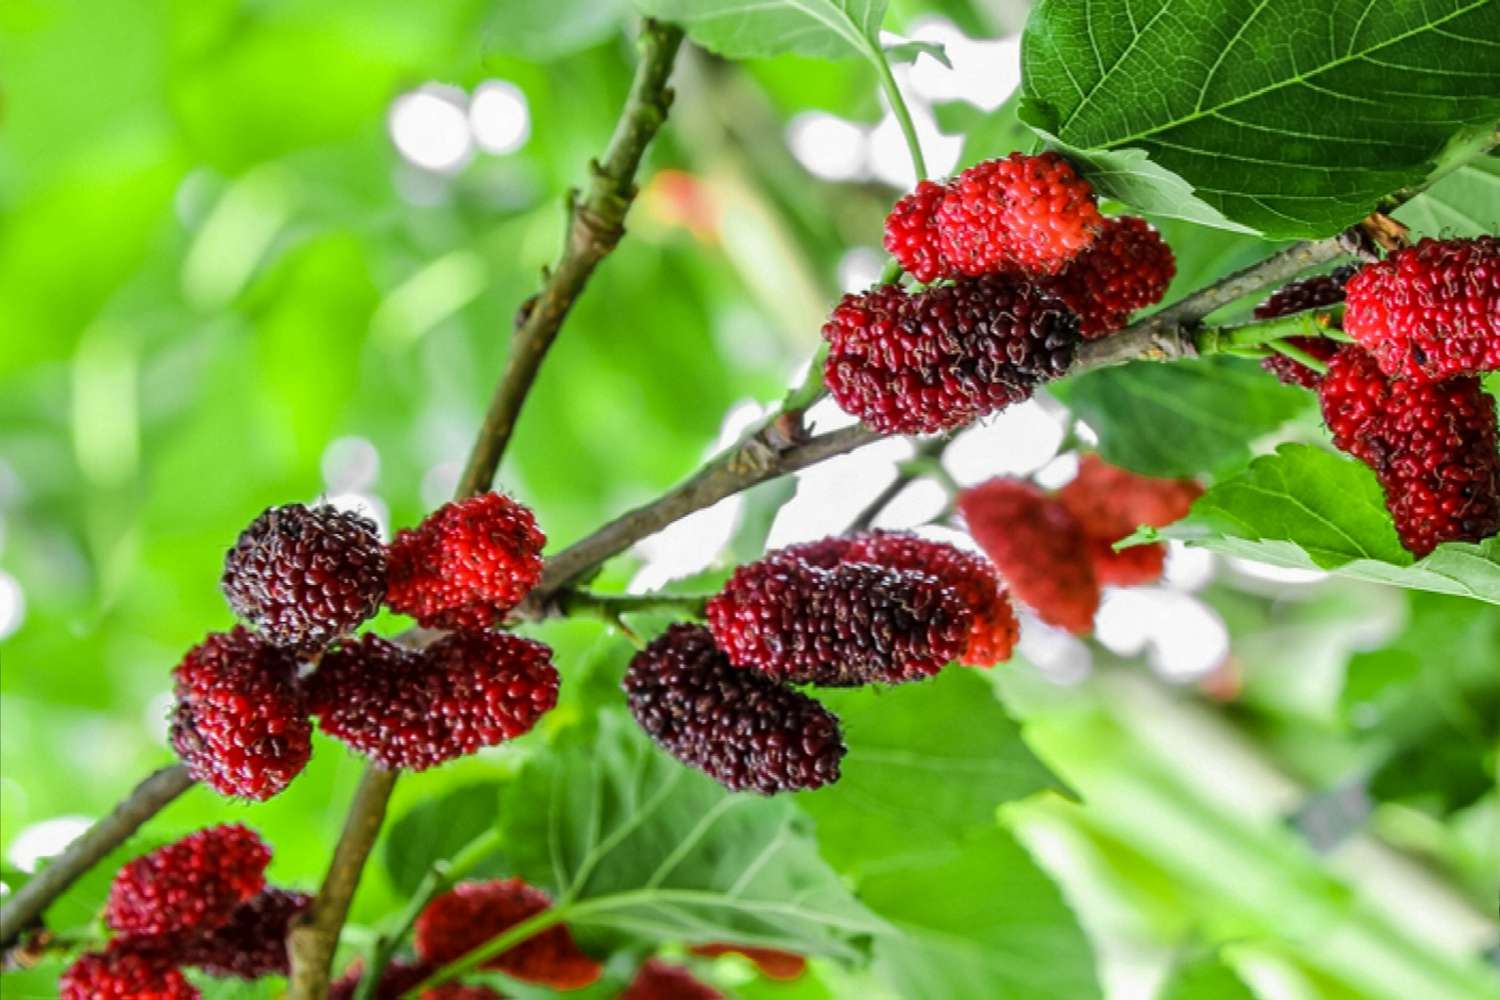
- Pick fully ripe berries (deep purple or black) from a healthy tree.
- Avoid overripe, moldy, or damaged fruit.
Step 2: Extract the Seeds
- Mash the berries in a bowl of water. The pulp and unviable seeds will float, while good seeds sink.
- Skim off floating debris and pulp.
- Drain and rinse the viable seeds.
Tip: Dry the seeds on a paper towel for 24 hours before the next step.
Stratifying Mulberry Seeds (A Must-Do Step!)
Most mulberry seeds require cold stratification to mimic winter dormancy and stimulate germination. Don’t skip this — it’s essential for breaking seed dormancy.

How to Stratify Mulberry Seeds:
- Mix seeds with moist sand or peat moss in a plastic bag.
- Seal the bag and label it with the date.
- Place it in the refrigerator (not freezer) at around 35°F–40°F (1.5°C–4.5°C).
- Keep the seeds refrigerated for 60–90 days.
Check the mixture periodically to ensure it stays slightly moist but not soggy.
How to Germinate Mulberry Seeds
After stratification, your seeds are ready to plant.
Step 1: Prepare the Seed Trays or Pots
- Use small pots or seed trays filled with a well-draining seed-starting mix.
- Moisten the soil evenly.
Step 2: Sow the Seeds
- Plant seeds about ¼ inch (0.6 cm) deep in the soil.
- Cover lightly with soil.
Step 3: Create a Warm, Humid Environment
- Cover the pots with a plastic dome or clear plastic wrap to retain humidity.
- Place the containers in a warm spot (70°F–85°F or 21°C–29°C) with bright, indirect light.
Step 4: Water Gently
- Mist the soil surface to keep it moist, but never soggy.
Germination Time: Typically 2–6 weeks, depending on variety and conditions.
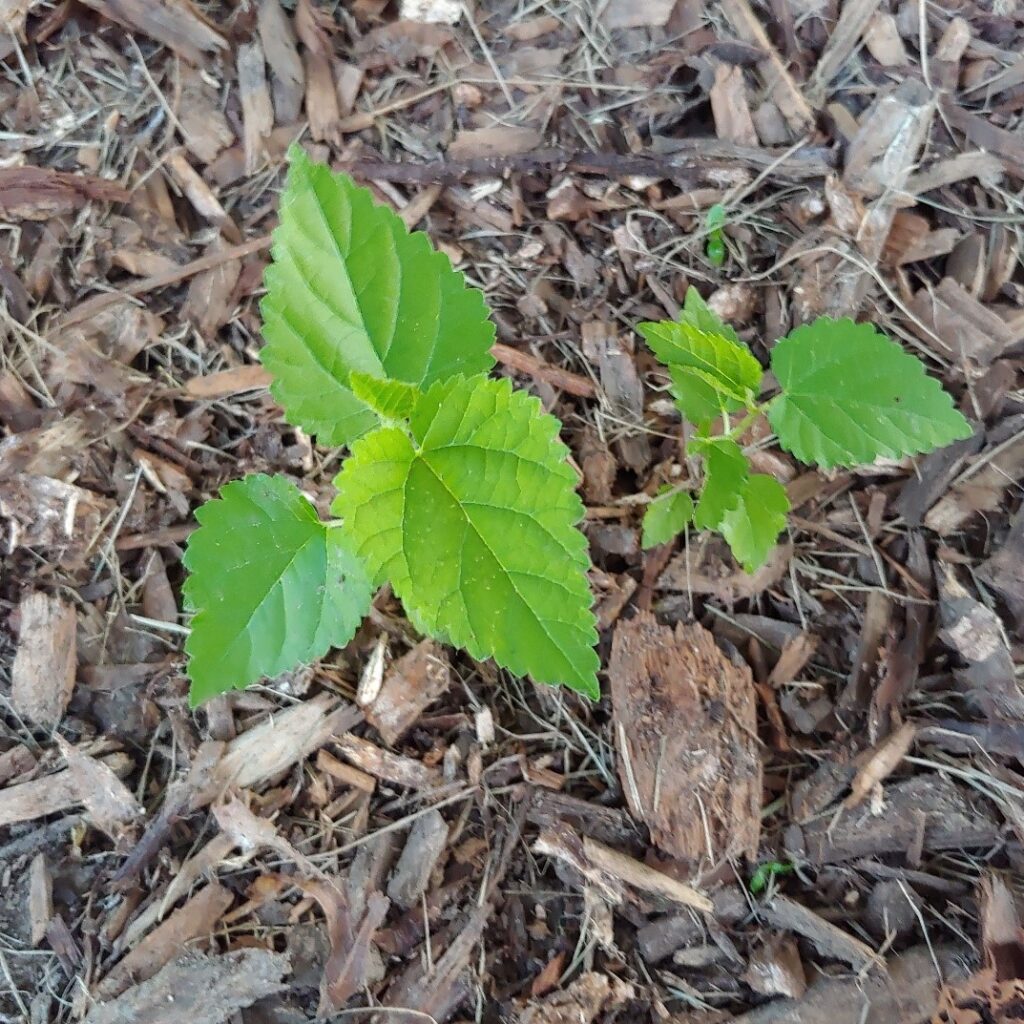
Caring for Mulberry Seedlings
Once the seedlings emerge, it’s important to transition them carefully to promote healthy growth.
Light
- Move the seedlings to a location with plenty of bright, indirect sunlight.
- Gradually introduce them to a few hours of direct sun as they grow.
Watering
- Keep the soil consistently moist but not waterlogged.
- Avoid letting the seedlings dry out.
Fertilizing
- Once the seedlings have 2–3 sets of true leaves, feed them with a diluted balanced liquid fertilizer (like 10-10-10) every 2–4 weeks.
Thinning
- If multiple seeds sprout in one pot, thin them out by snipping weaker seedlings at the soil line, leaving the strongest one to grow.
Transplanting Mulberry Seedlings
Once your seedlings reach 6–8 inches tall and have strong root systems, it’s time to move them into individual pots or an outdoor spot.

Best Time to Transplant:
- Early spring or fall when temperatures are mild.
How to Transplant:
- Gently remove the seedling from the pot without disturbing the roots.
- Plant it in a larger container or well-prepared garden soil with good drainage.
- Water thoroughly after planting.
Ideal Growing Conditions for Mulberries
Mulberries are hardy and adaptable but thrive best with the following:
- Soil: Loamy, well-draining soil with a pH of 5.5–7.0
- Sunlight: Full sun (6–8 hours daily)
- Watering: Regular watering during dry spells, especially for young trees
- Spacing: If planting multiple trees, allow 15–30 feet of space (depending on variety)
Pro Tip: Mulberries can tolerate drought once established but grow better with consistent moisture.
Pruning and Maintenance
Pruning helps shape the tree, encourages fruit production, and improves air circulation.
- Prune annually in late winter while the tree is dormant.
- Remove dead, damaged, or crossing branches.
- Shape the tree to an open-center form for better light penetration.
When Will a Seed-Grown Mulberry Tree Fruit?
Patience is key when growing from seed. Typically:
- White and red mulberries: 5–8 years to fruit
- Black mulberries: 8–10 years or more
While it takes time, seed-grown trees often develop deep roots and become exceptionally hardy.

Common Pests and Problems
Though generally low-maintenance, mulberries can occasionally face:
- Aphids, spider mites, and whiteflies: Control with neem oil or insecticidal soap.
- Leaf spot diseases: Remove affected leaves and improve air circulation.
- Birds: Mulberries are bird magnets — use netting to protect ripening fruit.
Final Thoughts
Growing mulberries from seed is a journey of patience, care, and anticipation — but the payoff is undeniably sweet. From watching tiny seedlings unfurl their leaves to eventually harvesting baskets of homegrown berries, this gardening project is a deeply satisfying, long-term investment.
So why not start today? Whether you’re dreaming of homemade jams, shade trees, or simply the joy of growing something from scratch, planting mulberries from seed is a beautiful, rewarding adventure for any gardener.
Leave A Comment