Garlic (Allium sativum) is one of the most popular and versatile ingredients in kitchens around the world. Known for its distinct aroma, pungent flavor, and numerous health benefits, garlic is also a relatively easy crop to grow at home. With proper planning, care, and attention, home gardeners can achieve large, flavorful garlic harvests without relying on commercial farms.
This guide provides a step-by-step approach to growing garlic at home, including selecting varieties, planting techniques, soil preparation, care, pest management, and harvesting strategies.
Why Grow Garlic at Home?
Growing garlic at home has several advantages:
- Freshness: Homegrown garlic is more aromatic and flavorful than store-bought varieties.
- Cost-Effective: Save money by producing your own garlic.
- Continuous Supply: Planting different varieties can extend your harvest season.
- Health Benefits: Garlic is rich in antioxidants, supports the immune system, and has antibacterial properties.
- Easy Cultivation: Garlic requires minimal care and is suitable for small spaces, raised beds, or containers.
Step 1: Choosing the Right Garlic Variety
Garlic is categorized into two main types:
- Hardneck Garlic:
- Produces large cloves with strong flavor.
- Forms a stiff central stalk (scape) that can be harvested early.
- Best suited for colder climates.
- Varieties: Rocambole, Purple Stripe, Porcelain.
- Softneck Garlic:
- Produces smaller cloves but stores longer.
- Flexible stems suitable for braiding.
- Performs well in warmer climates.
- Varieties: Silverskin, Artichoke, Creole.
Choose a variety based on your climate, storage needs, and culinary preferences. Hardneck varieties often provide stronger flavor, while softneck varieties are easier to store.
Step 2: Preparing Soil for Garlic
Garlic thrives in fertile, well-draining soil with consistent moisture. Proper soil preparation ensures large bulbs and healthy plants:
- Soil Type: Light loam or sandy soil enriched with organic matter.
- Soil pH: Aim for slightly acidic to neutral soil (pH 6.0–7.0).
- Soil Enrichment: Mix compost, aged manure, or organic fertilizer into the soil before planting.
- Drainage: Avoid waterlogged soil to prevent bulb rot.
Raised beds or containers can also be ideal for garlic cultivation, especially in areas with heavy clay soil.
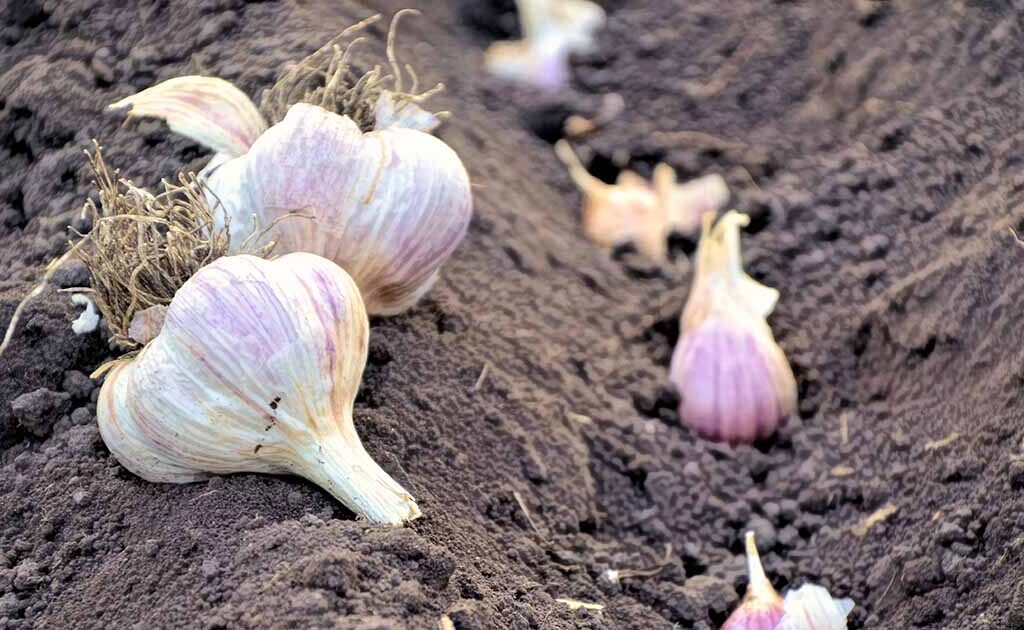
Step 3: Planting Garlic
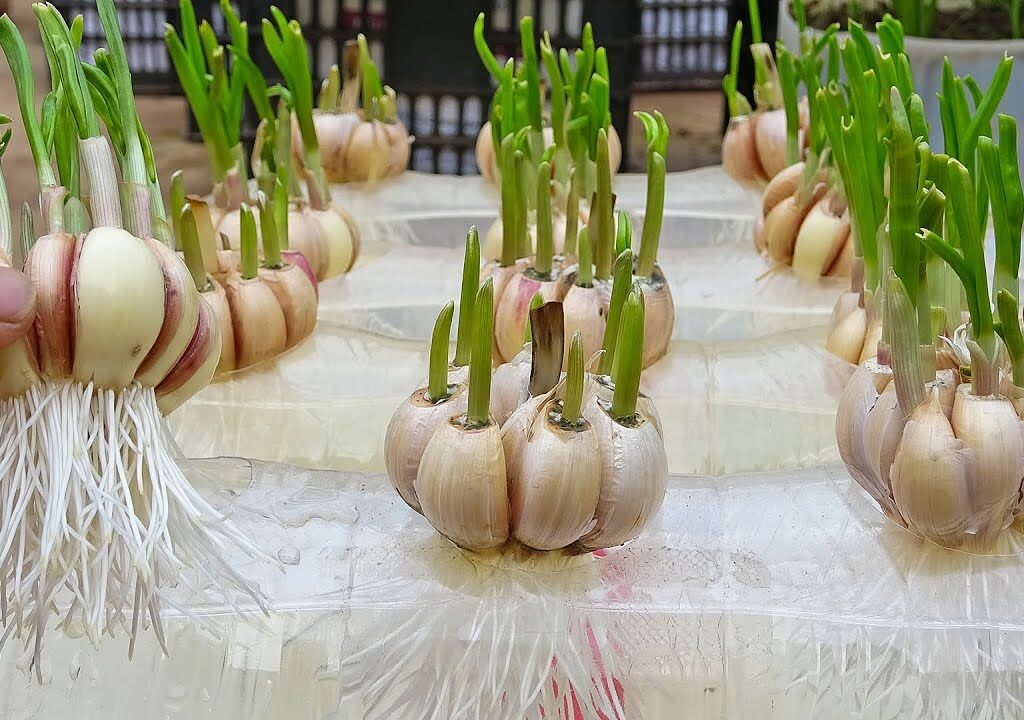
Garlic is typically grown from cloves, rather than seeds. Each clove grows into a full bulb over the growing season.
Planting Procedure
- Separate cloves from the bulb just before planting, keeping the papery skin intact.
- Plant each clove 2 inches deep, pointed end up, spaced 4–6 inches apart in rows 12–18 inches apart.
- Water gently after planting to settle the soil.
- Mulch with straw or dried leaves to retain moisture, suppress weeds, and protect cloves from extreme temperatures.
Timing
- Fall Planting: In most climates, plant garlic in late autumn (October–November). It will establish roots before winter and sprout in early spring.
- Spring Planting: In mild-winter regions, garlic can be planted in early spring for a late summer harvest.
Step 4: Watering and Mulching
Consistent watering is critical for developing large, healthy bulbs:
- Water deeply once or twice per week, depending on rainfall and soil type.
- Avoid overwatering; soggy soil can cause rot.
- Apply 2–4 inches of mulch to retain soil moisture, regulate temperature, and reduce weeds.
Mulching also encourages uniform growth and larger bulbs by maintaining steady soil conditions.
Step 5: Fertilization and Nutrient Management
Garlic is a heavy feeder and benefits from additional nutrients during its growing season:
- Apply a nitrogen-rich fertilizer early in spring as shoots emerge.
- Mid-season, supplement with balanced fertilizer (10:10:10) to support bulb development.
- Avoid over-fertilizing late in the season, which can delay bulb maturation and reduce storage life.
- Incorporate compost annually to maintain soil fertility.
Step 6: Managing Pests and Diseases Naturally
Garlic is generally hardy, but certain pests and diseases can affect growth:
- Pests: Onion thrips, nematodes, and bulb flies.
- Use companion planting (e.g., carrots, chamomile) or neem oil sprays.
- Diseases: White rot, downy mildew, and Fusarium.
- Ensure well-drained soil, proper spacing, and crop rotation.
- Remove and destroy infected plants to prevent spread.
Regular monitoring and early intervention are key to minimizing losses.
Step 7: Scape Removal (for Hardneck Varieties)
Hardneck garlic produces a flower stalk called a scape in late spring or early summer:
- Remove scapes once they curl to redirect energy into bulb growth.
- Scapes are edible and can be used in stir-fries, pestos, and salads.
- Regular scape removal promotes larger, denser bulbs at harvest.
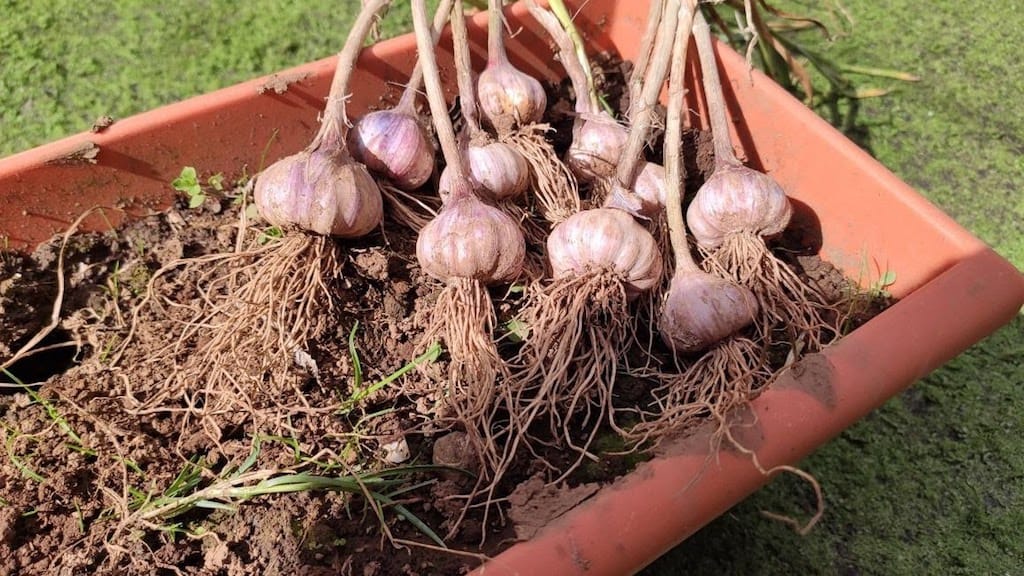
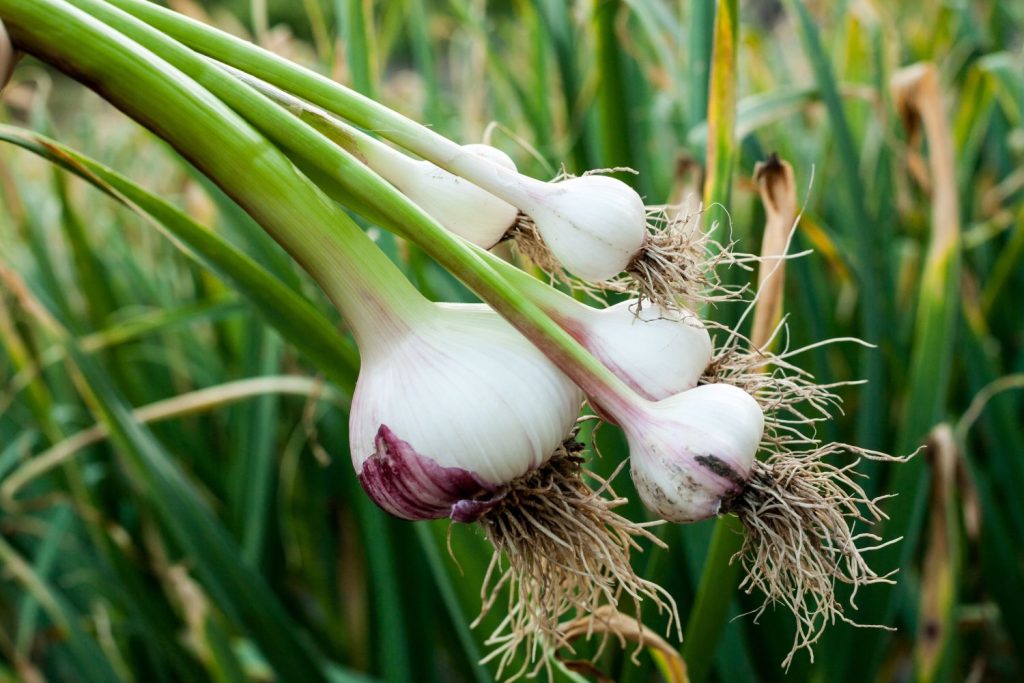
Step 8: Harvesting Garlic
Knowing the right time to harvest is crucial for large, high-quality bulbs:
- Garlic is ready when lower leaves turn brown while upper leaves remain green (usually late summer).
- Carefully lift bulbs using a garden fork, avoiding damage.
- Brush off excess soil but do not wash, as moisture reduces storage life.
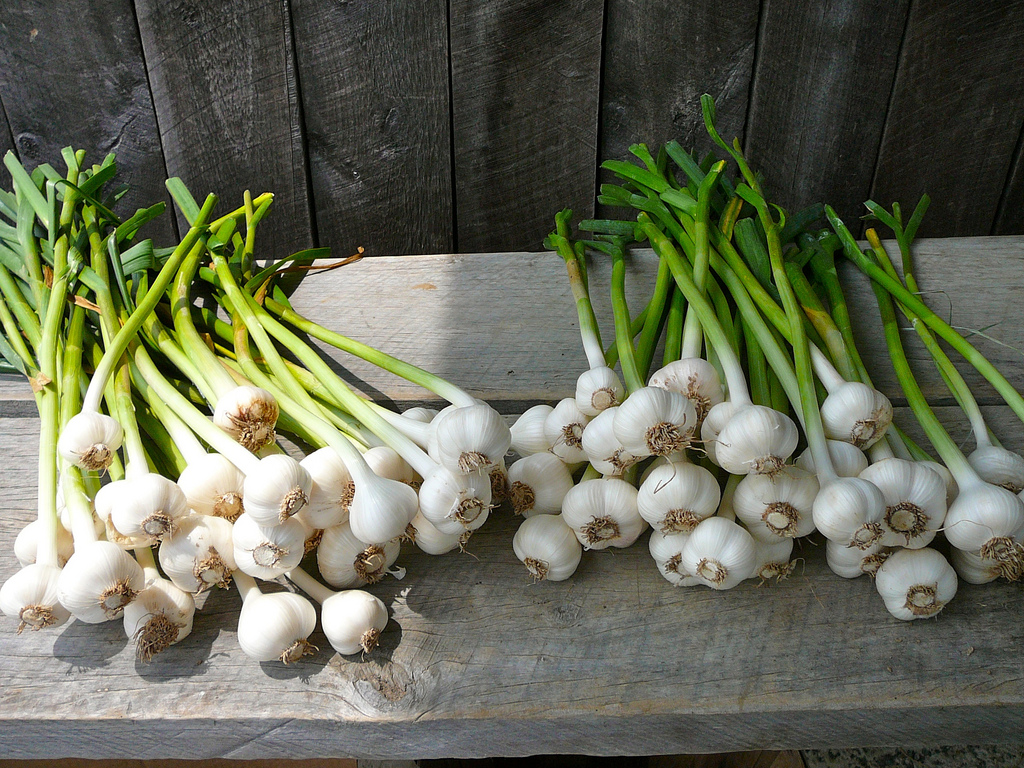
Curing for Storage
- Place bulbs in a dry, well-ventilated area for 2–4 weeks.
- Hang them in bunches or spread them on a screen.
- Once cured, trim roots and cut stems for storage.
Proper curing ensures long shelf life and preserves flavor.

Step 9: Tips for Maximizing Garlic Yield
- Plant Healthy Cloves: Use large, disease-free cloves for better yields.
- Provide Full Sun: Garlic thrives in 6–8 hours of sunlight daily.
- Maintain Soil Fertility: Regularly add compost and organic fertilizer.
- Control Weeds: Mulch and hand-weed to reduce competition for nutrients.
- Crop Rotation: Avoid planting garlic in the same spot consecutively to prevent soil-borne diseases.
- Water Consistently: Avoid drought stress, especially during bulb formation.
Step 10: Expanding Your Home Garlic Garden
For gardeners looking to grow multiple varieties or large harvests:
- Use raised beds or large containers for better drainage and soil control.
- Plant successive rows of hardneck and softneck varieties for staggered harvests.
- Consider companion planting with carrots, beets, or lettuce for natural pest control.
- Monitor growth regularly and maintain proper fertilization and irrigation schedules.
Conclusion
Growing garlic at home is a rewarding process that combines patience, care, and attention to detail. By selecting the right varieties, preparing fertile soil, planting healthy cloves, and following consistent care practices, gardeners can achieve large, flavorful garlic harvests year after year.
With proper watering, fertilization, pest management, and timely harvesting, homegrown garlic provides a continuous, cost-effective, and chemical-free supply of this versatile culinary ingredient. Beyond its kitchen uses, garlic cultivation enhances your backyard garden, promotes sustainable living, and offers the satisfaction of nurturing plants from planting to harvest.
With dedication and consistent effort, growing garlic at home can transform your backyard into a thriving, productive garden and provide fresh, aromatic bulbs for your cooking and preservation needs.