

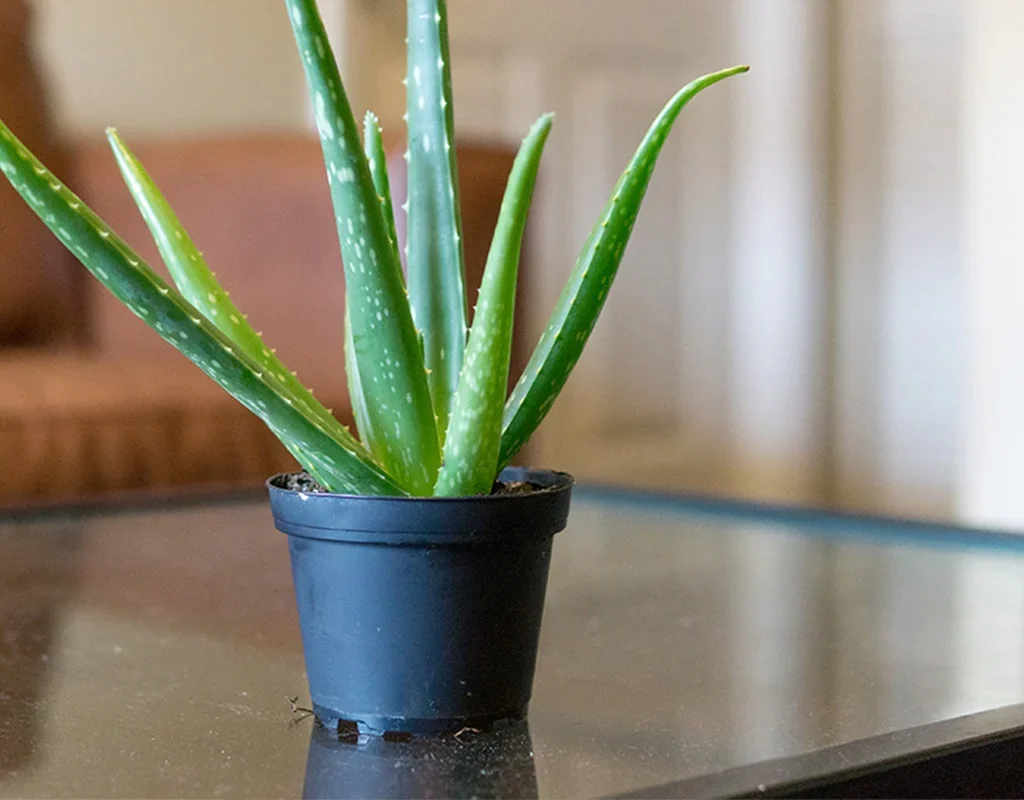
Aloe plants (Aloe vera) are among the most popular and beneficial houseplants you can own. Known for their thick, fleshy leaves filled with soothing gel, aloe plants are as practical as they are beautiful. Native to arid regions of the Arabian Peninsula, these succulents are resilient, low-maintenance, and a fantastic addition to any indoor or outdoor garden.
In this comprehensive guide, we’ll explore everything you need to know about how to care for an aloe plant properly. From lighting and watering requirements to propagation and troubleshooting common issues, this guide will help you grow a thriving, healthy aloe vera plant.
Why Grow an Aloe Plant?
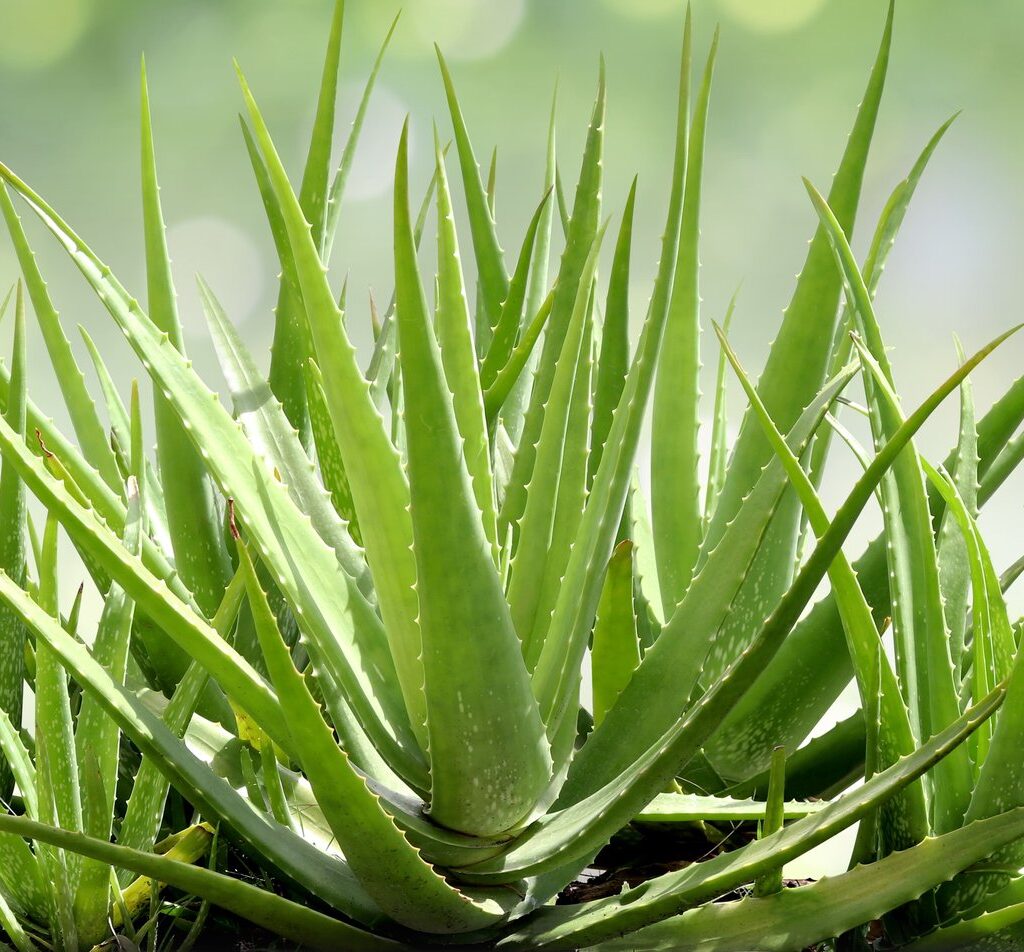
Besides their striking, architectural beauty, aloe plants offer numerous benefits:
- Natural remedy for burns and skin irritation.
- Air-purifying qualities.
- Easy to grow and propagate.
- Minimal watering and maintenance needs.
An aloe plant is perfect for beginner gardeners, busy homeowners, or anyone looking for a stylish, functional plant.
Ideal Growing Conditions for Aloe Plants
To keep your aloe plant thriving, it’s essential to mimic its native desert-like environment.

1. Light Requirements
Aloe plants love bright, indirect sunlight.
- Best Spot: A sunny windowsill or a south- or west-facing window.
- Avoid: Harsh, direct sunlight for prolonged periods, which can scorch leaves, and overly dark corners where growth may become leggy.
If growing outdoors, place your aloe in a partially shaded area where it can get morning sun and afternoon shade.
2. Temperature and Humidity
Aloe plants prefer warmer conditions and dislike cold temperatures.
- Ideal Temperature: Between 55°F and 80°F (13°C to 27°C).
- Cold Sensitivity: Avoid exposing aloe plants to temperatures below 50°F (10°C).
- Humidity: Aloe plants thrive in dry environments and don’t need added humidity.
3. Soil Type
Proper soil is critical for aloe plants to prevent root rot.
- Use a well-draining, sandy potting mix.
- Recommended Mix: Cactus or succulent potting mix, or a blend of regular potting soil with added perlite, sand, or pumice for better drainage.
How to Water an Aloe Plant
The most common mistake people make with aloe plants is overwatering.

- Water deeply but infrequently. Allow the soil to dry out completely between waterings.
- Check the soil moisture by inserting your finger up to 2 inches deep. If it’s dry, it’s time to water.
- Reduce watering during winter when the plant’s growth slows down.
Tip: Always use a pot with drainage holes to prevent water from sitting at the bottom, which can lead to root rot.

Fertilizing Aloe Plants
Aloe plants don’t require heavy feeding but benefit from occasional fertilizing.
- Use a diluted, balanced fertilizer (like 10-40-10 or 15-30-15) once every 6-8 weeks during spring and summer.
- Avoid fertilizing during the fall and winter months.
Excess fertilizer can damage the roots, so always dilute to half the recommended strength.
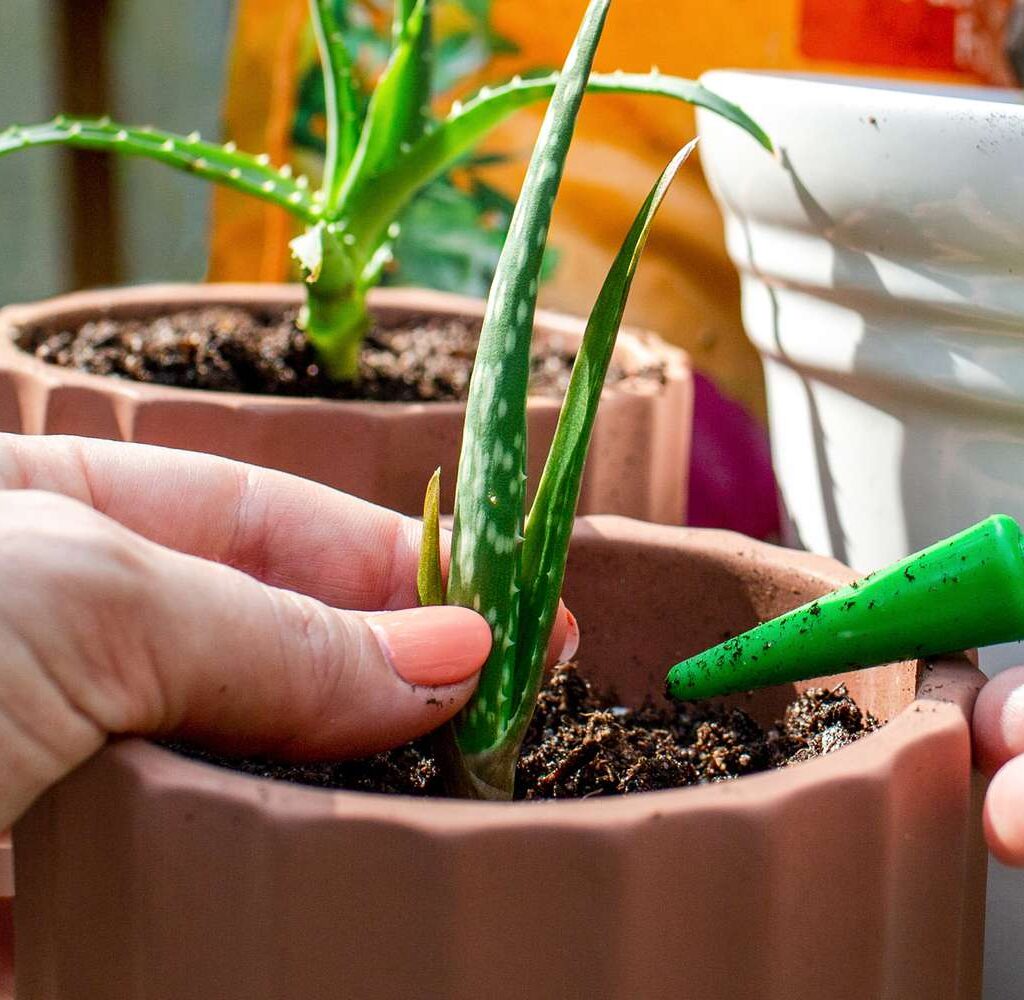
Repotting an Aloe Plant
As aloe plants grow, they may outgrow their pots or produce offsets (baby plants) that need separating.
Steps for Repotting:
- Choose a pot 1-2 inches larger in diameter.
- Gently remove the plant and shake off excess soil.
- Check the roots and trim any rotten or dead portions.
- Place in fresh, well-draining soil.
- Water lightly after a few days to let any root wounds heal first.
Repot every 2-3 years or when the plant becomes root-bound.

How to Propagate Aloe Plants
Aloe plants naturally produce offsets or “pups,” making propagation easy.
Steps for Propagation:
- Wait until the pup is at least 3-4 inches tall.
- Remove the parent plant from its pot and gently separate the pup, ensuring it has some roots attached.
- Let the offset dry for 24 hours to form a callus.
- Plant in a small pot with succulent soil mix.
- Water lightly and keep in indirect sunlight until established.
Common Aloe Plant Problems and How to Fix Them
While aloe plants are hardy, they can face a few issues.
1. Brown or Mushy Leaves
- Cause: Overwatering or poor drainage.
- Fix: Remove affected leaves, let the soil dry, and adjust watering habits.
2. Leaf Curling
- Cause: Underwatering or root issues.
- Fix: Check soil moisture and increase watering frequency slightly.
3. Pale or Yellowing Leaves
- Cause: Lack of sunlight or overwatering.
- Fix: Move to a brighter location and reduce watering.
4. Pests (Aphids, Mealybugs)
- Fix: Wipe leaves with a damp cloth or treat with insecticidal soap.
How to Harvest Aloe Gel
Aloe gel is famous for its soothing, healing properties. Here’s how to harvest it safely:
- Choose a mature, thick leaf from the outer section of the plant.
- Cut it close to the base with a sharp, clean knife.
- Let the yellow sap (aloin) drain out as it can be irritating.
- Peel the leaf and scoop out the clear gel inside.
- Use immediately or store in an airtight container in the fridge for up to a week.
Note: Always do a patch test before using aloe gel on your skin to check for any allergies.
Bonus Aloe Plant Care Tips
- Rotate your plant occasionally for even sunlight exposure.
- Wipe the leaves gently with a damp cloth to remove dust and allow for better photosynthesis.
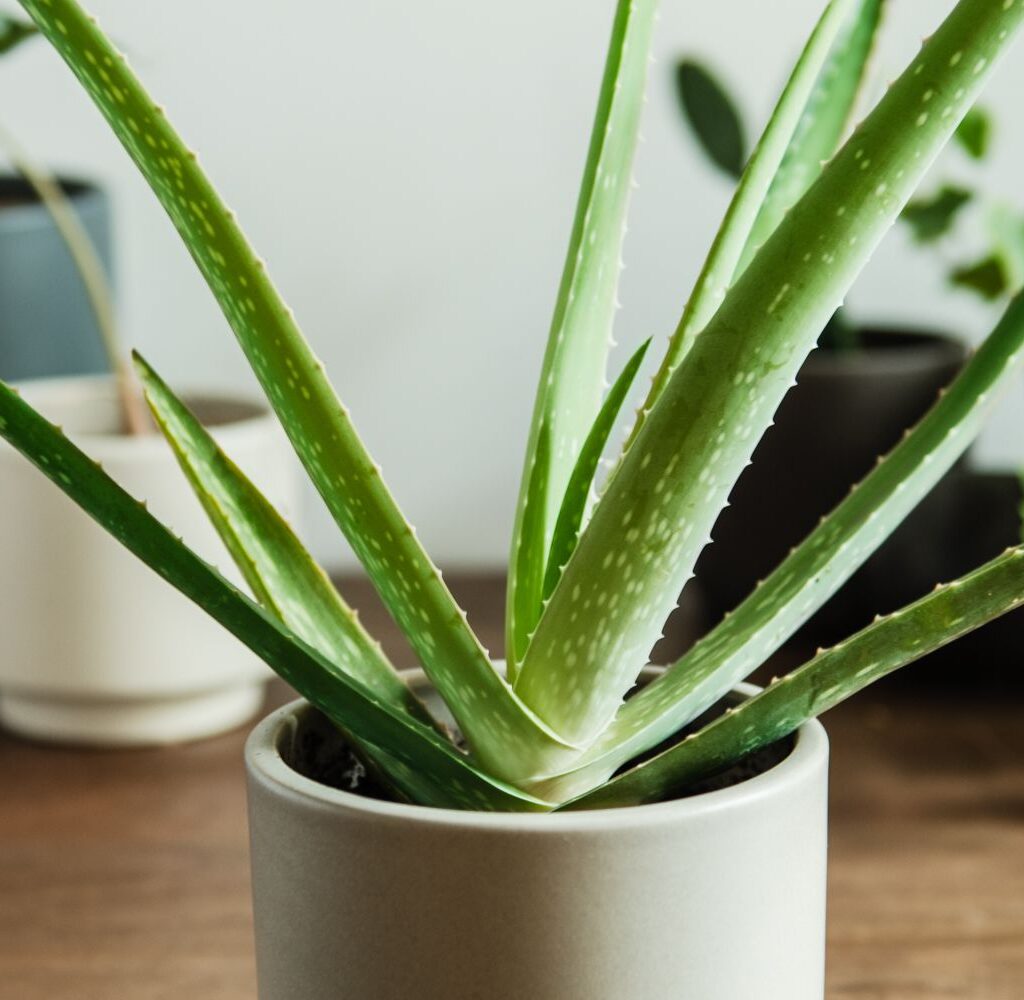
- Use terracotta pots to allow excess moisture to evaporate.
- Avoid placing aloe plants in overly humid environments like bathrooms.
- Use distilled or rainwater if your tap water is high in minerals.
Final Thoughts
Aloe plants are one of the easiest and most rewarding houseplants to grow. With their sculptural leaves, health benefits, and low-maintenance nature, they’re perfect for novice and experienced gardeners alike.

By providing bright, indirect sunlight, watering sparingly, using well-draining soil, and occasionally repotting and propagating, you can enjoy a healthy, vibrant aloe plant for years to come.
Whether you keep one on your kitchen windowsill for its healing gel or grow a cluster of them for their bold, architectural appeal, an aloe plant is a timeless addition to any plant collection. Follow this simple care guide, and you’ll have a thriving aloe vera plant that not only looks beautiful but also supports your wellbeing.
Leave A Comment