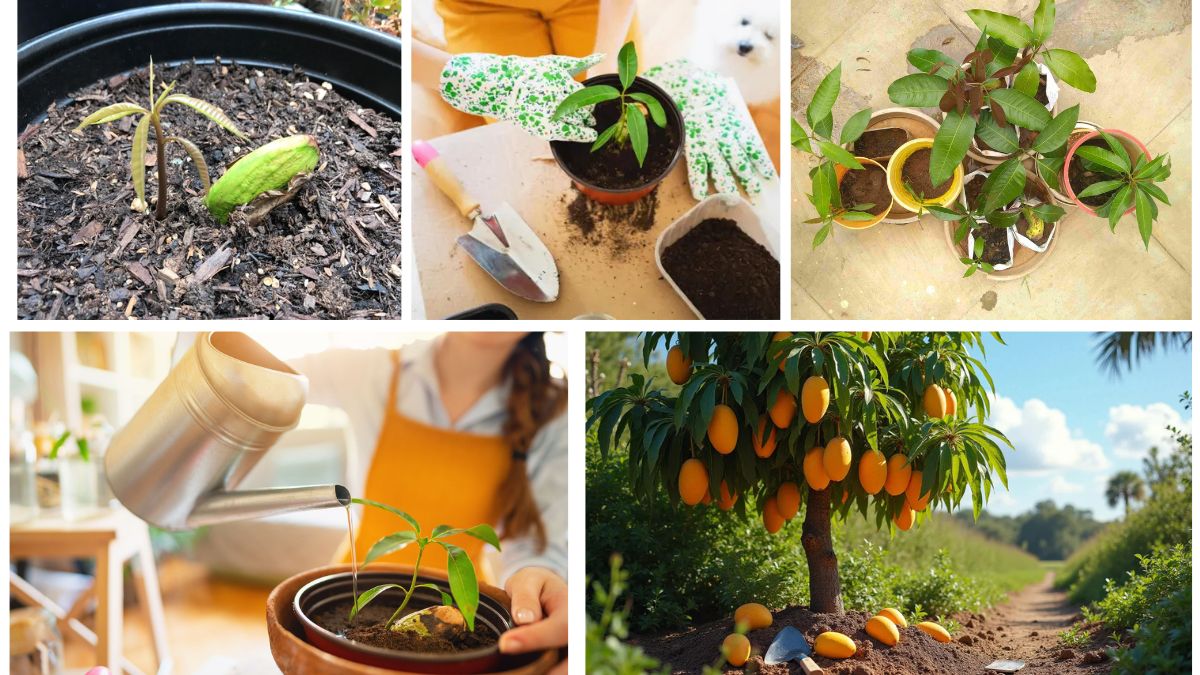
How to Plant Apple Trees: Start Your Orchard Dream
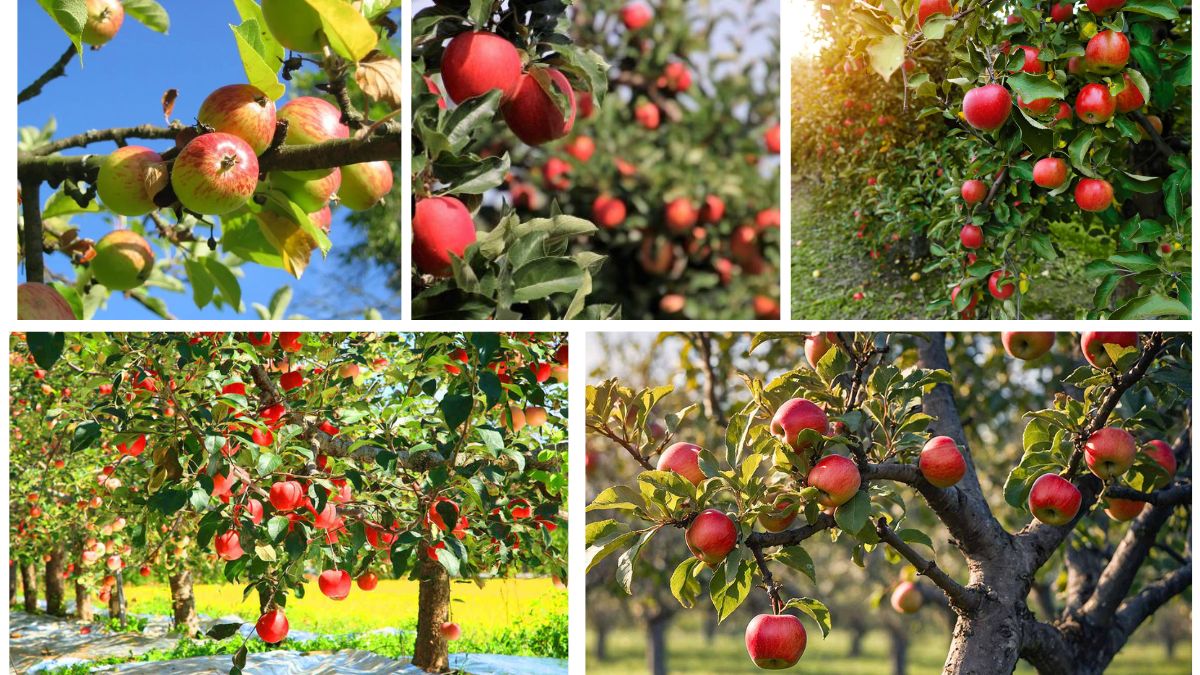
Apple trees are among the most rewarding fruit trees you can grow at home. With their fragrant blossoms in spring, lush green foliage in summer, and crisp, sweet fruits in autumn, apple trees offer beauty, shade, and nourishment. Whether you dream of having a small backyard tree for seasonal fruit or starting your own mini … Read more