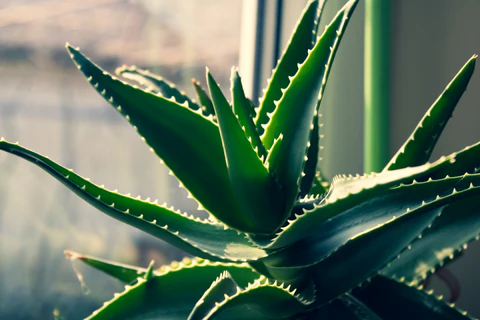
Aloe vera isn’t just a beautiful, easy-to-grow plant — it’s a natural remedy powerhouse. Its thick, spiky leaves hold a soothing gel known for healing burns, cuts, and skin irritations. And if you’ve ever wanted a houseplant that practically takes care of itself, an aloe plant is it.
While aloe vera is famously low-maintenance, knowing the right way to care for it will help your plant flourish for years. In this comprehensive guide, you’ll learn how to care for an aloe plant effectively, from sunlight and watering to repotting and common problems.
Why Aloe Plants Are So Popular
Before we get into care tips, it’s worth knowing why so many plant lovers adore aloe vera:
- Healing Properties: Its natural gel soothes minor burns, cuts, and skin irritations.
- Air Purification: Aloe plants can help improve indoor air quality by removing toxins.
- Drought-Tolerant: Aloe thrives on minimal water — perfect for busy or forgetful plant owners.
- Aesthetic Appeal: Its thick, spiky, vibrant green leaves add texture and life to any room.
- Versatile: Suitable for both indoor and outdoor growing in warm climates.
The Ideal Environment for Growing Aloe Plants
Native to arid regions of Africa, aloe vera prefers conditions that mimic its natural habitat.
1. Light Requirements
Aloe plants love sunlight, and getting the right amount makes a huge difference in their health.
- Ideal light: Bright, indirect sunlight
- Place near a south- or west-facing window indoors.
- Outdoors, choose a sunny, well-sheltered spot.
Tip: Avoid exposing aloe to intense, direct afternoon sun, especially during hot summers, as it can scorch the leaves.
2. Temperature and Humidity
Aloe vera thrives in warm, dry conditions.
- Optimal temperature: 55°F to 80°F (13°C to 27°C)
- It can tolerate cooler temperatures but should be brought indoors if it drops below 50°F (10°C).
- Aloe plants do well in low to average humidity levels.
Caution: Avoid placing aloe plants near cold drafts, air conditioners, or heating vents, which can stress the plant.
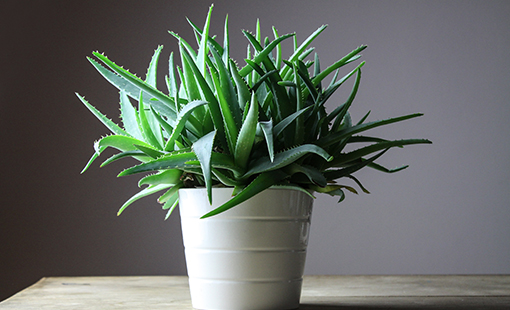
Choosing the Right Pot and Soil
The type of pot and soil you choose can significantly impact your aloe plant’s health.
Pot Selection
- Always use a pot with drainage holes to prevent water from pooling at the bottom.
- Terracotta or clay pots are excellent choices because they allow moisture to evaporate, reducing the risk of overwatering.
Soil Mix
Aloe plants need well-draining soil to avoid root rot.
Ideal soil mix:
- Cactus or succulent soil mix
- Or make your own:
- 2 parts potting soil
- 1 part coarse sand
- 1 part perlite or pumice
Tip: Avoid moisture-retentive soils, like peat-heavy mixes.
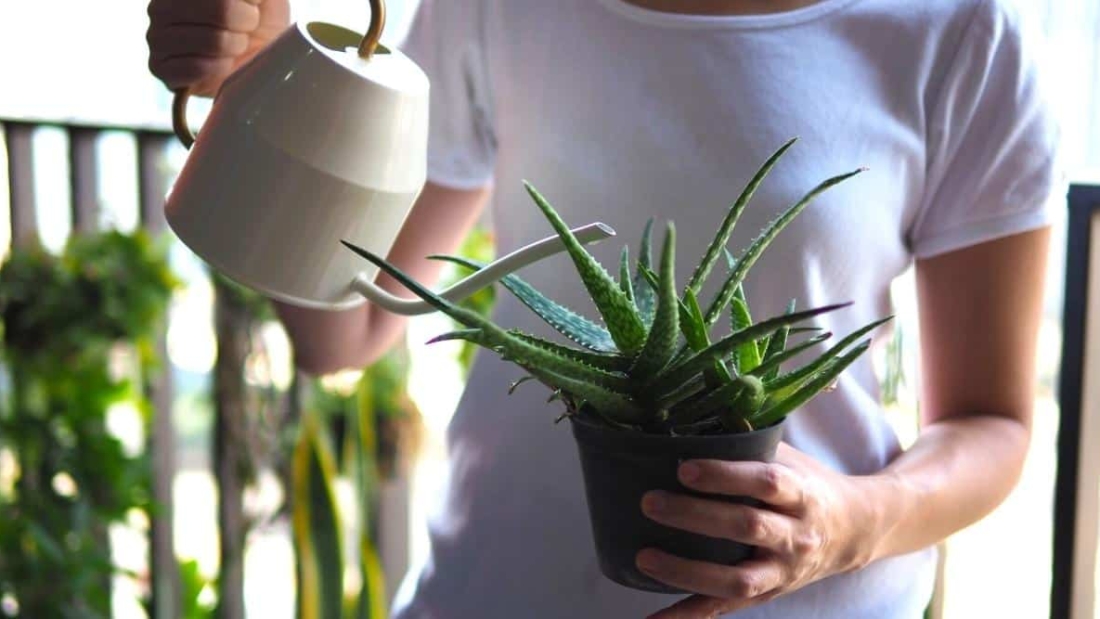
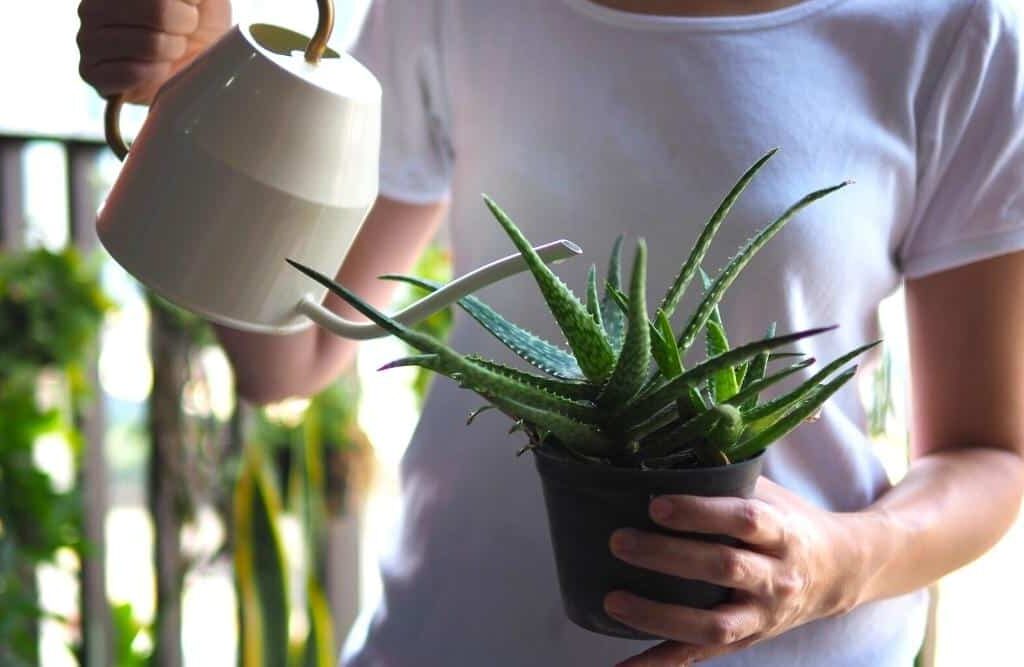
Watering Aloe Plants Effectively
Overwatering is the most common mistake with aloe care. Aloe stores water in its thick leaves, so it prefers to dry out between waterings.
Watering Guidelines:
- Spring and summer: Water every 2-3 weeks.
- Fall and winter: Water once a month or less.
- Check that the top 2 inches of soil are completely dry before watering.
- Water deeply until it runs out of the drainage hole, then empty the saucer.
Signs of overwatering:
- Yellowing, mushy leaves
- Wilting despite moist soil
- Root rot
Signs of underwatering:
- Brown, dry leaf tips
- Shrunken, wrinkled leaves
Fertilizing Your Aloe Vera Plant
While aloe doesn’t need heavy feeding, occasional fertilizing can support healthy growth.
Best Fertilizer:
- A balanced, water-soluble fertilizer diluted to half strength
- Or an organic option like compost tea or liquid seaweed
Feeding Schedule:
- Spring and summer: Once every 6-8 weeks
- Fall and winter: No fertilizer needed
Tip: Avoid over-fertilizing — too much can weaken the plant.
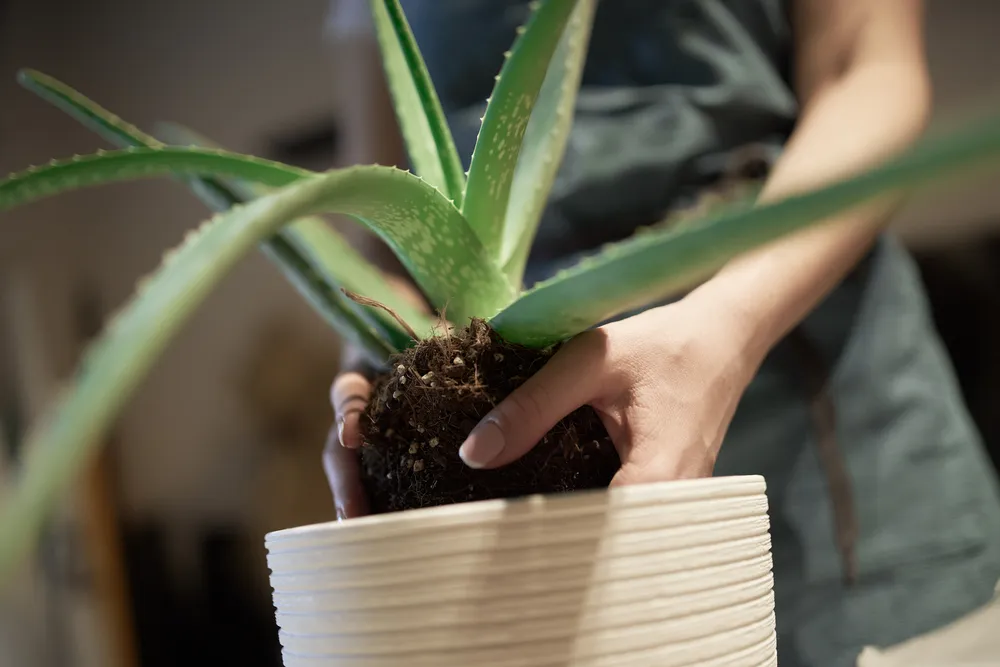
Repotting Aloe Vera
As your aloe plant grows, it might outgrow its pot or produce offsets (pups) that you can propagate.
When to Repot:
- Every 2-3 years or when roots outgrow the pot
- If soil becomes compacted or poorly draining
- When pups overcrowd the base
How to Repot:
- Remove the plant gently, shaking off old soil.
- Separate any pups with clean scissors.
- Trim off any damaged roots.
- Place in a new, slightly larger pot with fresh succulent soil.
- Wait 1-2 days before watering to let any cuts heal and prevent rot.
Common Aloe Plant Problems and Natural Solutions
| Problem | Cause | Solution |
|---|---|---|
| Yellowing, mushy leaves | Overwatering | Let soil dry, trim affected leaves, reduce watering |
| Brown, dry leaf tips | Underwatering or sunburn | Adjust watering, move to indirect sunlight |
| Slow or no growth | Poor light or compacted soil | Relocate to brighter spot, consider repotting |
| Pests (mealybugs, aphids) | Dry indoor air or overcrowding | Wipe leaves with soapy water, use neem oil spray |
Natural Pest Prevention and Control
Though aloe plants are generally pest-resistant, occasional issues can happen.
Common Pests:
- Mealybugs
- Aphids
- Spider mites
Natural Treatments:
- Wipe leaves with a mixture of mild dish soap and water.
- Spray with neem oil solution (1 tsp neem oil + 1/2 tsp dish soap in 1 quart water).
- Remove affected leaves if infestation is severe.
Pruning and Maintenance
Aloe plants don’t need much pruning, but occasional maintenance keeps them healthy.
How to Prune:
- Use sterile scissors to trim away dead, dry, or damaged leaves at the base.
- Remove pups if the plant is overcrowded.
Tip: Wipe leaves occasionally with a damp cloth to remove dust, helping the plant photosynthesize more efficiently.
Propagating Aloe Vera
One of the easiest ways to multiply your aloe plant is through propagation.
Steps for Propagating Aloe Pups:
- Gently remove the entire plant from its pot.
- Identify pups with their own roots.
- Use a clean knife or scissors to cut them away from the main plant.
- Let the cut surfaces dry for 1-2 days.
- Plant pups in their own pots with succulent soil mix.
- Water sparingly after a few days.
Tip: Pups can take a few weeks to establish new roots, so be patient.
Benefits of Growing Aloe at Home
Beyond its beauty, growing aloe at home offers several benefits:
- Natural first-aid gel: Use fresh aloe gel for burns, cuts, acne, and dry skin.
- Air purification: Improves indoor air quality by removing pollutants.
- Easy indoor plant: Thrives with minimal care.
- Adds greenery: Enhances home decor with its bold, architectural form.
Final Thoughts
Aloe vera is one of the easiest and most beneficial plants you can grow at home. With a bit of knowledge about light exposure, watering routines, soil selection, and natural pest care, your aloe plant can live for years — rewarding you with both natural beauty and soothing, healing gel.
By following these effective aloe care tips, you’ll not only enjoy a thriving plant but also a touch of nature’s medicine cabinet right in your living space.