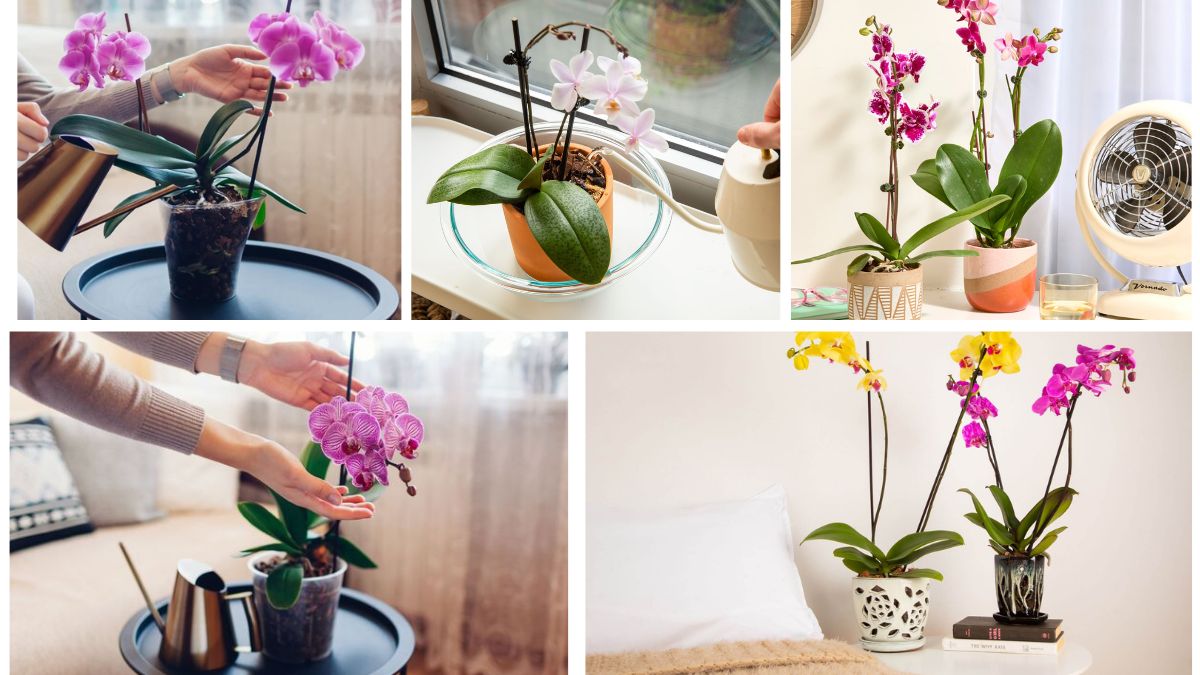
Orchids are among the most stunning and exotic houseplants, admired for their vibrant blooms, graceful structure, and long-lasting flowers. While they are often considered delicate and difficult to grow, orchids are surprisingly resilient once you understand their needs. With the right care, these beauties can thrive indoors and reward you with spectacular blooms year after year.
If you are a beginner looking to add orchids to your home, this guide will walk you through everything you need to know—from selecting the right type of orchid to creating the best growing conditions and maintaining them with ease.
Why Grow Orchids Indoors?
Orchids bring a touch of elegance and luxury to any space. Beyond their aesthetic appeal, they offer several benefits:
- Air purification: Like many houseplants, orchids can help improve indoor air quality.
- Long-lasting blooms: Orchid flowers can last weeks or even months, making them more enduring than typical cut flowers.
- Variety of colors and shapes: With over 25,000 species and thousands of hybrids, orchids come in almost every color, size, and pattern imaginable.
- Low space requirement: Orchids don’t need large pots or gardens, making them perfect for apartments or small homes.
Step 1: Choosing the Right Orchid
Not all orchids are ideal for beginners. Some species demand advanced care, while others are more forgiving. Here are the best starter orchids:

- Phalaenopsis (Moth Orchid): The most popular and beginner-friendly variety. They bloom once or twice a year, with flowers lasting up to three months.
- Dendrobium: These orchids have tall stems and bright, delicate flowers. They thrive in indirect light and are relatively easy to manage.
- Cymbidium: Known for their multiple flower spikes, these orchids bloom in cooler conditions and are very hardy.
- Oncidium (Dancing Lady Orchid): Recognizable by their tiny, yellow, frilly flowers that look like dancing figures.
Tip: If you’re just starting out, go for Phalaenopsis orchids. They adapt well to indoor environments and require less complicated care routines.
Step 2: Potting and Growing Medium
Orchids are not like regular houseplants—they do not grow in standard potting soil. Instead, they need a special growing medium that mimics their natural habitat (many orchids grow on trees, not in soil).
Common orchid potting mixes include:
- Bark chips: Excellent aeration but dry out quickly.
- Sphagnum moss: Retains more moisture, ideal for drier homes.
- Coconut husk chips: Hold moisture longer than bark and provide structure.
- Perlite or charcoal: Often mixed with bark for drainage and aeration.
Tip: A mix of bark chips and sphagnum moss works best for beginners as it balances moisture retention and airflow.

Step 3: Light Requirements

Orchids love bright, indirect sunlight. Too much direct sun can scorch their leaves, while too little light prevents blooming.
- Ideal placement: An east-facing window is best. South-facing windows work too, but filter the light with a sheer curtain.
- Signs of too much light: Yellowing leaves or brown patches.
- Signs of too little light: Dark green leaves without flowers.
If natural light is insufficient, you can supplement with grow lights designed for indoor plants.
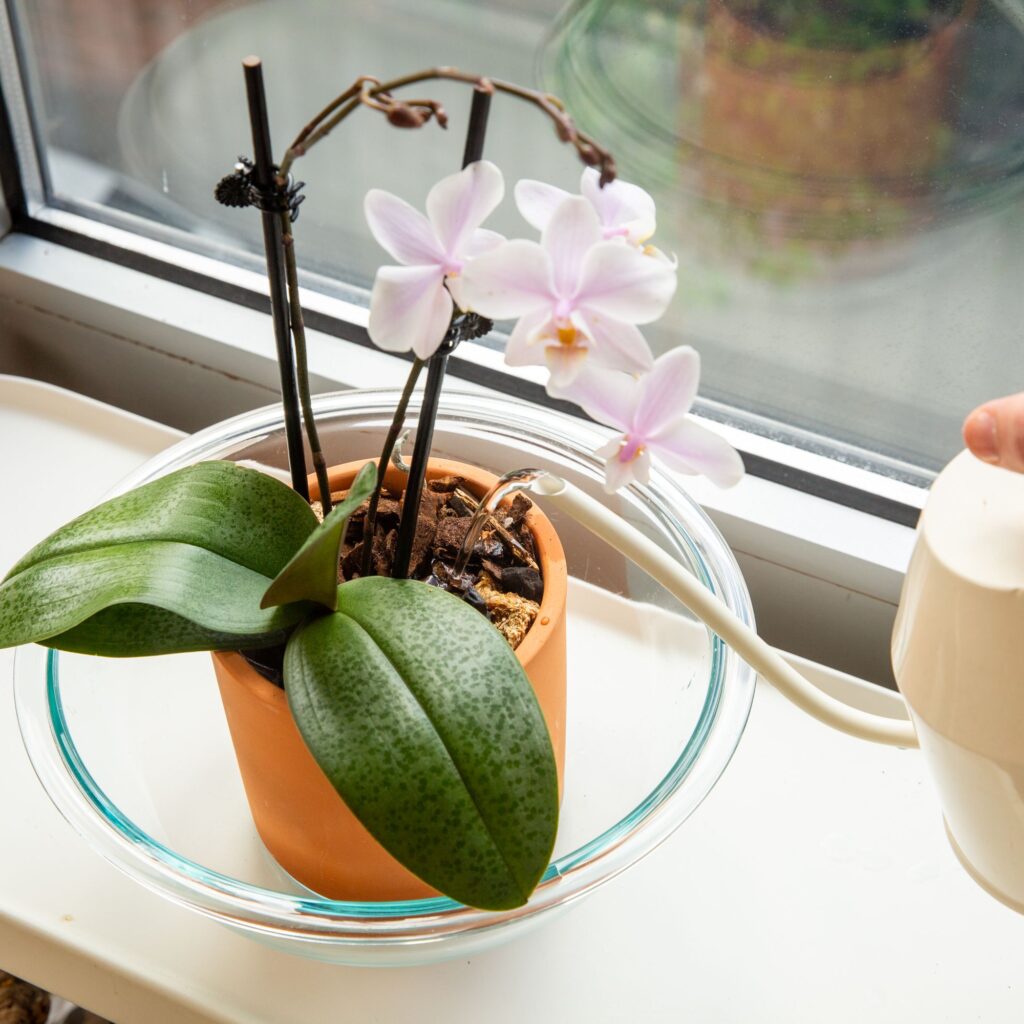
Step 4: Watering Orchids
Watering is where most beginners go wrong. Orchids dislike sitting in water, as their roots need both air and moisture.
- Frequency: Water once a week in winter and twice a week in summer.
- Method: Place the pot under a faucet, let water flow through, and drain completely. Never let orchids sit in standing water.
- Water quality: Use room-temperature water. Rainwater or distilled water is preferable, as tap water often contains chlorine and salts that harm orchids.
Tip: Check the potting medium before watering. If it feels damp, wait a few more days.

Step 5: Temperature and Humidity
Orchids thrive in conditions similar to their native tropical environments.
- Temperature: Ideal range is 18°C–24°C (65°F–75°F) during the day and slightly cooler at night.
- Humidity: Orchids prefer 50–70% humidity. If your indoor air is dry, especially in winter, use a humidifier or place a humidity tray (a shallow tray filled with water and pebbles) beneath the pot.
Step 6: Feeding Orchids
Orchids need nutrients to bloom well, but they require lighter feeding than many other plants.
- Fertilizer type: Use a balanced, water-soluble orchid fertilizer (20-20-20) or one specifically labeled for orchids.
- Frequency: Feed every 2 weeks during active growth and once a month during dormant periods.
- Method: Dilute fertilizer to half the recommended strength to avoid root burn.
Remember the orchid grower’s mantra: “Weakly, weekly.”
Step 7: Pruning and Repotting
Pruning Orchids
- After the flowers fade, cut the flower spike just above the node (a small bump on the stem). This encourages the orchid to produce a new spike.
- Remove dead or yellowing leaves to keep the plant healthy.
Repotting Orchids
- Repot every 1–2 years, usually after blooming.
- Signs that it’s time to repot: roots growing out of the pot, potting mix breaking down, or slow growth.
- Choose a pot just slightly larger than the root system to prevent overwatering.
Step 8: Common Problems and Solutions
Even with the best care, orchids may face some challenges. Here are common problems and how to fix them:

- Yellowing Leaves
- Cause: Overwatering or too much direct sun.
- Solution: Adjust watering schedule and move to indirect light.
- No Blooms
- Cause: Insufficient light or lack of nutrients.
- Solution: Place in brighter location and use orchid fertilizer.
- Root Rot
- Cause: Constantly wet potting medium.
- Solution: Repot immediately with fresh orchid mix and trim rotten roots.
- Pest Issues (aphids, mealybugs, scale insects)
- Solution: Wipe leaves with a damp cloth or treat with insecticidal soap.
Step 9: Encouraging Orchids to Rebloom
The real joy of growing orchids comes when they rebloom year after year. To encourage reblooming:
- Provide a slight drop in nighttime temperature for several weeks.
- Ensure sufficient bright light.
- Fertilize regularly during active growth.
With patience, your orchid will send out new flower spikes and reward you with a stunning display.
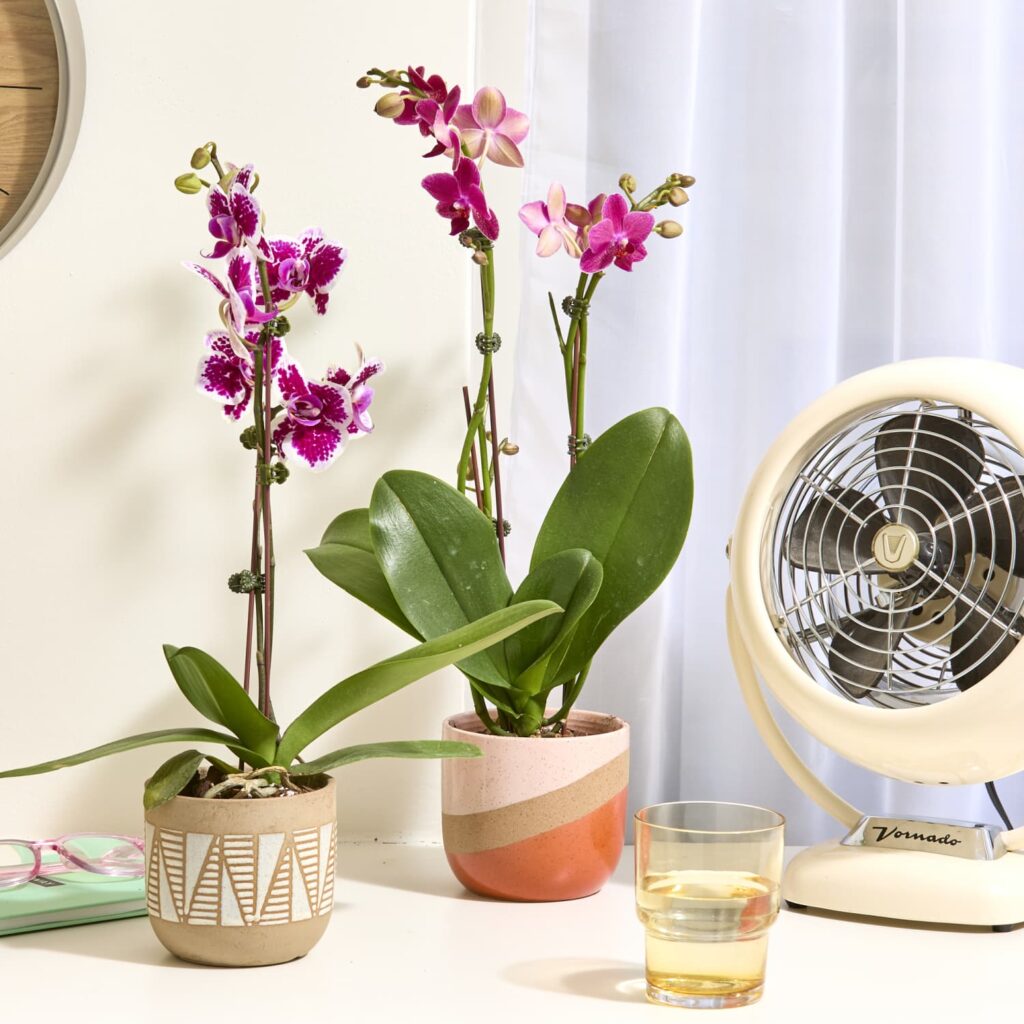
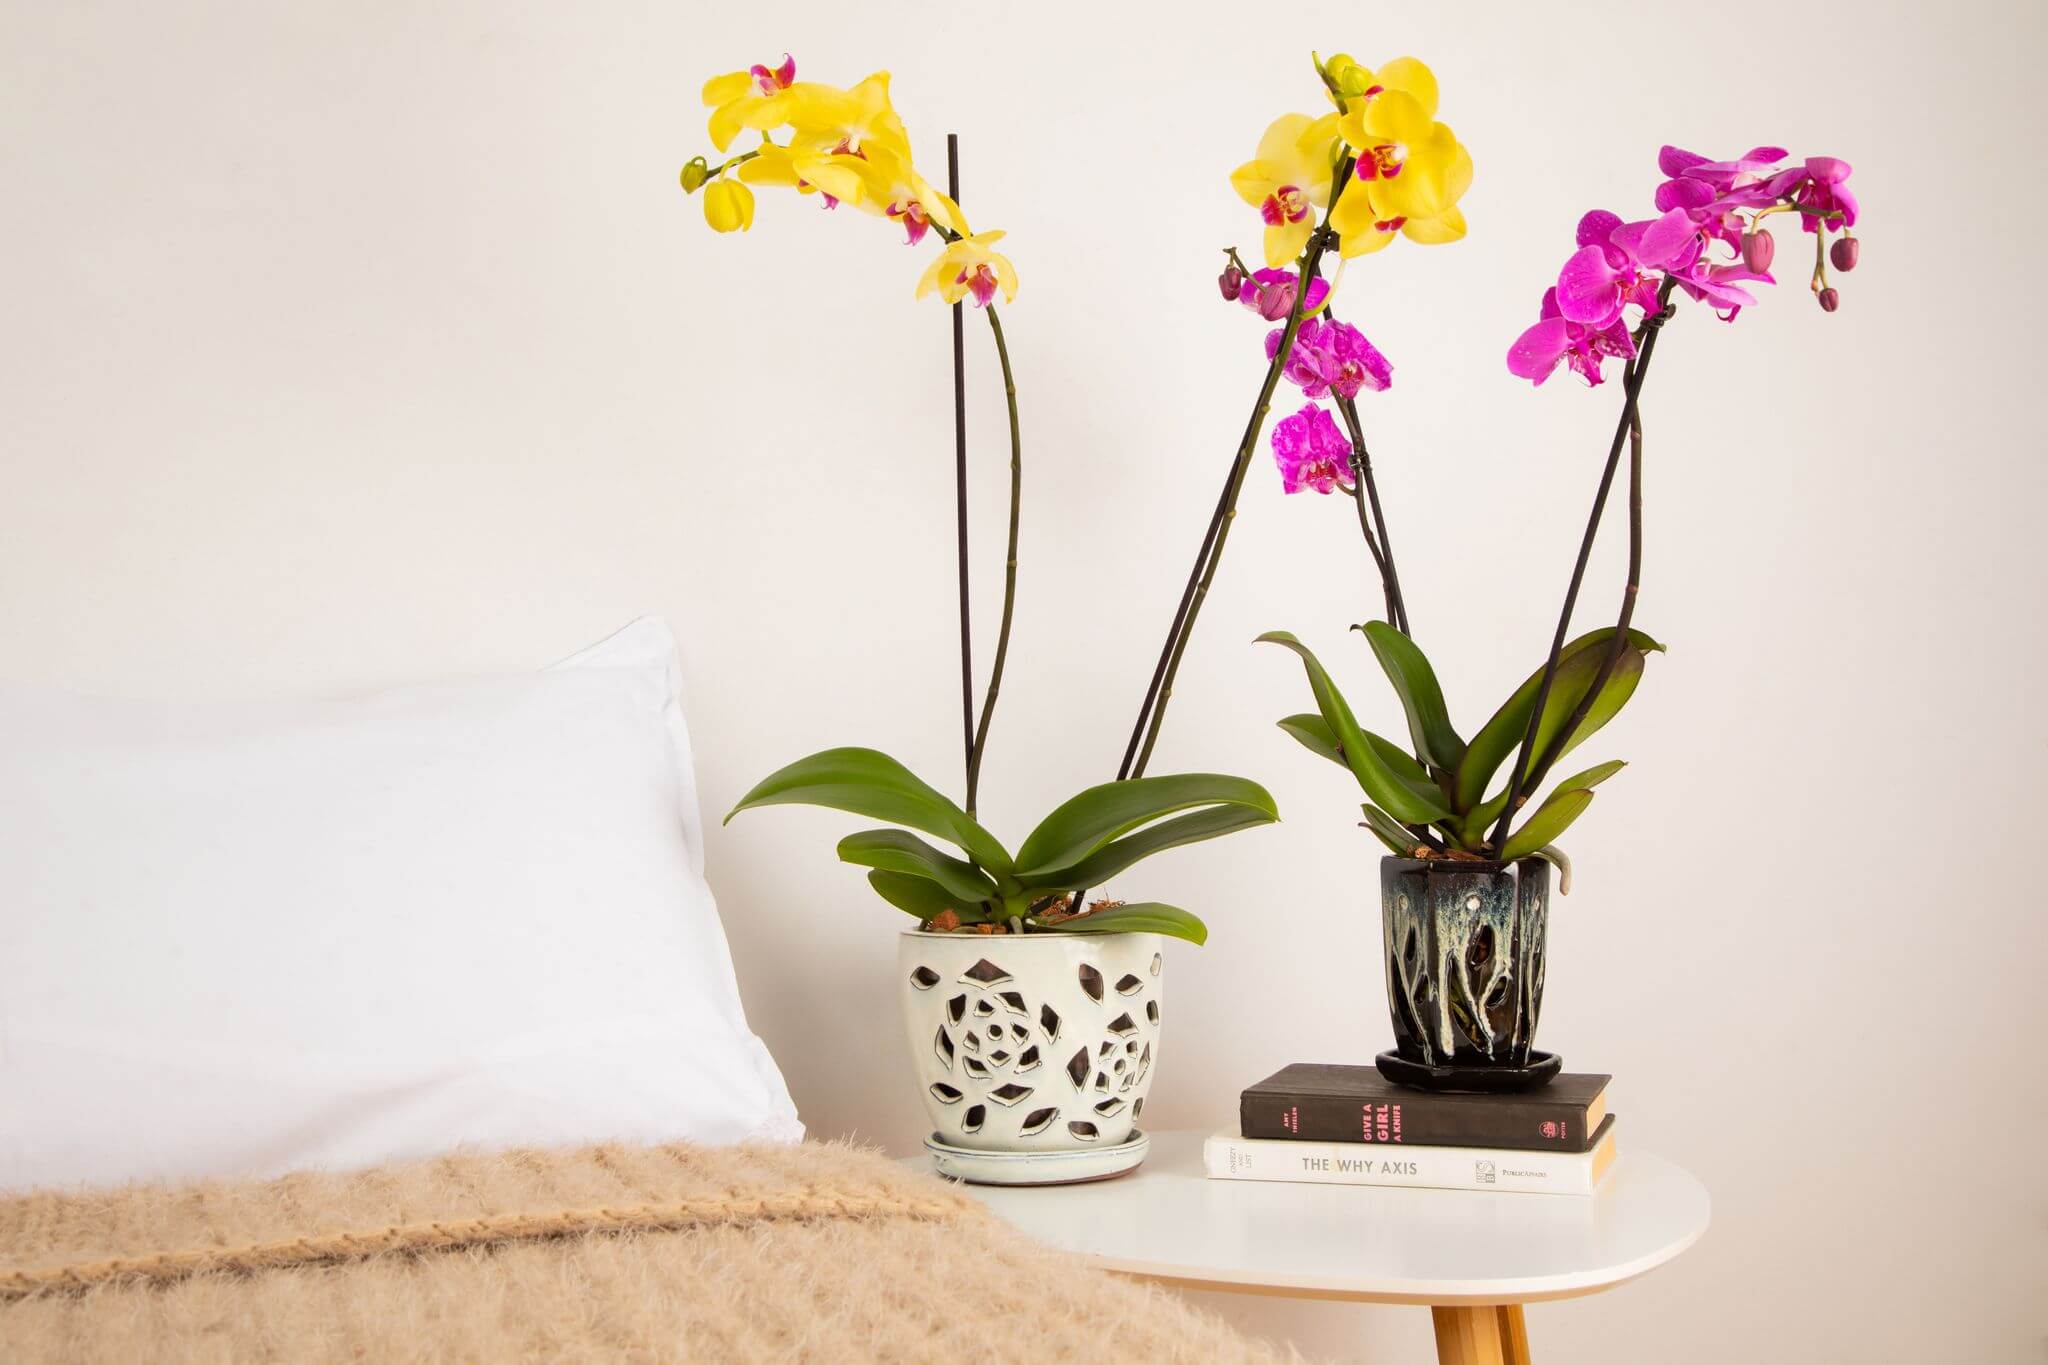
Step 10: Displaying Orchids Indoors
Orchids are not just plants; they are decorative accents. Place them in areas where their beauty can be admired:
- On coffee tables, dining tables, or desks.
- Near bright windows with sheer curtains.
- Grouped with other indoor plants for a mini indoor garden.
Tip: Avoid placing orchids near heaters, radiators, or drafty windows, as sudden temperature changes can harm them.

Final Thoughts
Caring for orchids may seem intimidating at first, but with the right knowledge, anyone can successfully grow these exotic flowers indoors. The key is to understand their natural environment and replicate it at home—ample light, proper watering, good airflow, and moderate humidity.
For beginners, starting with Phalaenopsis orchids is highly recommended due to their forgiving nature and long-lasting blooms. Over time, as you gain confidence, you can explore other orchid varieties and expand your collection.
With patience, observation, and care, your orchids will thrive and fill your home with color, beauty, and elegance. What once seemed like a challenge will become one of the most rewarding plant experiences you’ll ever have.