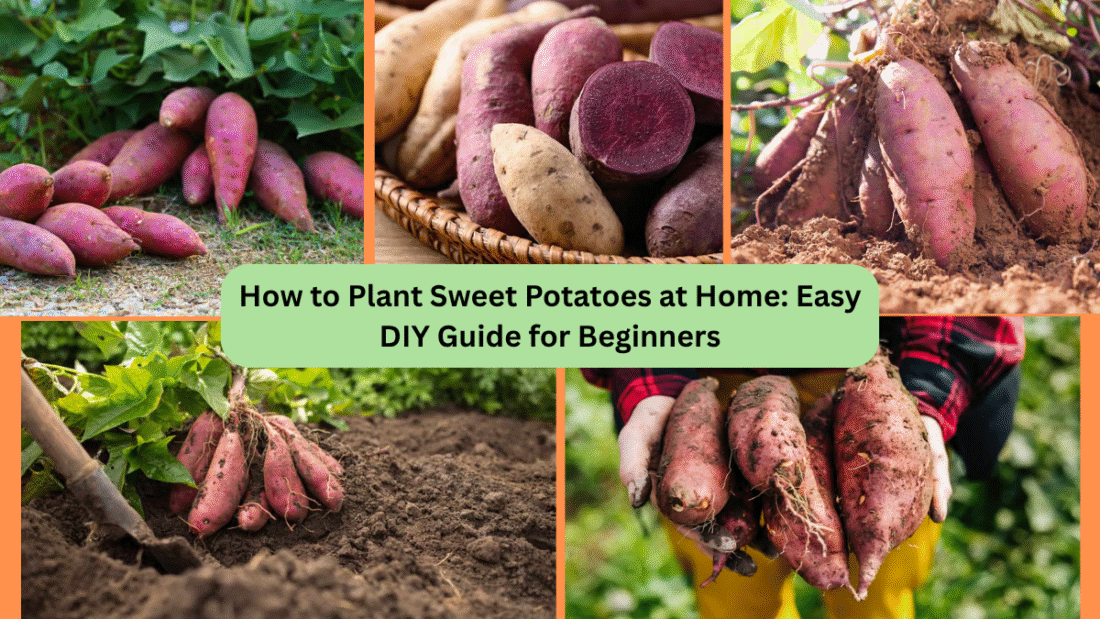
Sweet potatoes are not only a delicious, nutrient-rich food source but also one of the easiest and most rewarding crops to grow at home. Whether you have a spacious backyard, a balcony garden, or a few large containers, you can enjoy growing your own harvest of these versatile tubers. The process is beginner-friendly, cost-effective, and surprisingly fun — plus, the lush vines make a beautiful addition to your home garden.
In this easy, step-by-step guide, we’ll walk you through how to plant sweet potatoes at home, from selecting the right variety and preparing slips to planting, caring for the crop, and harvesting your sweet rewards.
Why Grow Sweet Potatoes at Home?
Sweet potatoes are one of the most low-maintenance and productive plants you can grow in a home garden. Here’s why you should try it:
- Rich in nutrients: High in vitamins A, C, fiber, and antioxidants.
- Beautiful ornamental vines: Their lush green (or purple) leaves are stunning in gardens or containers.
- Easy propagation: Grown from slips (sprouts from mature tubers) rather than seeds.
- Thrives in various conditions: Suitable for warm, sunny spots, and large containers.
- Long shelf-life: Properly cured sweet potatoes store for months.
What You’ll Need
Before you begin, gather these basic supplies:
- Healthy, organic sweet potatoes
- A sharp knife
- Glass jars or cups
- Toothpicks
- Water
- Well-draining garden soil or potting mix
- Large pots (if container gardening)
- A sunny growing area (6+ hours of sunlight)
Step-by-Step: How to Plant Sweet Potatoes at Home
Step 1: Choose the Right Sweet Potatoes
Start with organic, untreated sweet potatoes from a grocery store, farmers market, or nursery. Non-organic varieties are often treated with sprout inhibitors that prevent slips from growing.
Tip: Choose firm, healthy tubers without signs of rot or disease.
Step 2: Grow Sweet Potato Slips
Sweet potatoes are grown from slips, which are sprouts that grow from a mature tuber. You can easily produce slips at home.
How to make slips:
- Cut sweet potatoes in half or leave them whole.
- Insert 3–4 toothpicks around the middle of each tuber.
- Suspend the cut end or narrow tip in a glass of water, leaving the upper part above the water line.
- Place the glass in a warm, sunny window.
- Change the water every 2–3 days to prevent rot.
- In 2–4 weeks, green sprouts (slips) will start to grow.
When slips reach about 6 inches long with several leaves, they’re ready to be separated and planted.
Step 3: Remove and Root the Slips
Once the slips are long enough:
- Gently twist or cut them off from the tuber.
- Place the slips in a glass of clean water with the bottom leaves removed.
- Within a week, they’ll develop roots.
When the slips have a good root system, they’re ready for planting.
Step 4: Prepare the Planting Area
Sweet potatoes prefer loose, well-draining, slightly acidic soil (pH 5.5–6.5) in a sunny location.
Options:
- Garden beds: Work compost or organic matter into the soil.
- Raised beds: Great for better drainage and soil control.
- Containers: Choose pots at least 12–18 inches deep and wide, with drainage holes.
Pro tip: Sweet potatoes thrive in warm soil temperatures (above 65°F / 18°C). Plant them outdoors after the last frost date in your area.
Step 5: Plant the Slips
How to plant:
- Dig holes about 4 inches deep and 12 inches apart.
- Place each slip into a hole, burying it up to the top leaves.
- Firm the soil gently around the base.
- Water thoroughly to settle the soil.
If using containers, plant 1–2 slips per large pot.
How to Care for Sweet Potato Plants
Sunlight:
Sweet potatoes need at least 6–8 hours of direct sunlight daily for healthy tuber development.
Watering:
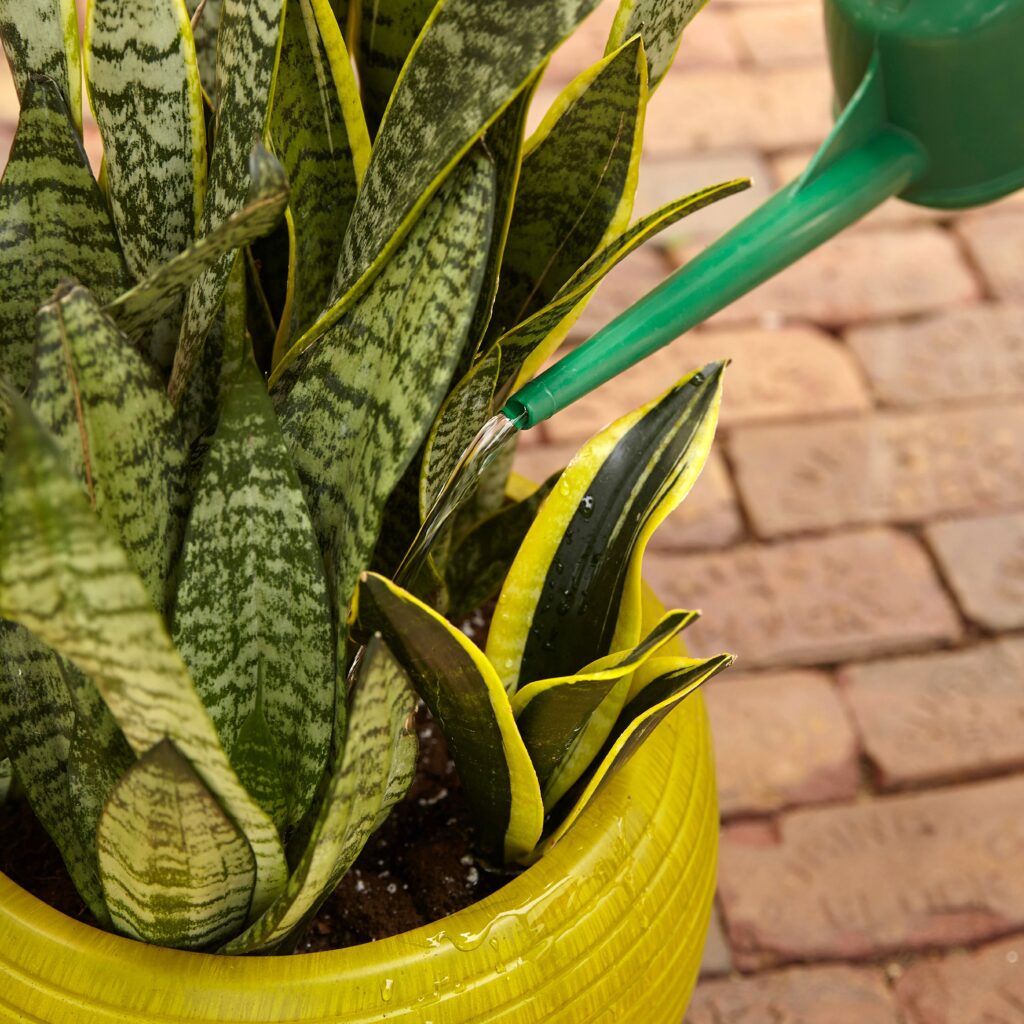
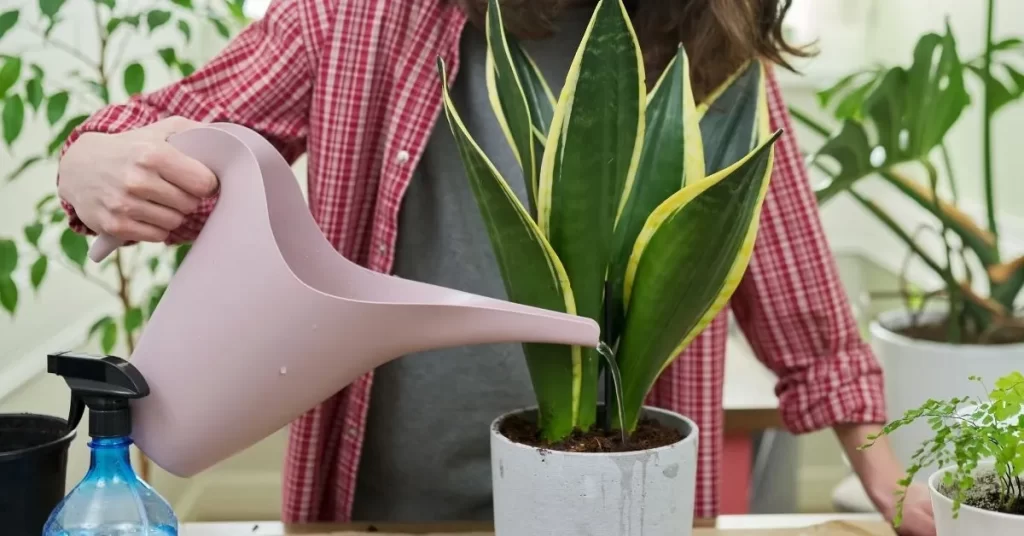
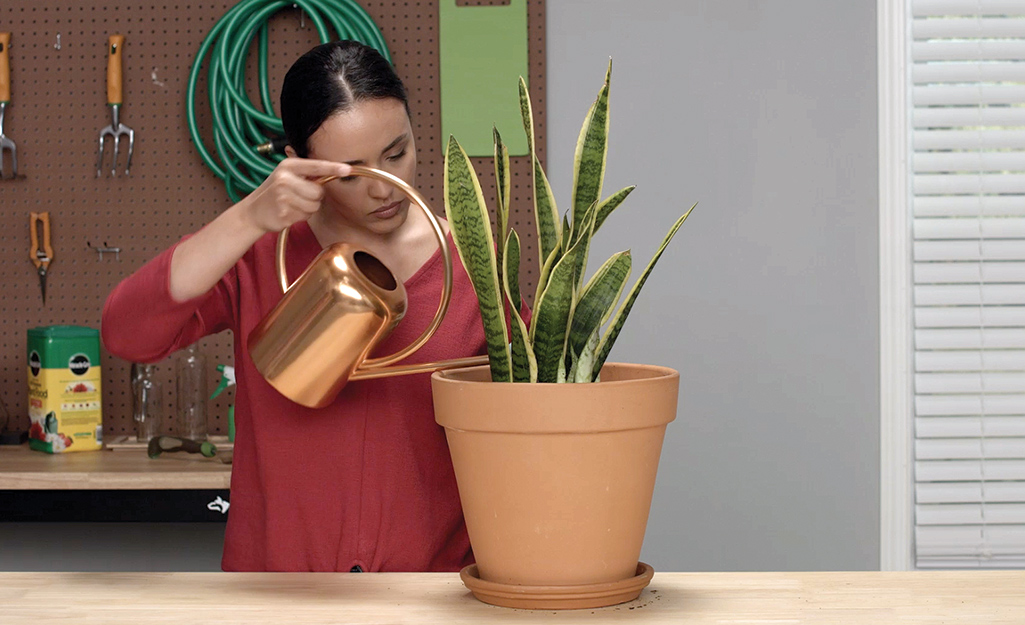
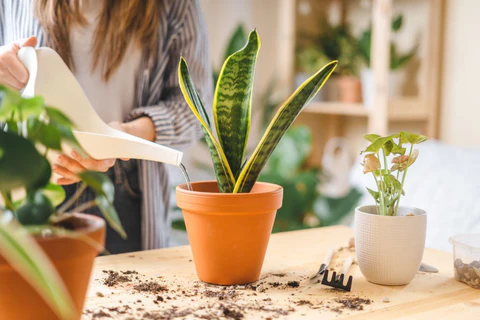
- Keep soil consistently moist but not waterlogged.
- Avoid letting the soil dry out, especially during the early weeks and tuber formation.
- Water deeply once or twice a week, depending on heat and rain.
Fertilizing:
- Use a low-nitrogen, high-potassium fertilizer to encourage root and tuber growth.
- Too much nitrogen leads to lush vines but poor tuber production.
Mulching:
- Apply a 2–3 inch layer of organic mulch (straw, grass clippings, or shredded leaves) around the plants.
- This conserves moisture, suppresses weeds, and keeps the soil temperature stable.
Managing Pests and Problems
Common issues when growing sweet potatoes at home:
- Aphids: Rinse off with water or apply neem oil.
- Sweet potato weevils: Remove affected plants and use crop rotation.
- Fungal diseases: Avoid overhead watering and overcrowding.
Tip: Healthy, well-spaced plants are less likely to attract pests and disease.
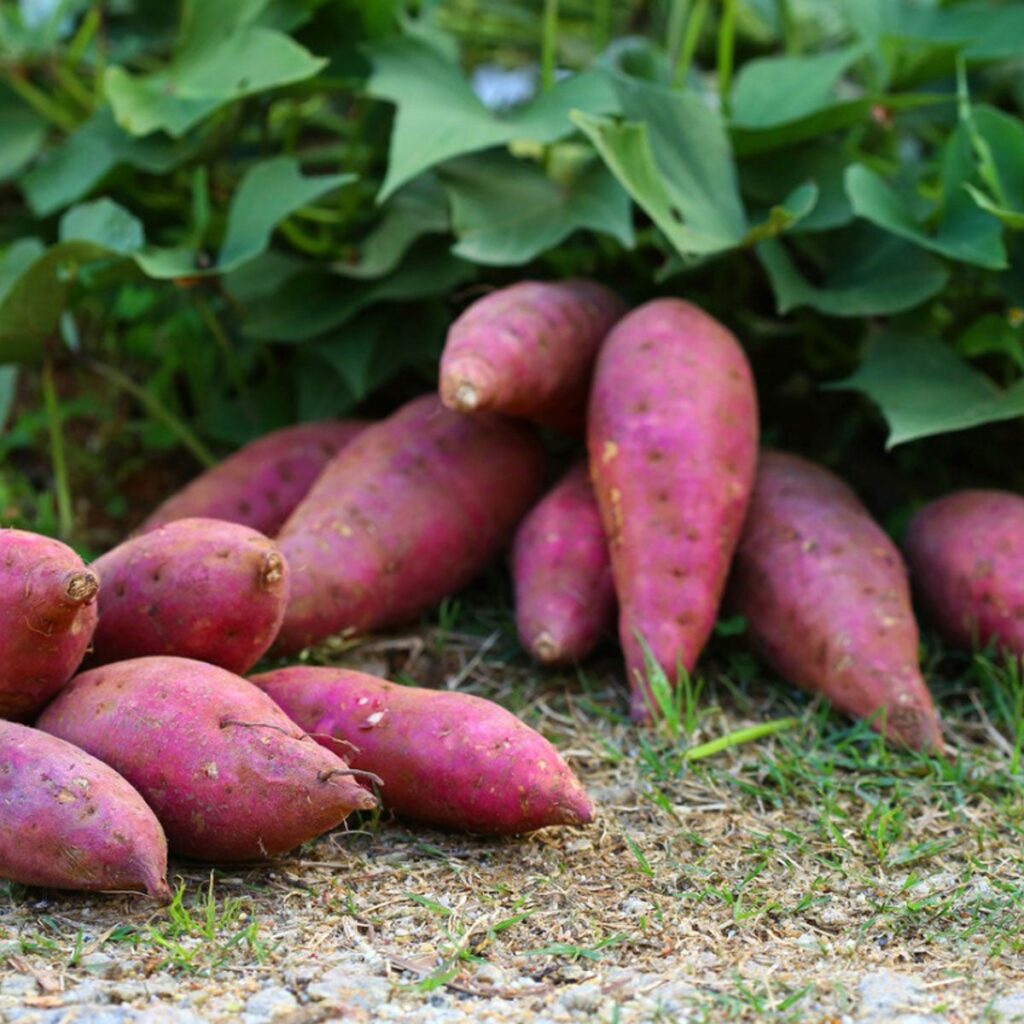
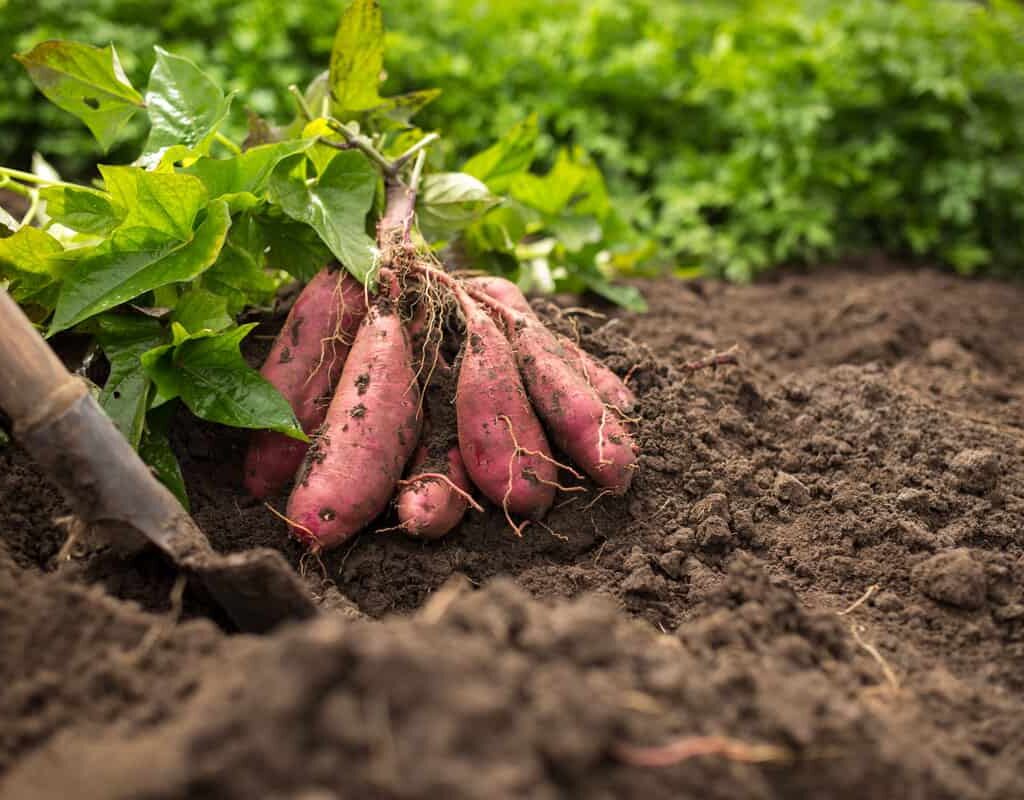
When and How to Harvest Sweet Potatoes
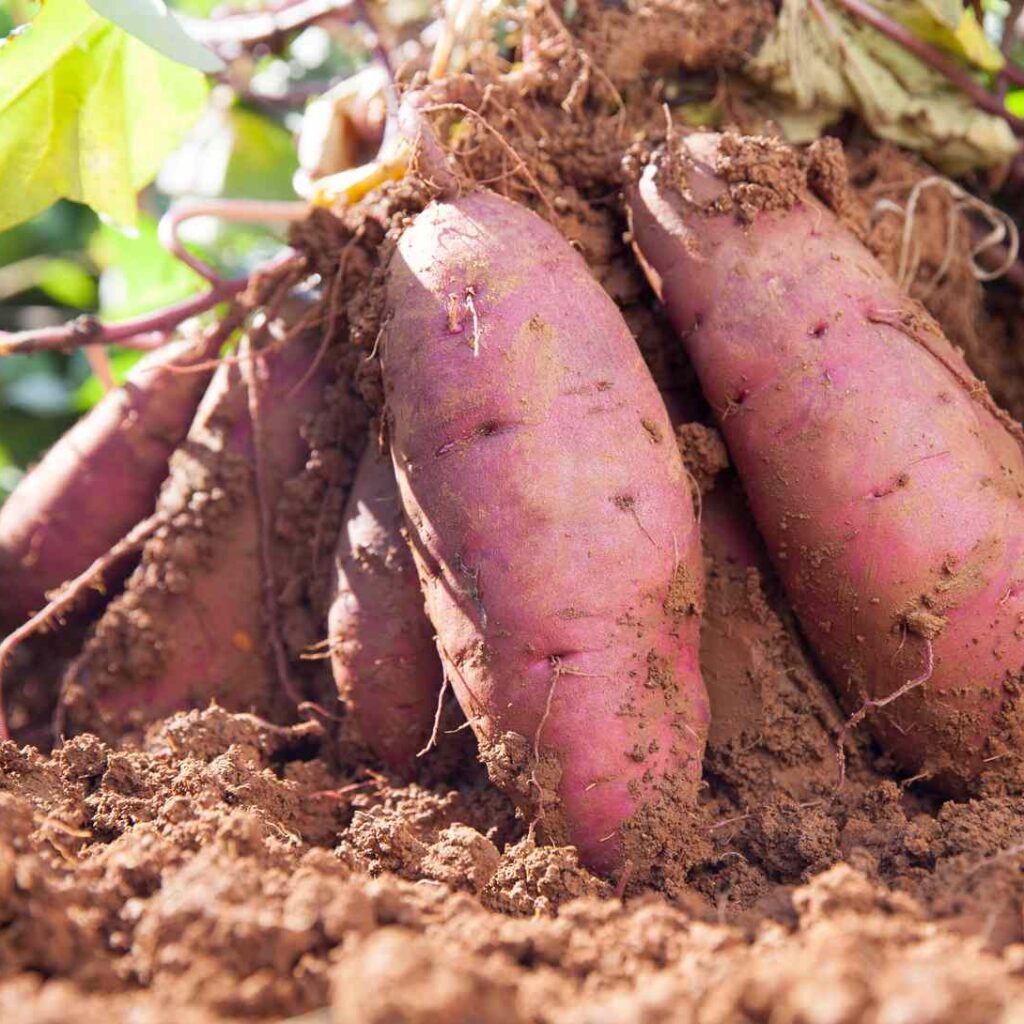
Sweet potatoes are usually ready for harvest 90–120 days after planting. Watch for these signs:
- Vines begin to yellow and die back.
- The days grow cooler, signaling harvest time.
How to harvest:
- Gently dig around the base of each plant with a garden fork or hands.
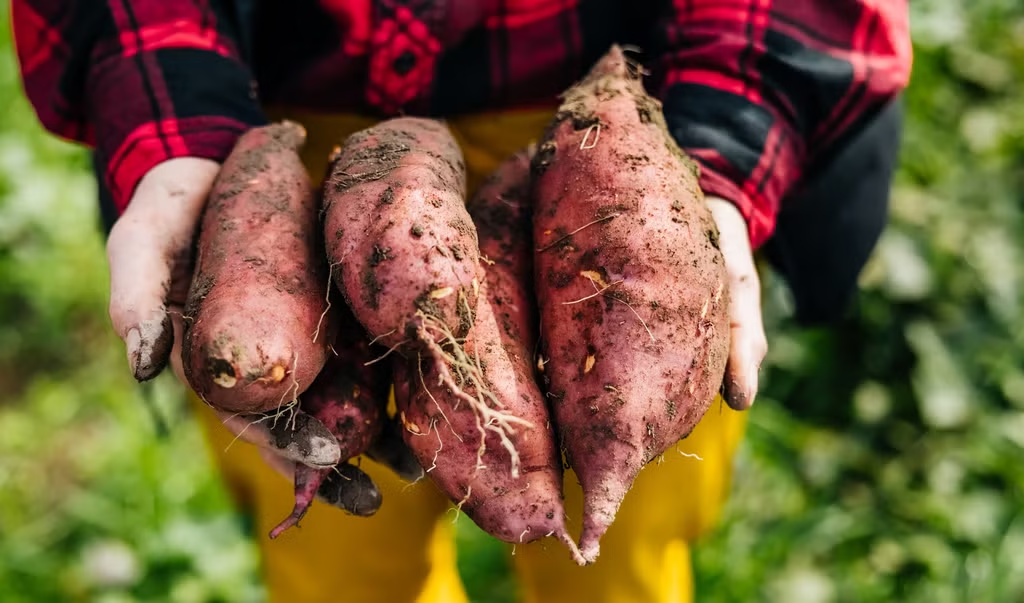
- Carefully lift the tubers to avoid bruising or cutting.
- Shake off excess soil but don’t wash them yet.
Curing and Storing Sweet Potatoes
Curing improves the sweetness and shelf-life of your harvest.
To cure:
- Place sweet potatoes in a warm (85°F / 29°C) and humid environment for 5–10 days.
- If indoors, use a ventilated box or warm room.
After curing:
- Store in a cool (55–60°F / 13–16°C), dry, and dark place.
- Avoid refrigerating raw sweet potatoes.
Properly cured sweet potatoes can last up to 6 months.
Final Tips for Success

- Start slips early: Begin the sprouting process 6–8 weeks before your area’s last expected frost.
- Use loose soil: Compact soil restricts tuber growth.
- Rotate crops: Avoid planting sweet potatoes in the same soil each year to prevent soil-borne diseases.
- Enjoy edible leaves: Sweet potato leaves are nutritious and can be used in stir-fries or salads.
Conclusion
Growing sweet potatoes at home is easier than you might think. With a bit of patience and care, you can produce a generous harvest of these versatile, nutrient-packed tubers. From sprouting slips to harvesting and curing, the process is a rewarding experience for beginner and seasoned gardeners alike.
So, why not give it a try? Follow this easy DIY guide, and you’ll soon enjoy the satisfaction of growing your very own sweet potatoes — right in your backyard, balcony, or kitchen garden.