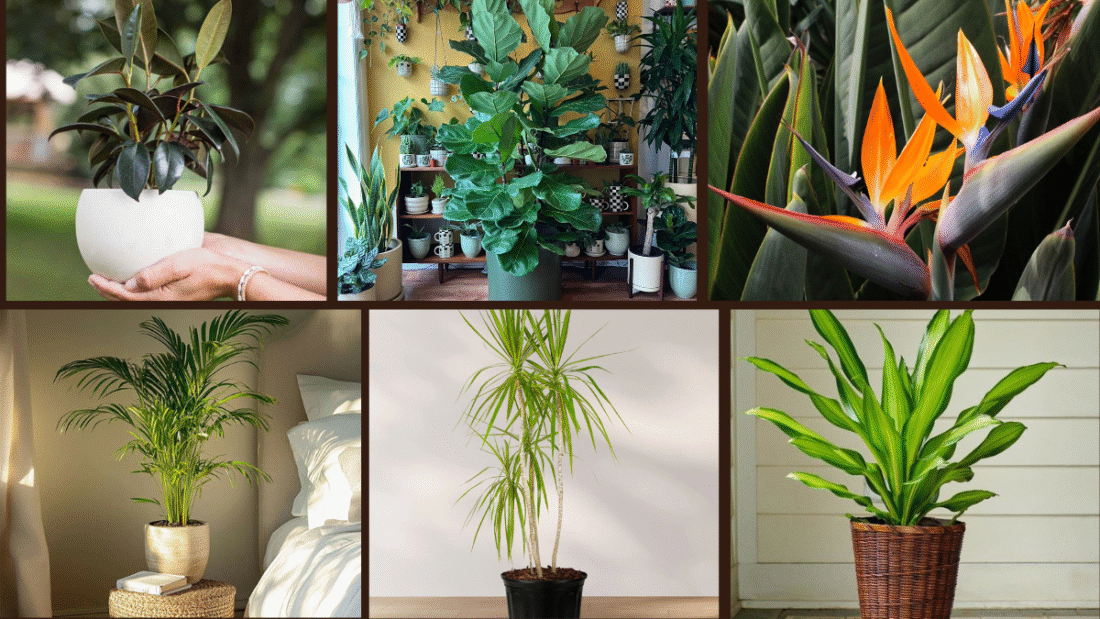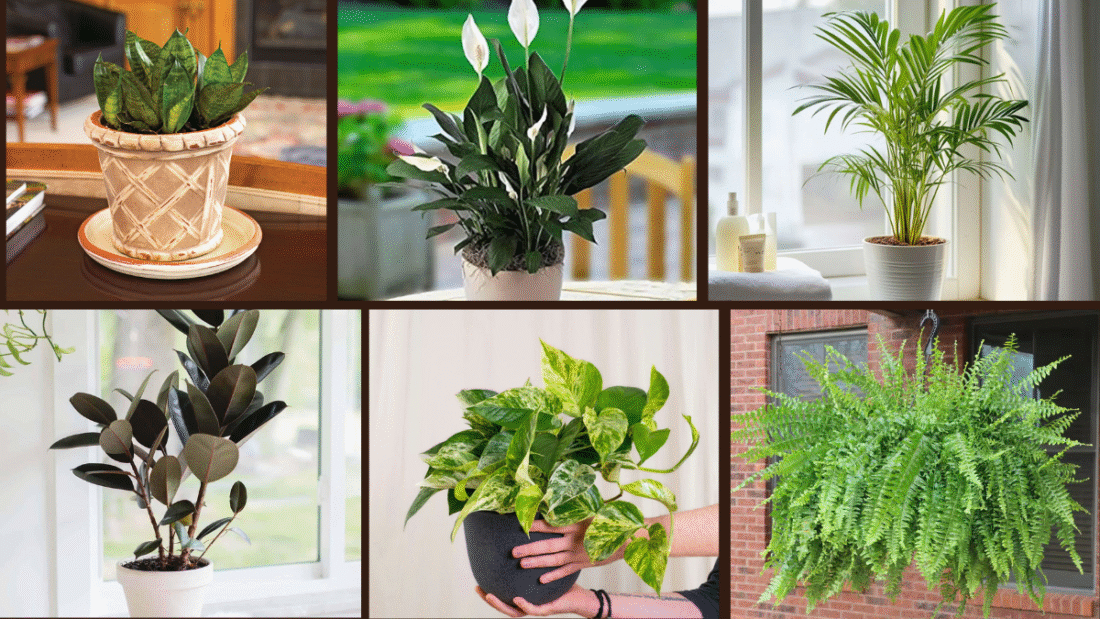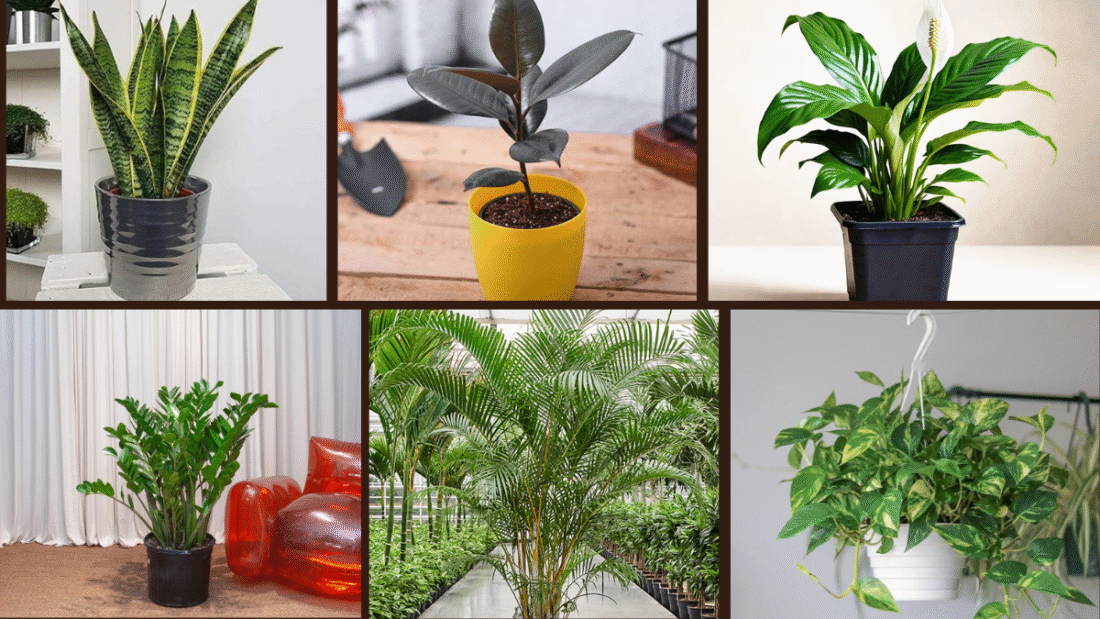
Your home’s entryway sets the tone for everything beyond the front door — so why not make it feel inviting, stylish, and alive with greenery? Indoor plants in entryways not only add charm and natural beauty but also help freshen the air and create a welcoming vibe for guests. Whether your space is grand and open or narrow and cozy, the right plant can brighten it up instantly. Here are six of the best indoor plants for entryways to add style and warmth to your home’s first impression.
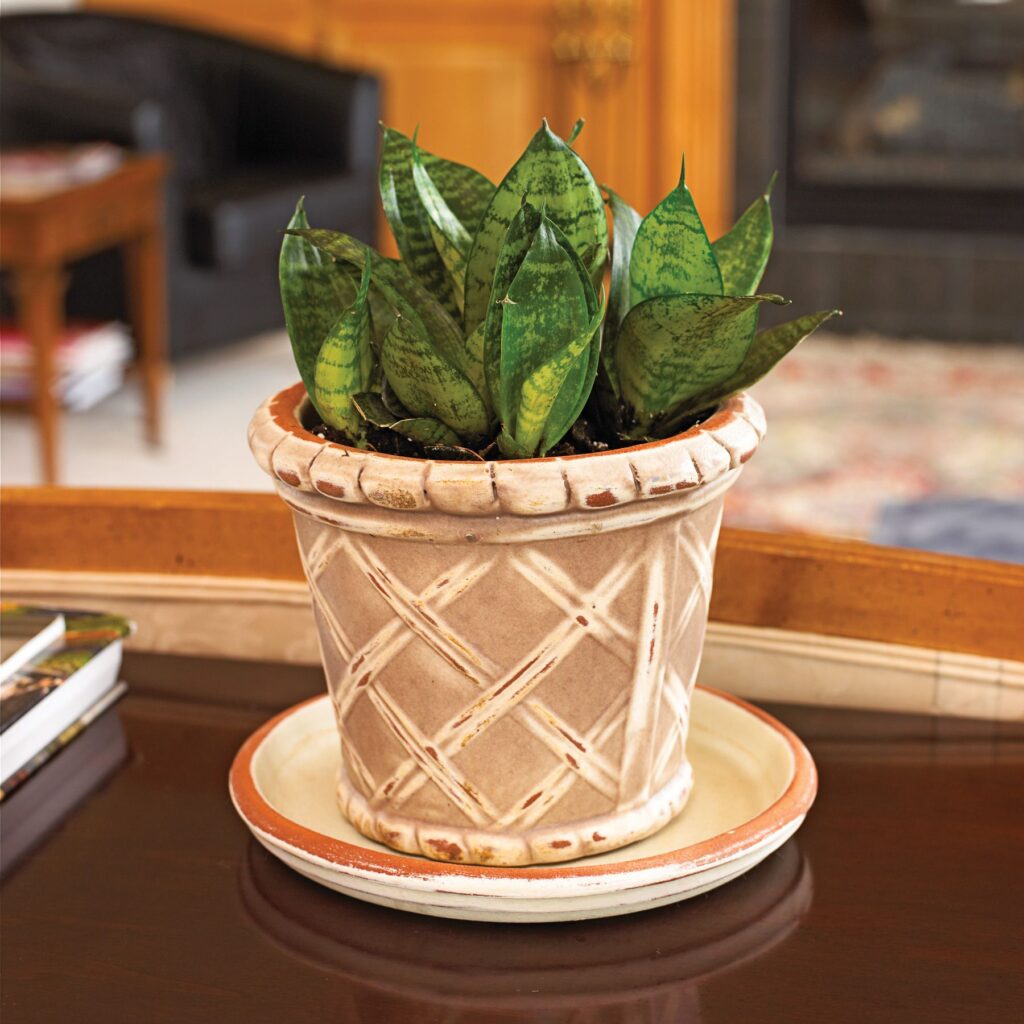
1. Snake Plant (Sansevieria trifasciata)

The Snake Plant is an ideal pick for entryways because of its upright, architectural form and incredible durability. Its tall, sword-like leaves make a bold, clean statement, while its ability to thrive in a range of lighting conditions means it’s perfect for areas that might not get much natural light. Plus, it purifies indoor air by filtering out toxins like formaldehyde and benzene. Place it in a modern ceramic planter or woven basket to effortlessly elevate your entry space.
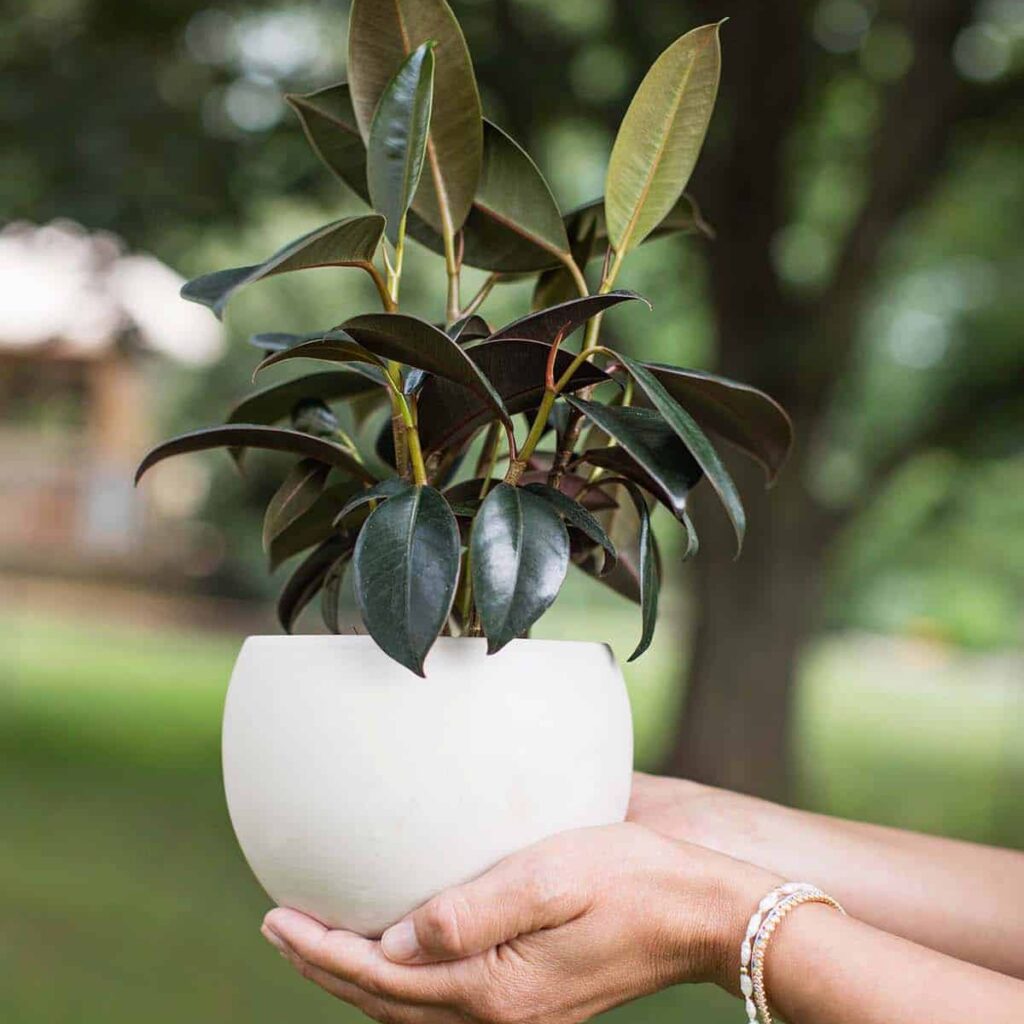
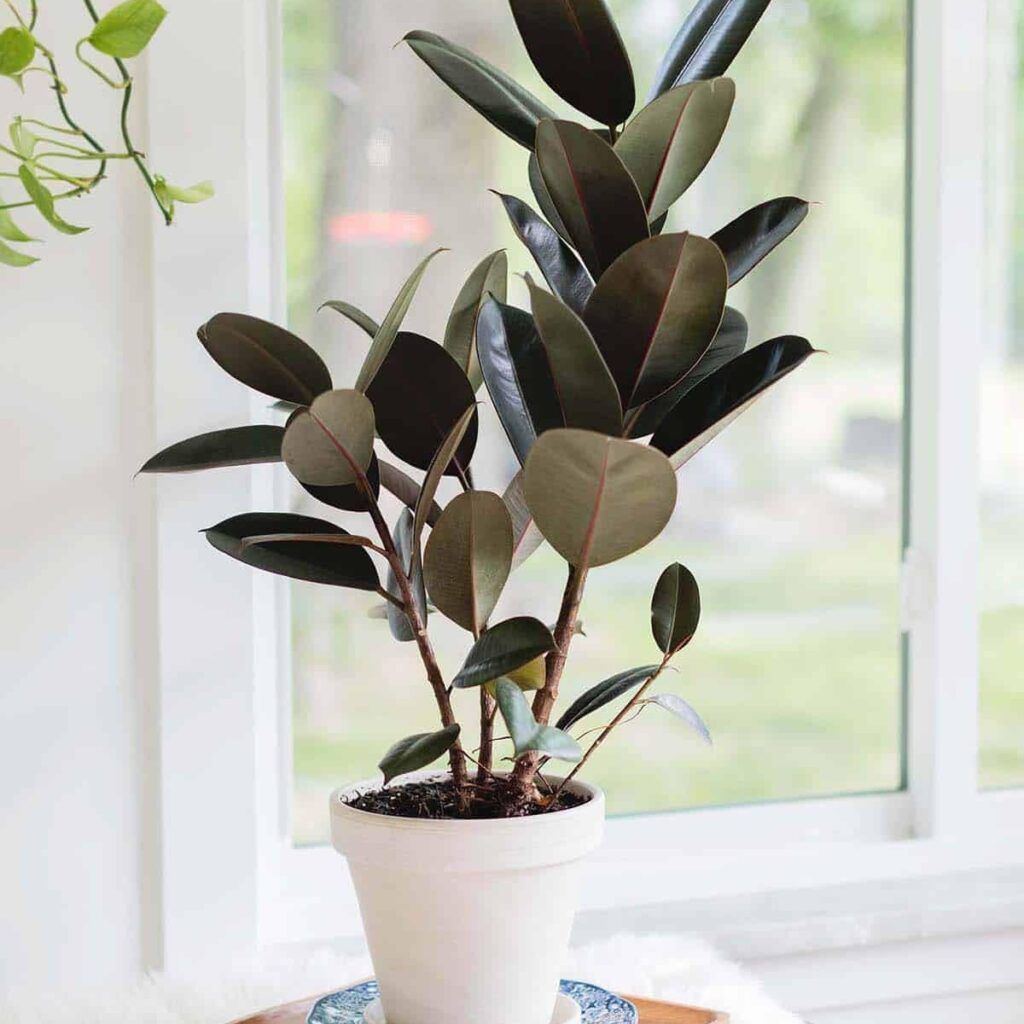
2. Rubber Plant (Ficus elastica)

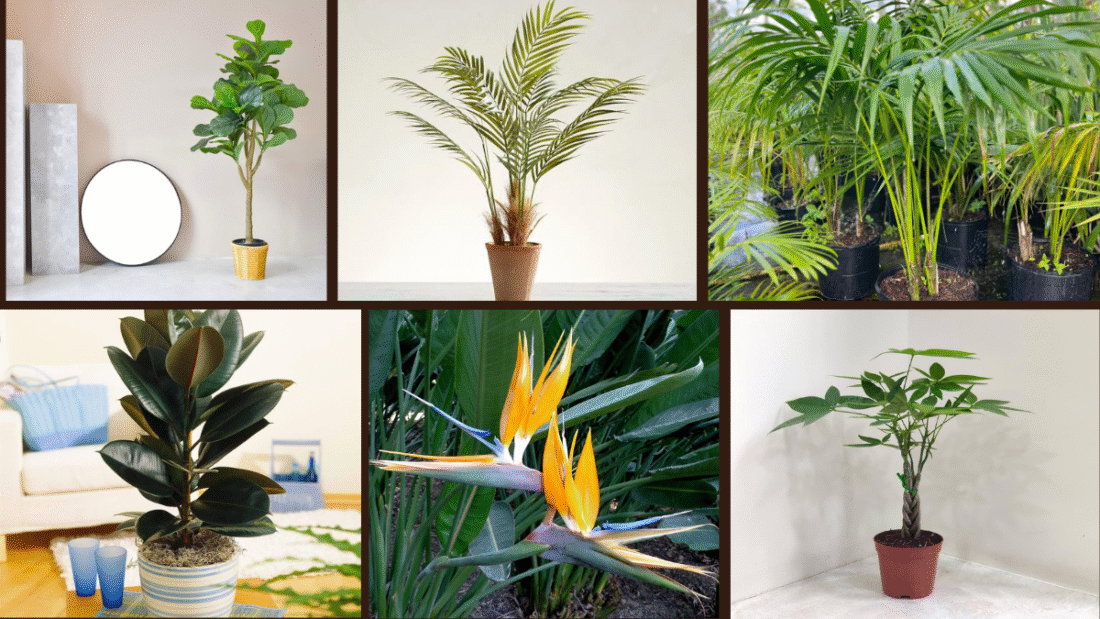
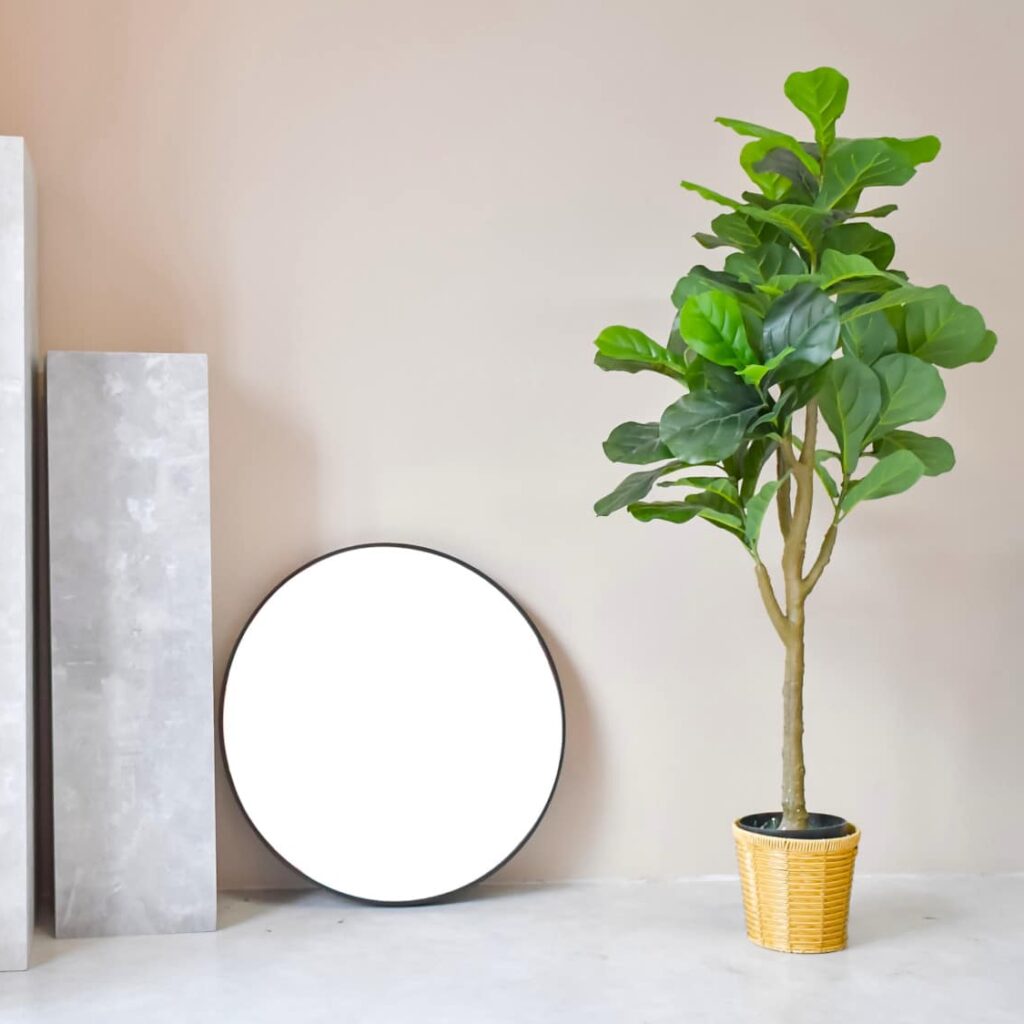
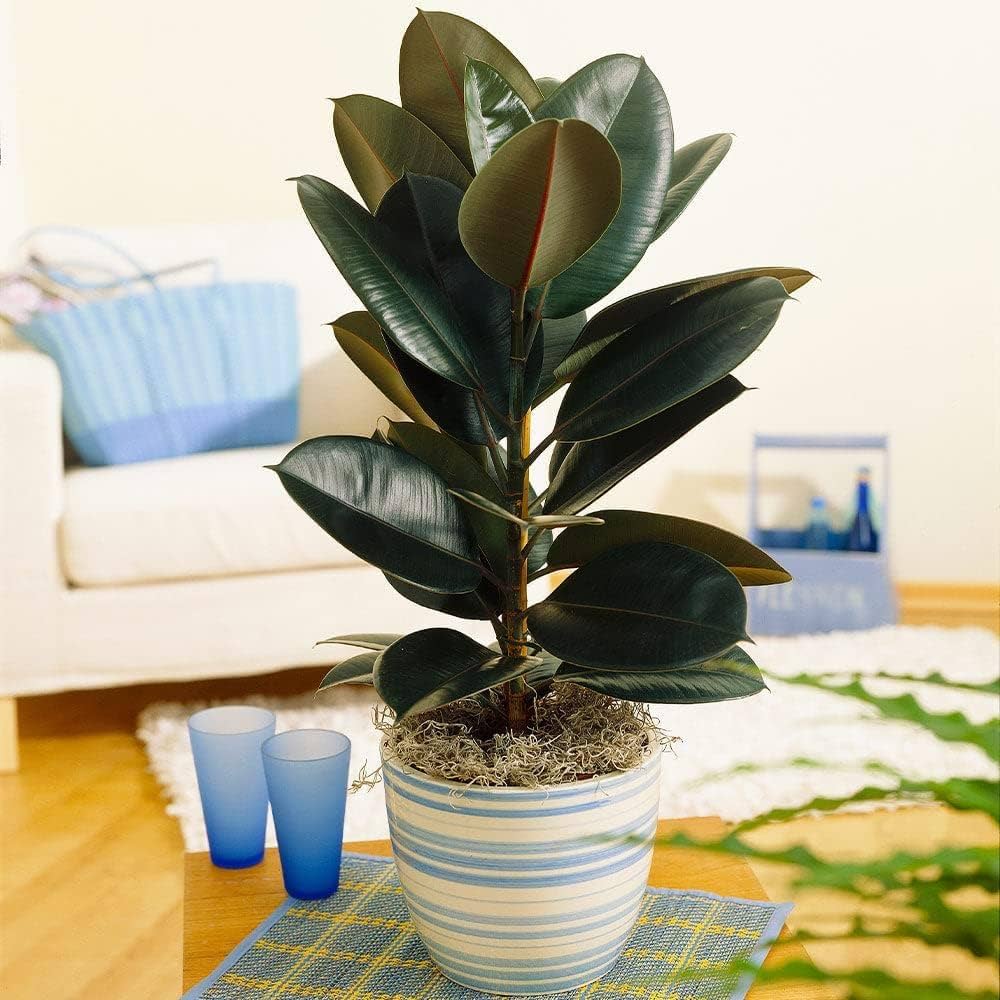
For a dramatic and elegant entryway statement, the Rubber Plant is a go-to favorite. Its large, glossy leaves in deep green or burgundy tones bring a rich, sophisticated look to the front of your home. It thrives in medium to bright indirect light and grows upright, making it perfect for corners or beside a console table. This low-maintenance plant also acts as a natural air purifier and adds visual weight to balance entryway décor like mirrors, artwork, or benches.
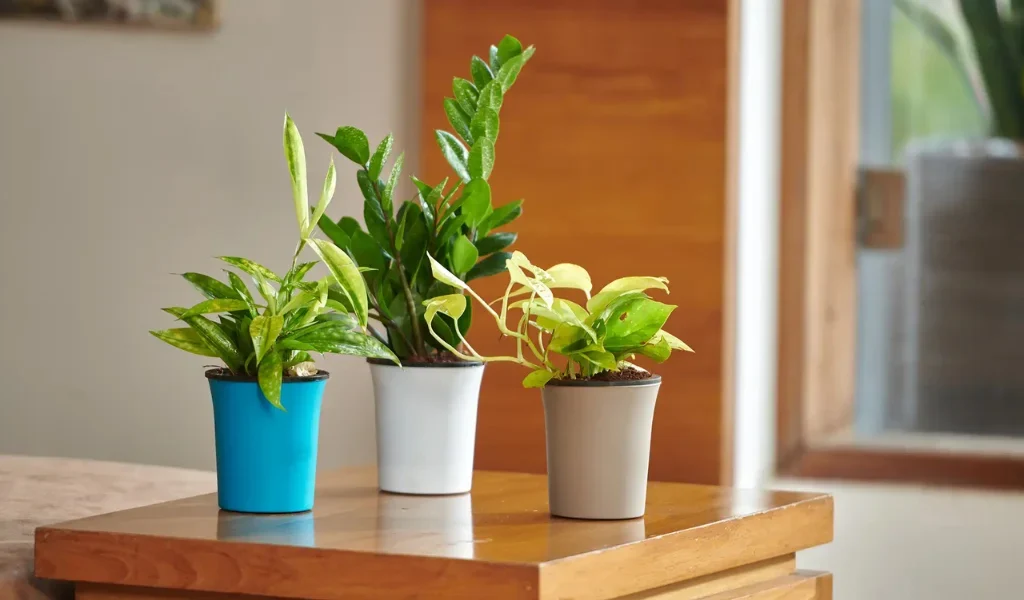
3. ZZ Plant (Zamioculcas zamiifolia)
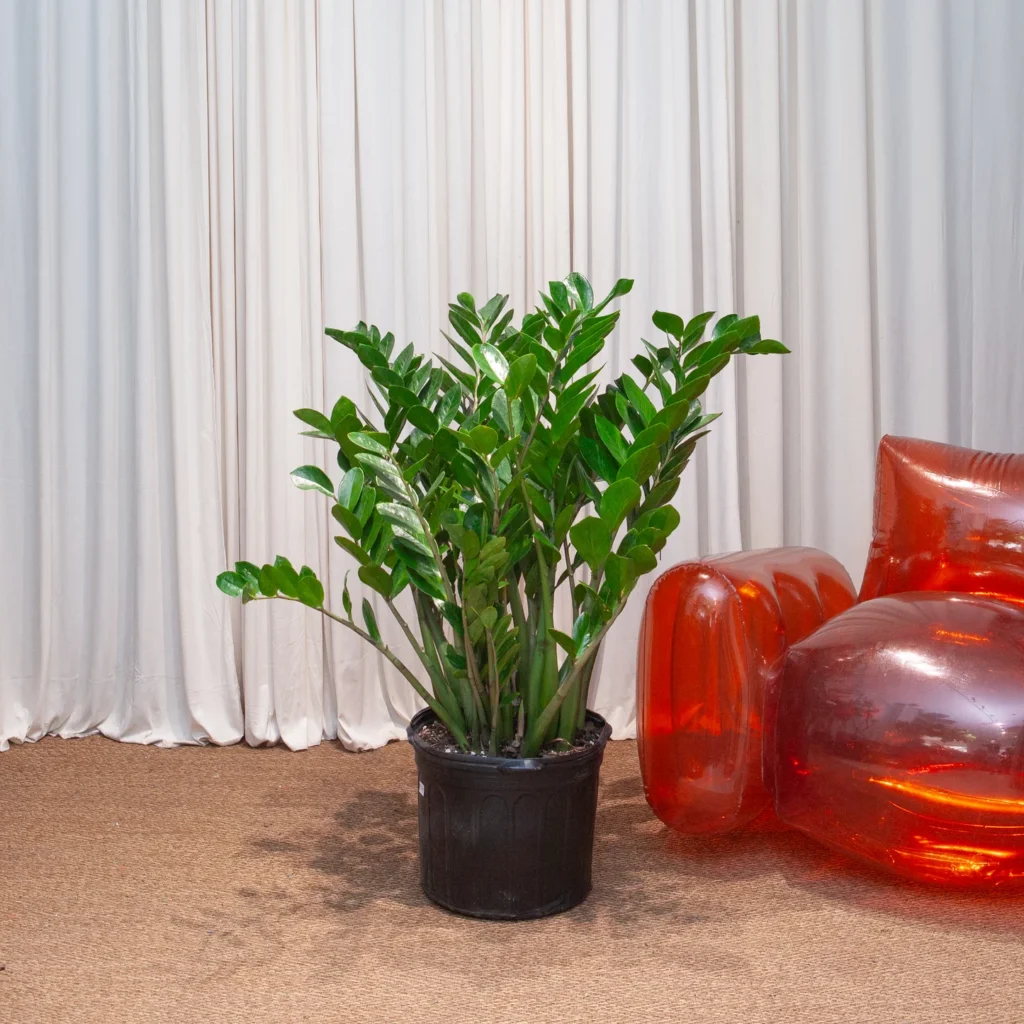
If your entryway doesn’t get much sunlight, the ZZ Plant is your best friend. With its shiny, deep green leaves and graceful stems, it offers a sleek, modern look while being one of the most low-maintenance plants you’ll find. It thrives in low-light conditions and can handle neglect, making it ideal for busy households. Tuck it into a corner, place it on a narrow console table, or display it in a tall floor planter for an understated yet chic entryway accent.
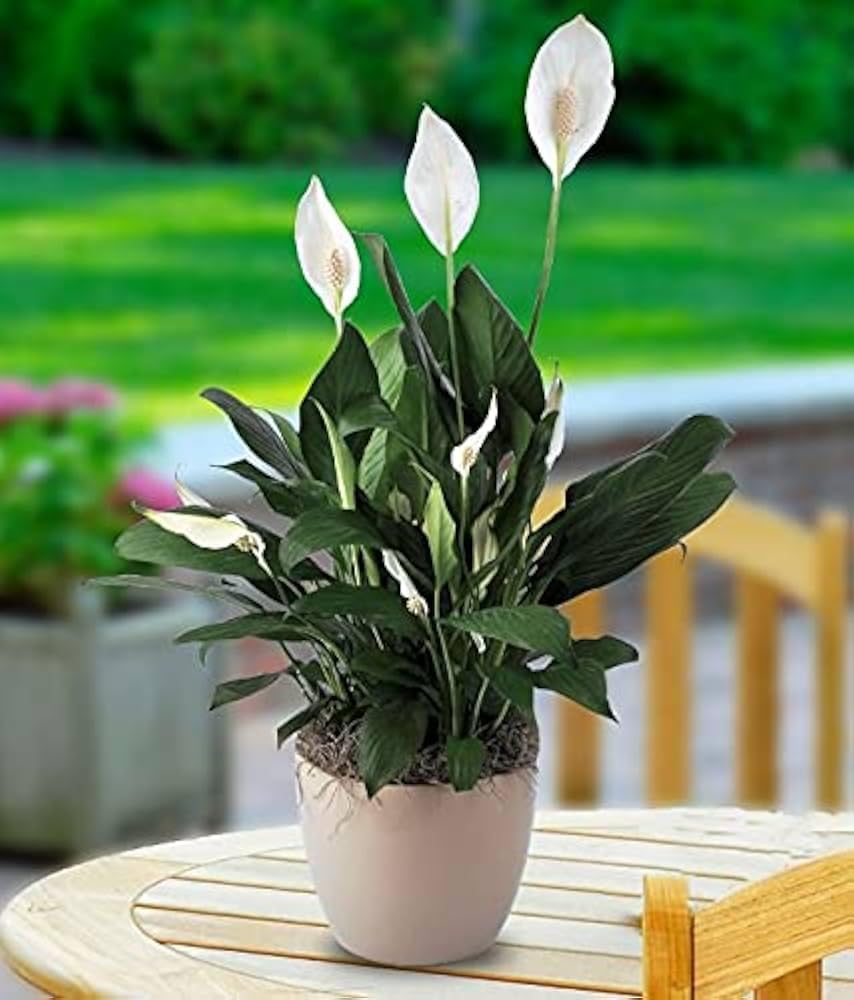
4. Peace Lily (Spathiphyllum)
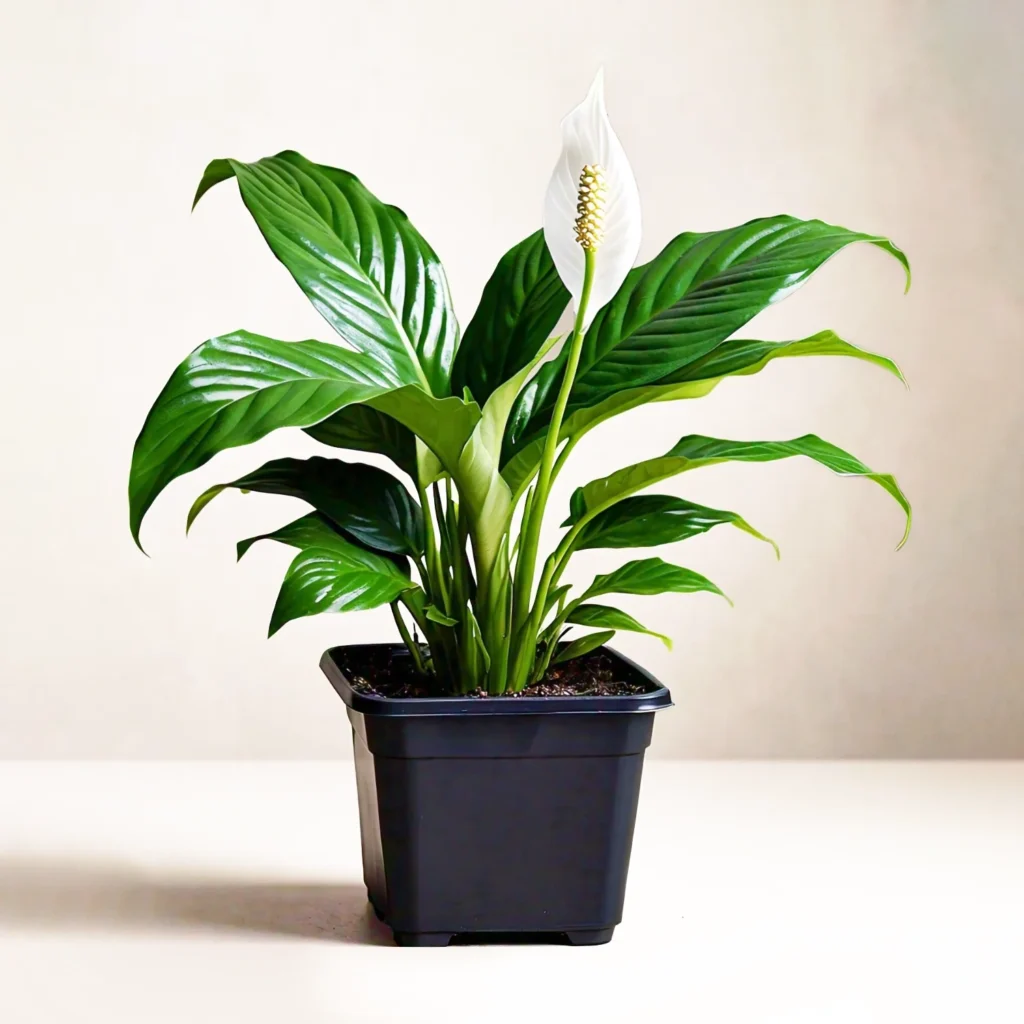
Add elegance and tranquility to your entryway with a Peace Lily. Known for its lush, dark green leaves and striking white blooms, this plant not only looks beautiful but also purifies the air by removing toxins like ammonia and benzene. It prefers indirect light and consistent moisture, making it perfect for shaded, cooler entryways. Its soft, sculptural appearance pairs beautifully with natural wood furniture, mirrors, or woven baskets, creating a calm, welcoming ambiance for anyone entering your home.
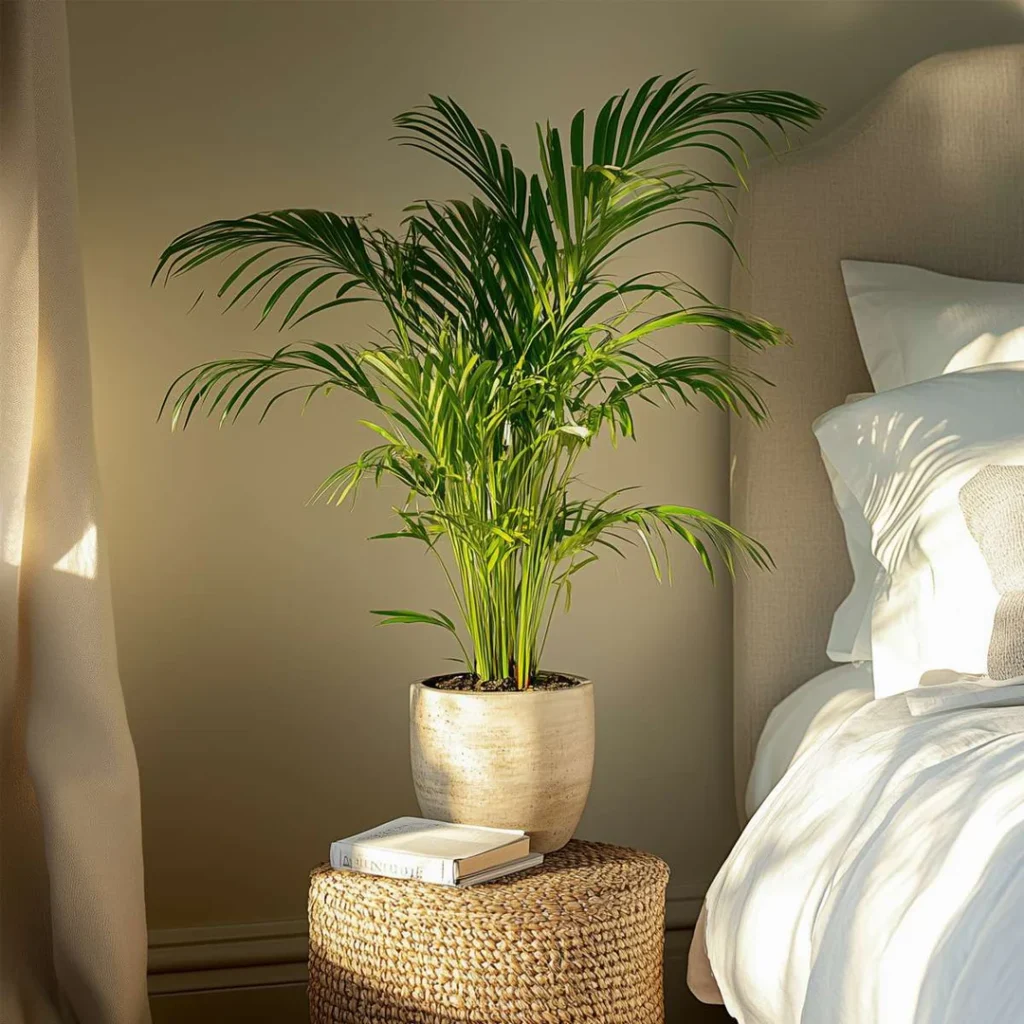
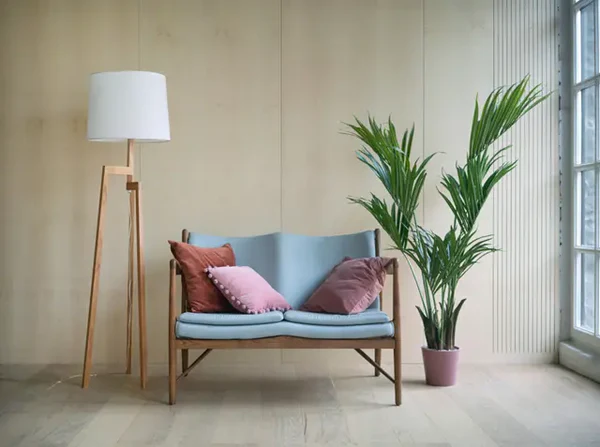
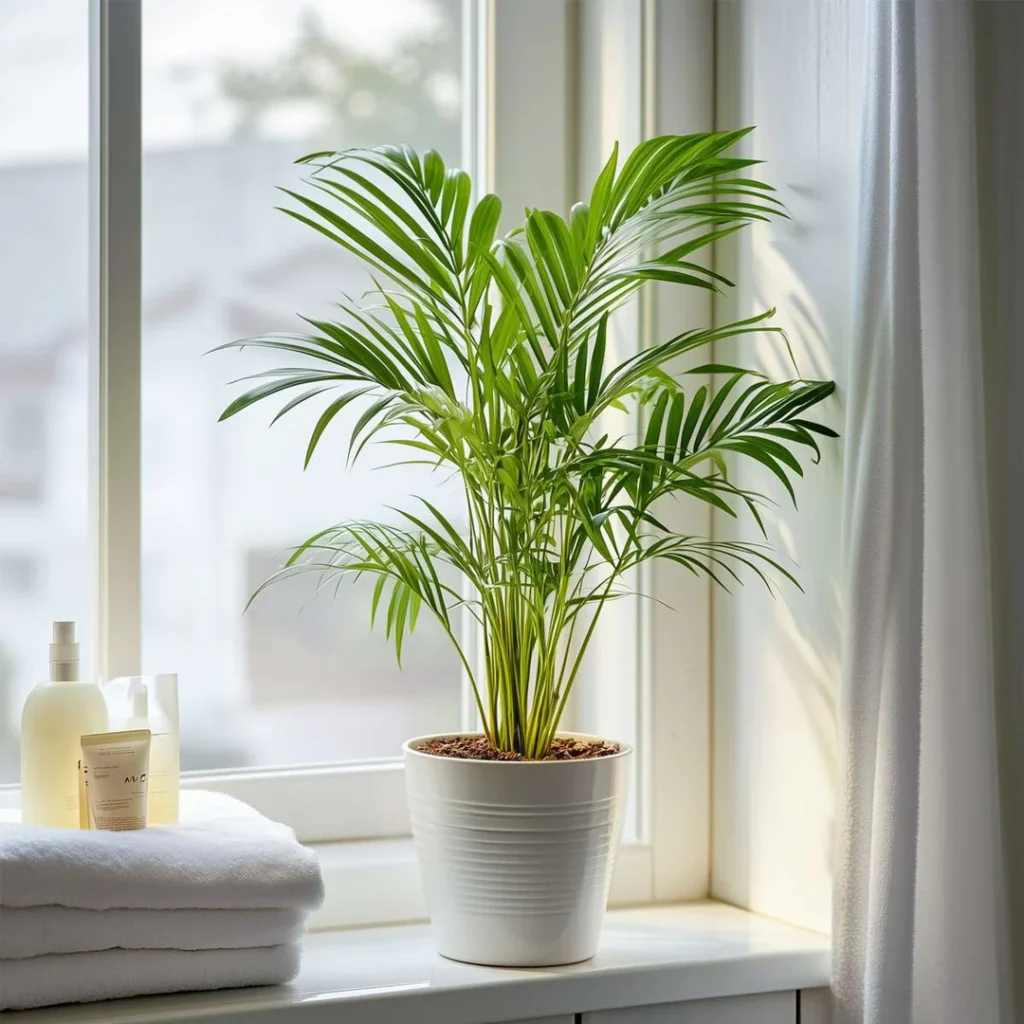
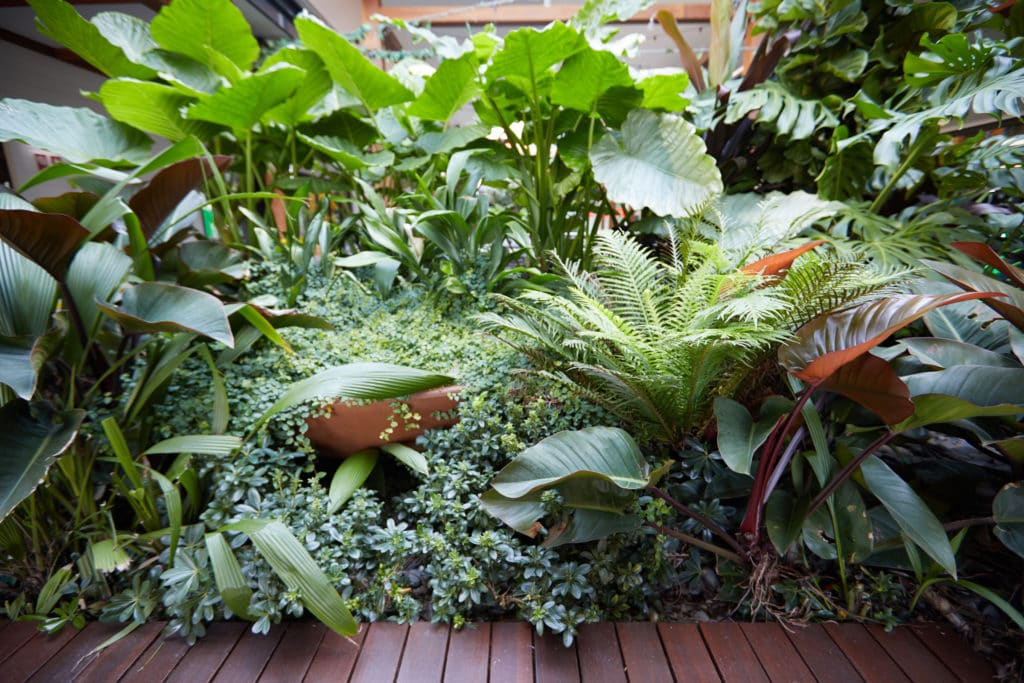
5. Areca Palm (Dypsis lutescens)
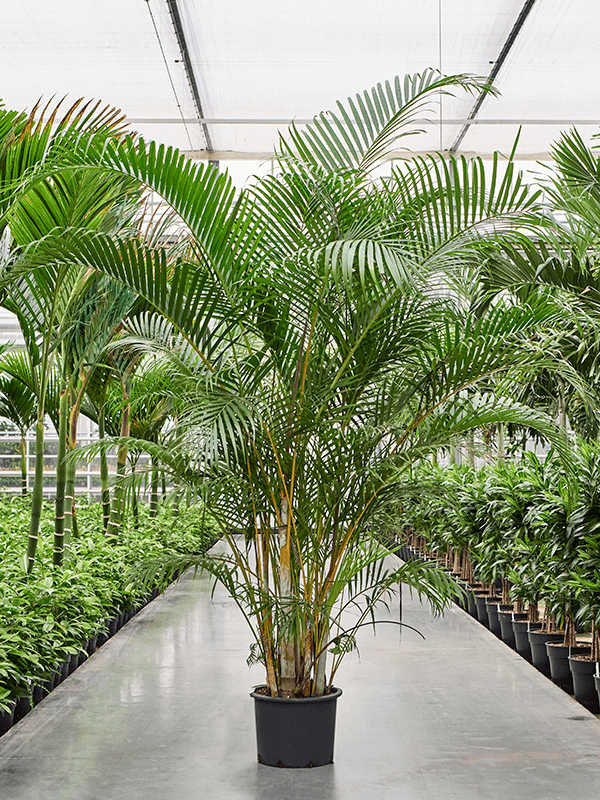
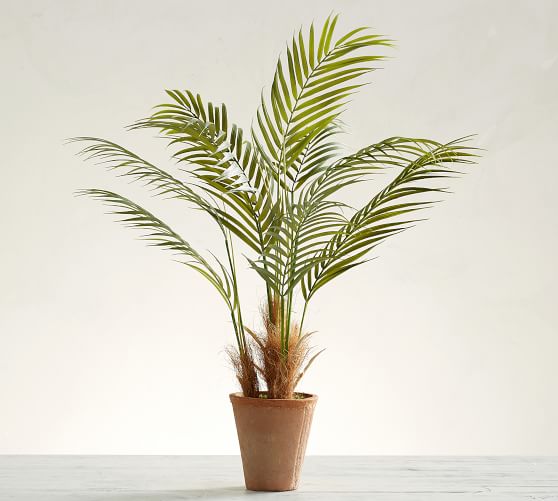
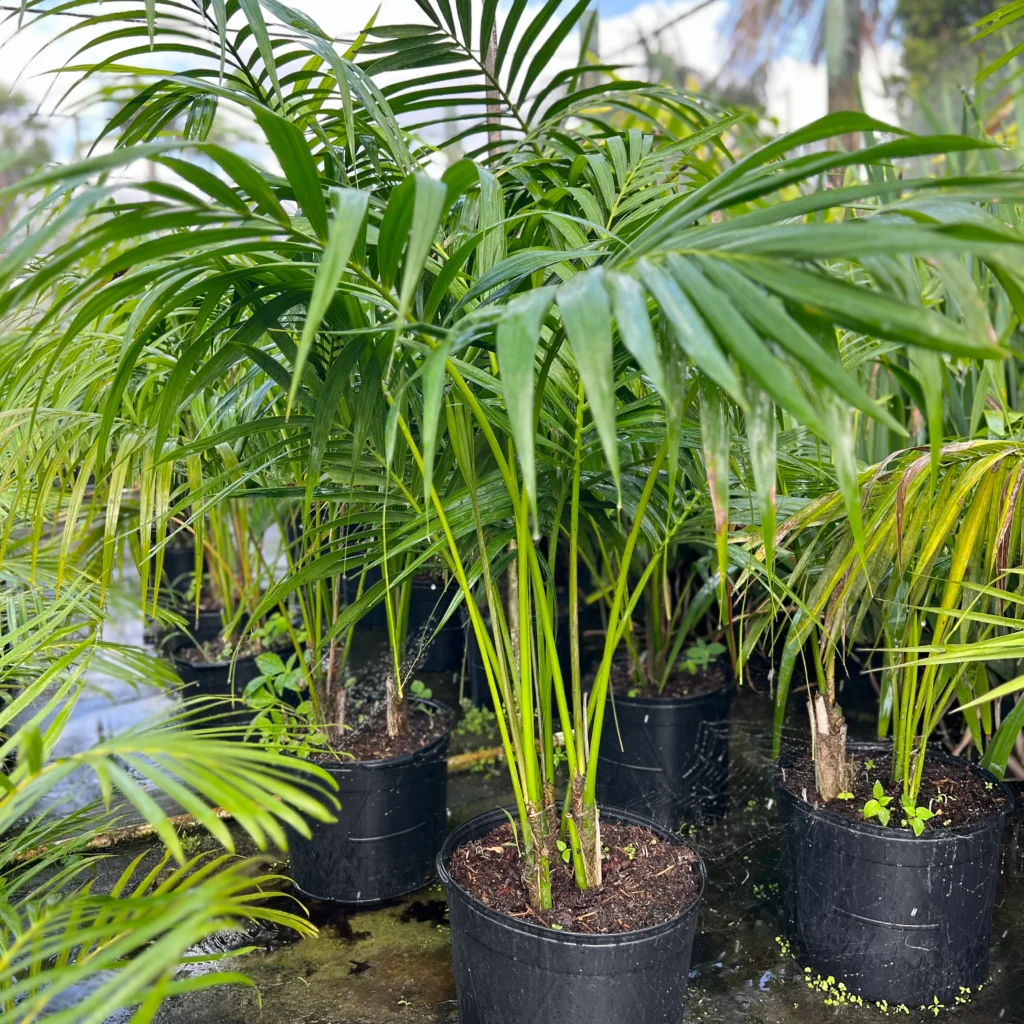
If you’re looking to bring a tropical, airy feel to your entryway, the Areca Palm is an excellent choice. Its feathery, arching fronds create movement and a sense of lushness, making even a small or simple entry feel fresh and inviting. This plant loves bright, indirect light but can tolerate medium light as well. It’s also a natural air humidifier, adding moisture to dry indoor air. Pair it with a natural fiber planter or sleek ceramic pot for a relaxed, stylish welcome.
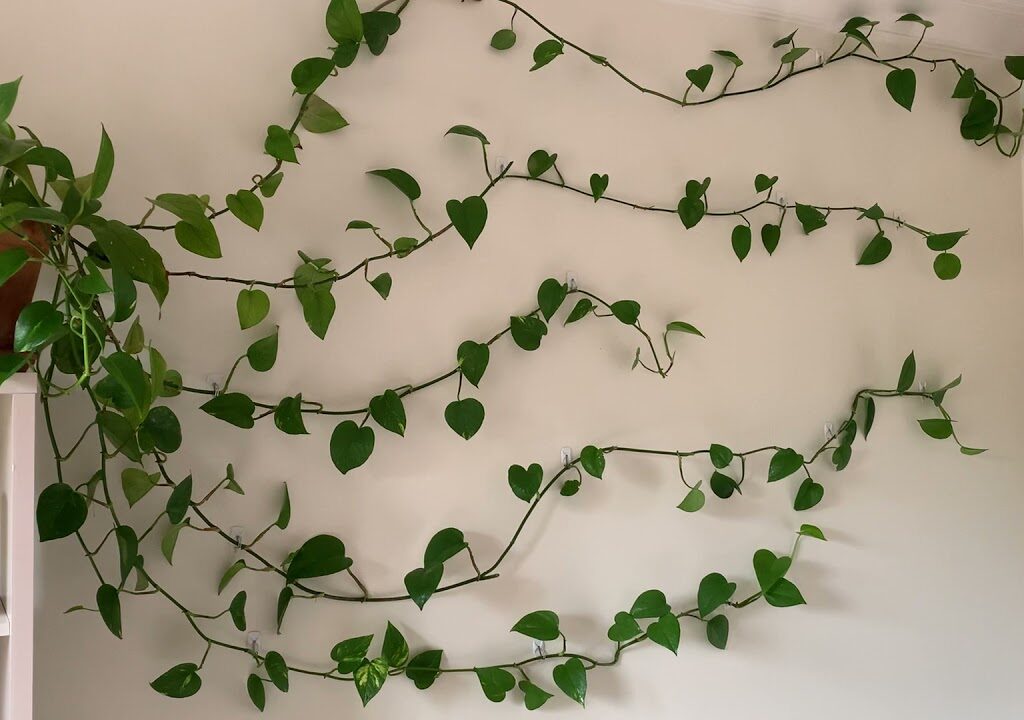
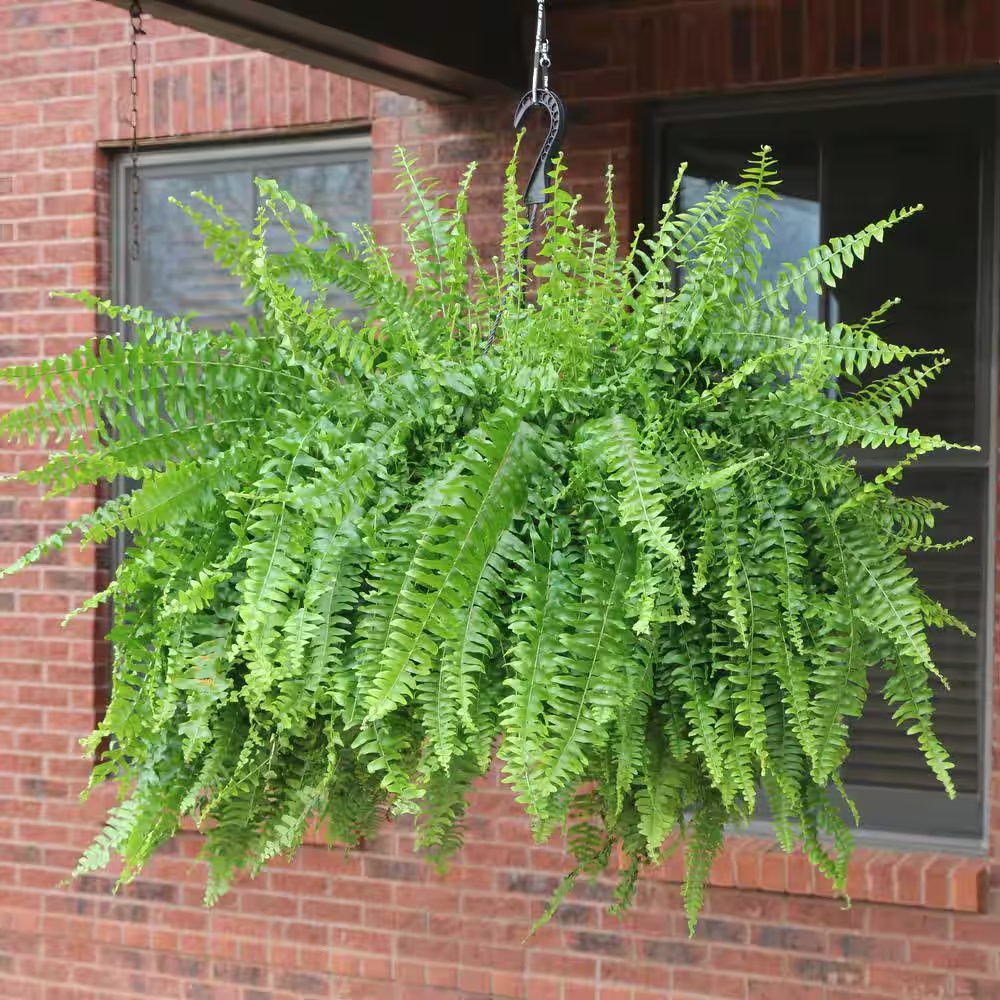
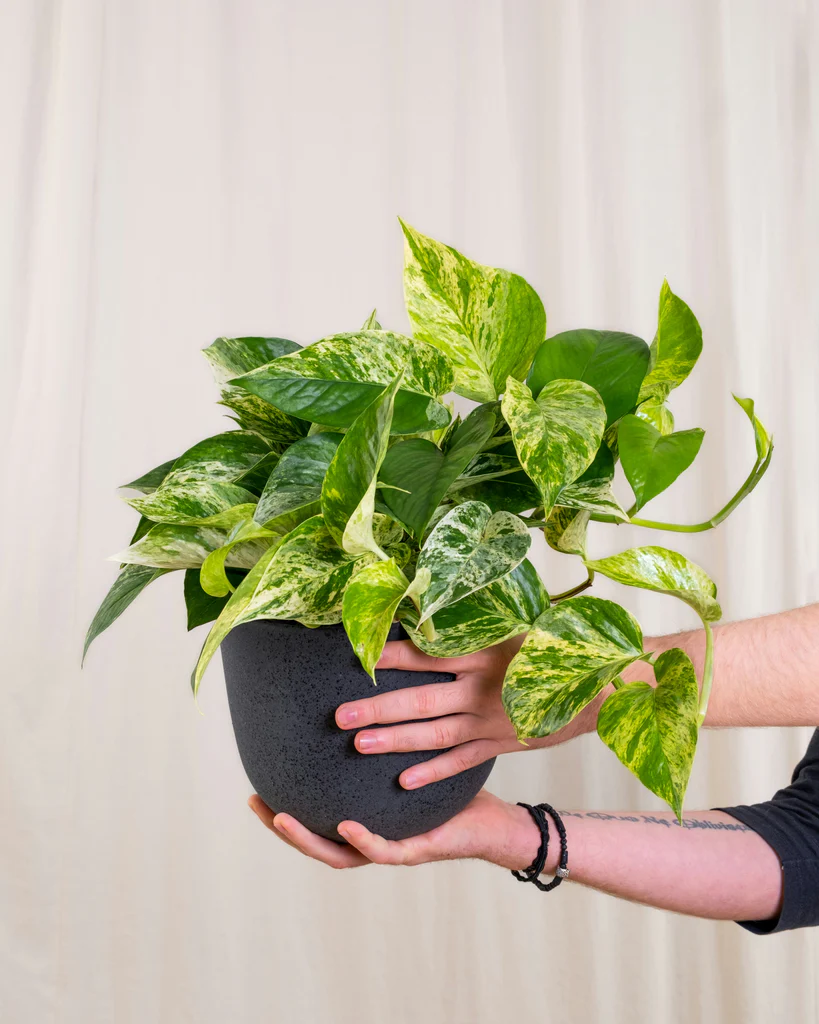
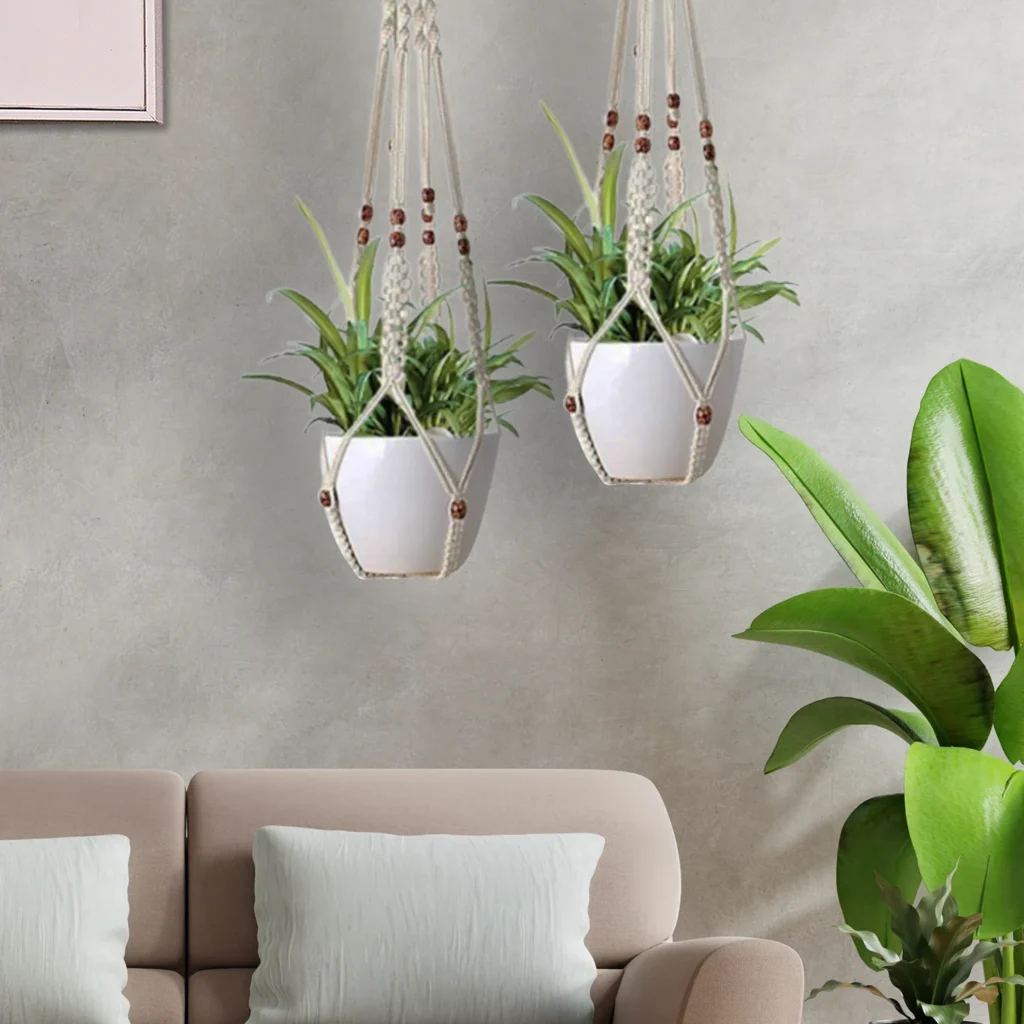
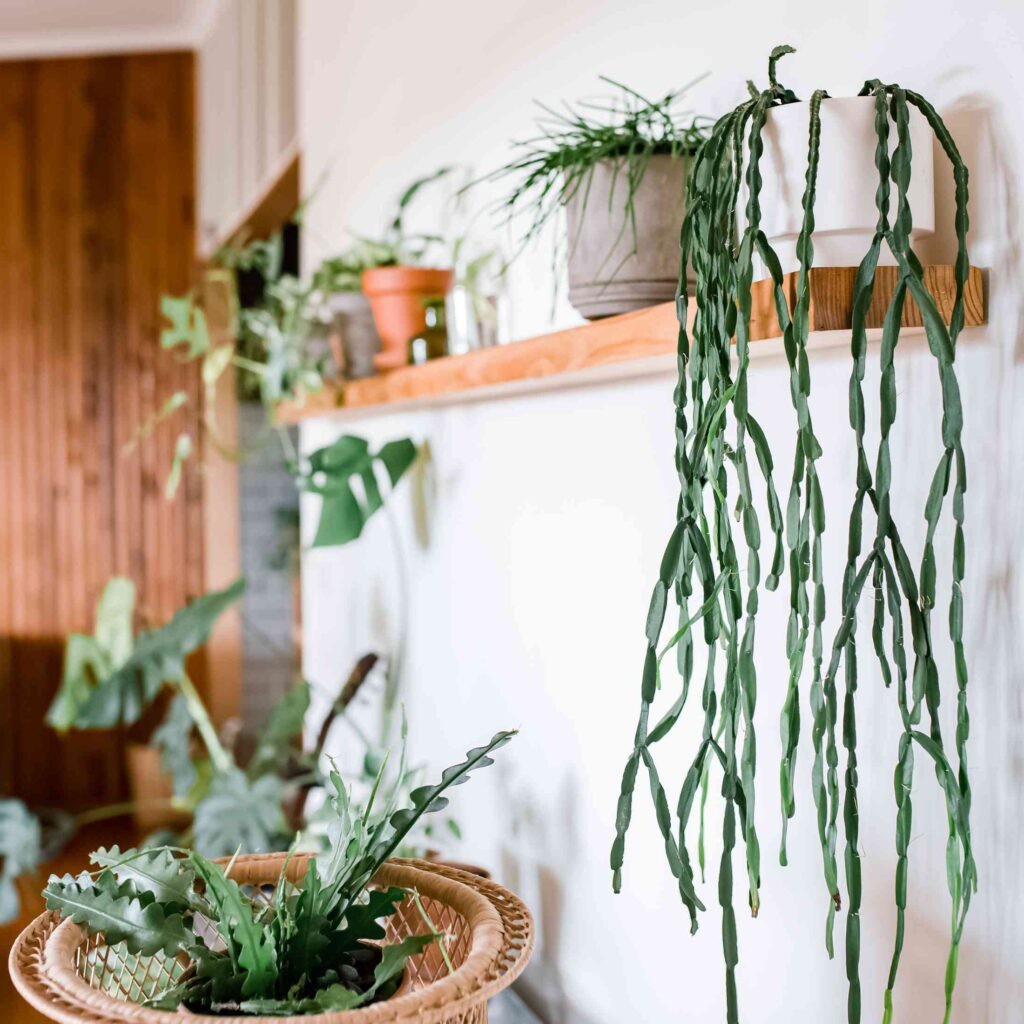
6. Pothos (Epipremnum aureum)
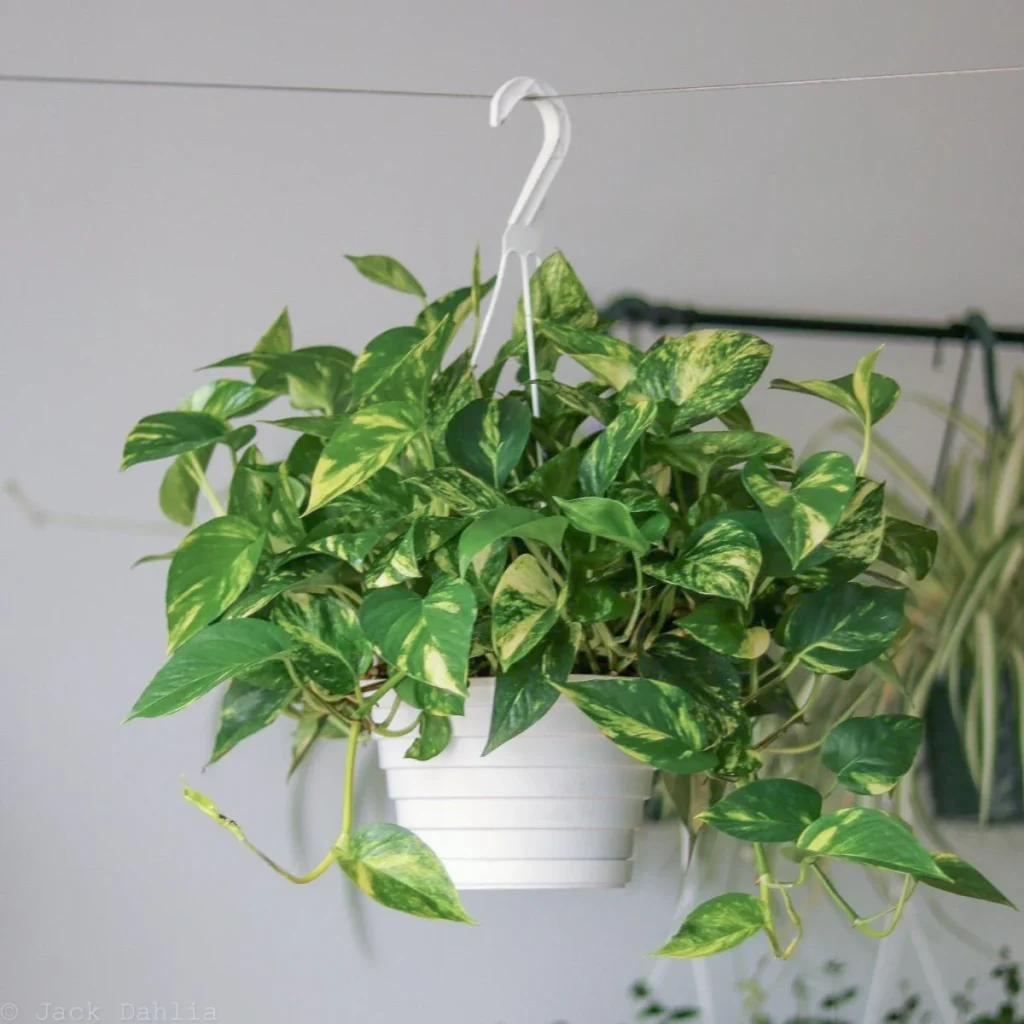
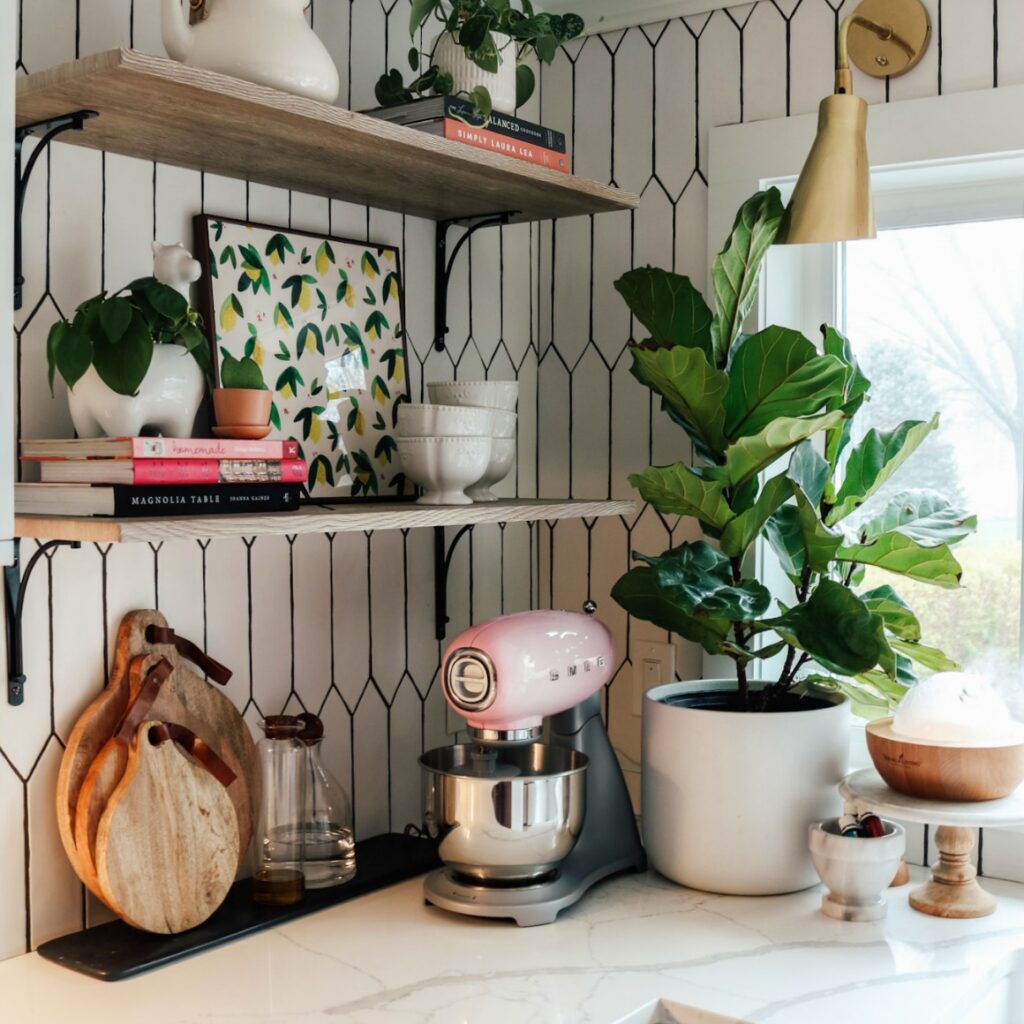
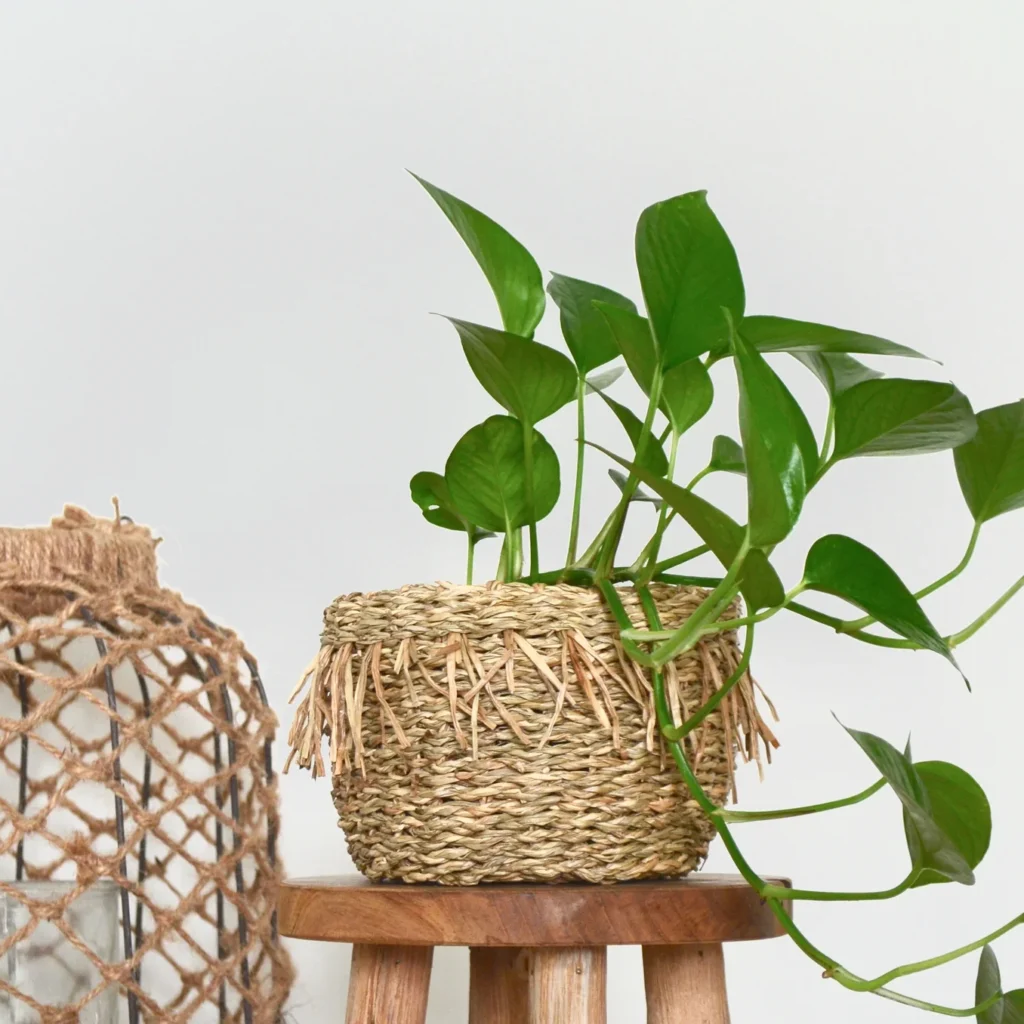
Perfect for both hanging and tabletop arrangements, Pothos is a versatile, trailing plant that works beautifully in entryways. Its heart-shaped, variegated leaves add a splash of green and instantly soften the edges of shelves, hooks, or console tables. Pothos thrives in various lighting conditions and requires minimal care, making it ideal for busy entry spaces. You can hang it in a macramé planter by the door or let it trail from a high shelf for a cascading, effortless look.
Final Thoughts
A thoughtfully styled entryway with greenery makes your home feel warm, lively, and instantly more welcoming. From the dramatic Rubber Plant to the easygoing Pothos, these indoor plants for entryways offer both beauty and practicality. Choose one or mix a few for layered textures and heights — your guests (and you) will be greeted by natural charm every time you step through the door.