
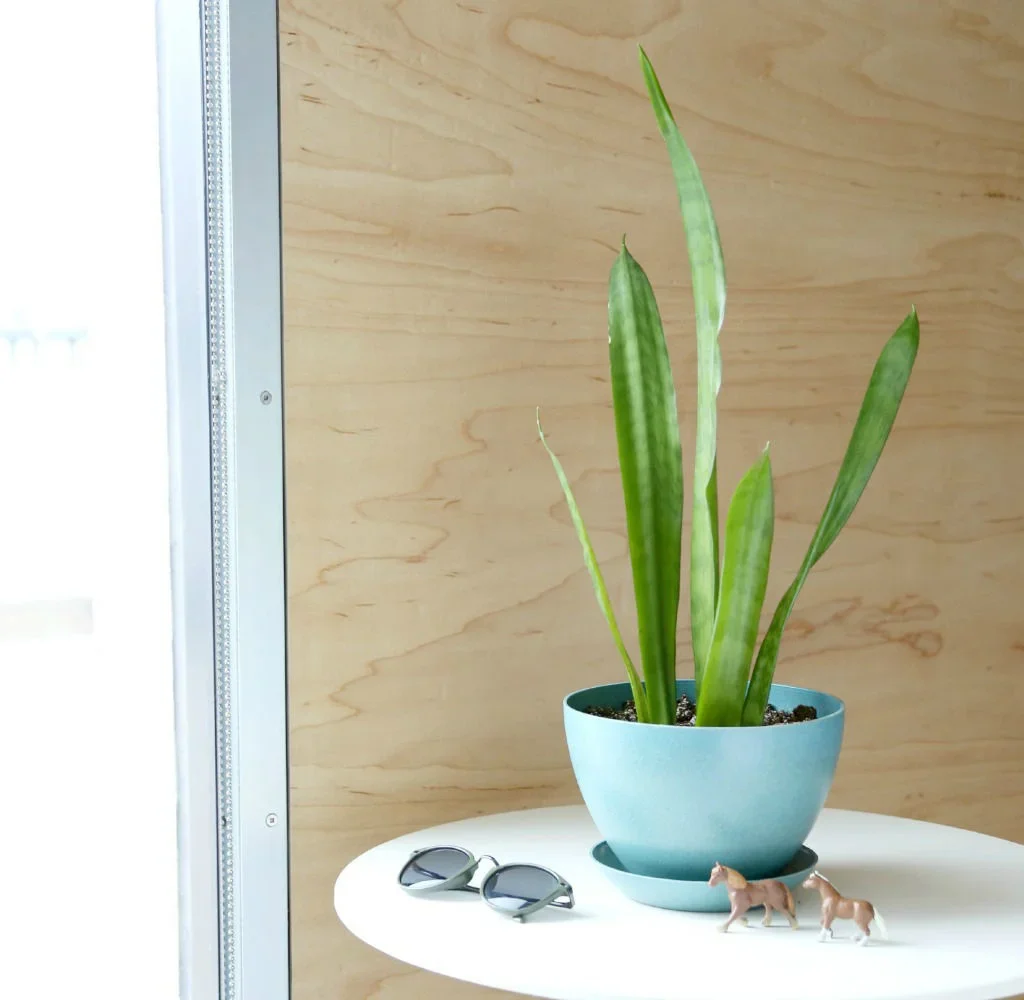
Snake plants (Sansevieria or Dracaena trifasciata), also known as mother-in-law’s tongue, are among the most resilient and stylish indoor plants. Their upright sword-like leaves make them a top choice for modern interiors, while their air-purifying qualities add health benefits to their beauty. However, despite their hardy nature, one task often intimidates plant lovers: repotting without causing root damage.
In this comprehensive guide, we’ll walk step by step through how to repot snake plants safely, ensuring their roots stay healthy and your plant thrives for years.
Why Repotting Snake Plants Is Important
Like any potted plant, snake plants eventually outgrow their containers. While they are slow growers, several signs indicate it’s time to repot:

- Roots are circling or poking out of the drainage holes.
- Soil dries out too quickly after watering.
- The plant looks top-heavy or unstable, ready to topple.
- Growth has slowed down, and the plant looks crowded.
Repotting provides fresh soil, more space for growth, and ensures roots don’t suffocate from being pot-bound. But because snake plants have thick, fleshy roots and rhizomes that are prone to damage, repotting must be done carefully.
When Is the Best Time to Repot Snake Plants?
Timing matters in repotting. The ideal period is during spring or early summer, when the plant is in its active growing phase. This allows the roots to recover quickly from any stress. Avoid repotting in winter unless absolutely necessary, as snake plants grow very slowly during colder months.
Step-by-Step Guide to Repotting Snake Plants Without Root Damage
1. Prepare Your Tools and Materials
Before you start, gather the essentials:

- A new pot (1–2 inches larger in diameter than the current one).
- Fresh, well-draining potting mix (cactus or succulent soil is ideal).
- A trowel or spoon for scooping soil.
- Sterilized scissors or pruning shears (in case root trimming is needed).
- Gardening gloves (optional, for handling soil).
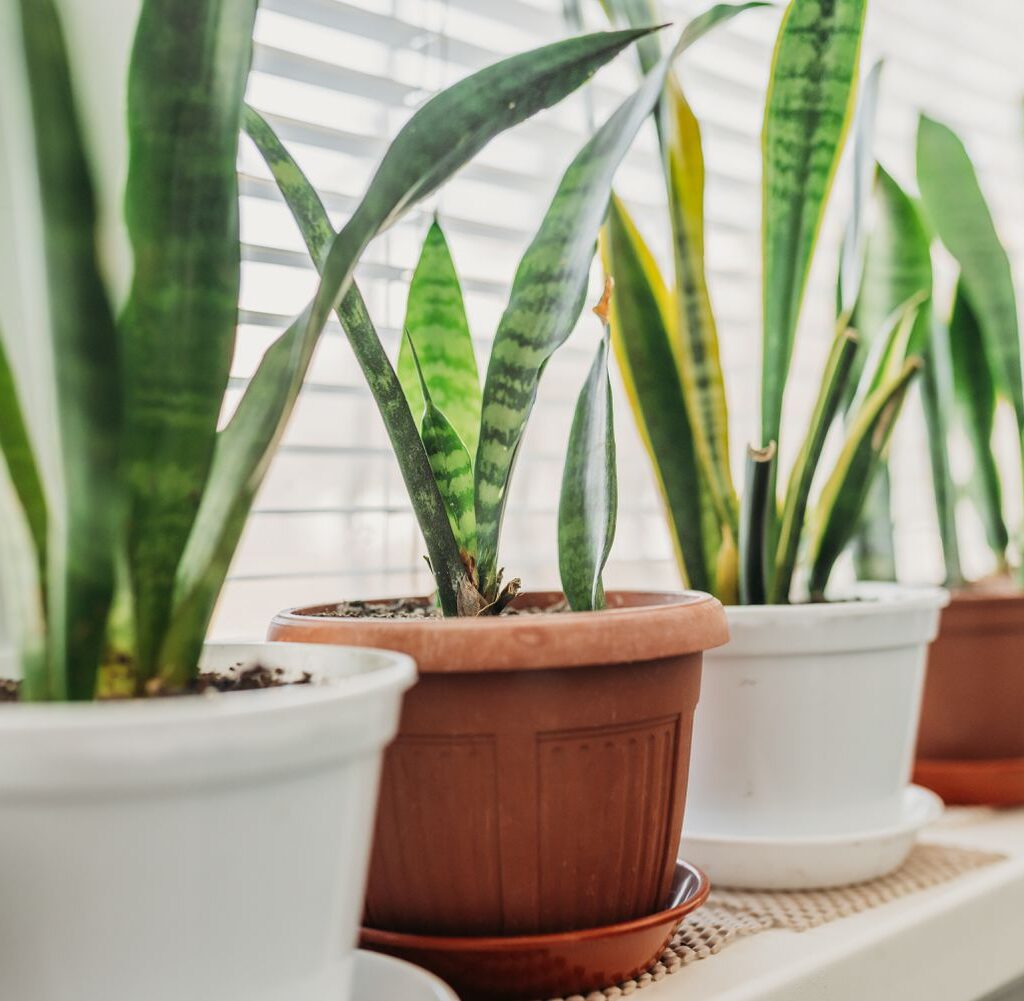
2. Choose the Right Pot
Snake plants dislike soggy soil, so picking the right container is crucial. Choose a pot with:
- Drainage holes at the bottom.
- Material like terracotta, which helps wick away excess moisture.
- Slightly bigger size, but not too large—extra soil can retain water and risk root rot.
3. Remove the Plant Gently from Its Pot
This is the step where most root damage occurs. Follow these tips:
- Water the plant two days before repotting. Slightly moist soil makes removal easier.
- Tilt the pot sideways and gently tap the sides or bottom to loosen the root ball.
- If the plant is stuck, run a butter knife around the inner rim of the pot to free the roots.
- Avoid pulling the leaves directly, as this may break them or damage the roots below.
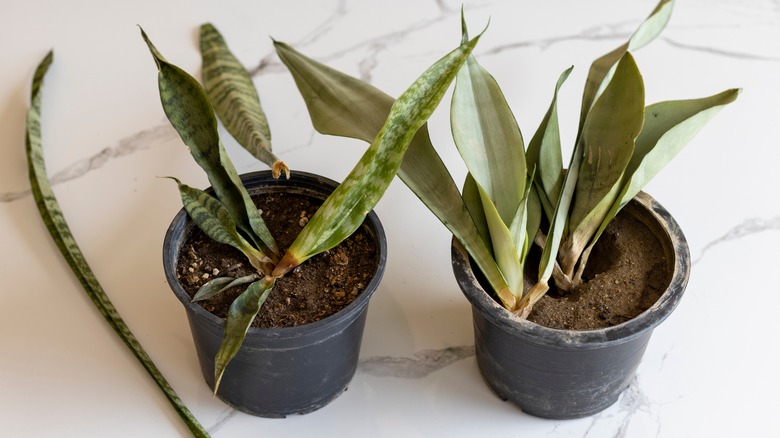
4. Inspect and Loosen the Roots
Once removed, gently brush away excess soil from the roots. Look for these signs:

- Healthy roots: firm and white or light orange in color.
- Unhealthy roots: mushy, dark, or rotten-smelling. Trim these off with sterilized scissors.
If roots are tightly circling, gently tease them apart with your fingers. Avoid forcefully pulling them—slow loosening prevents breakage.
5. Refresh the Soil

Snake plants thrive in well-draining soil. The ideal mix includes:
- 2 parts cactus/succulent mix or sandy loam.
- 1 part perlite or pumice for drainage.
- Optional: a small amount of compost for added nutrients.
This soil structure prevents waterlogging, the number one killer of snake plants.

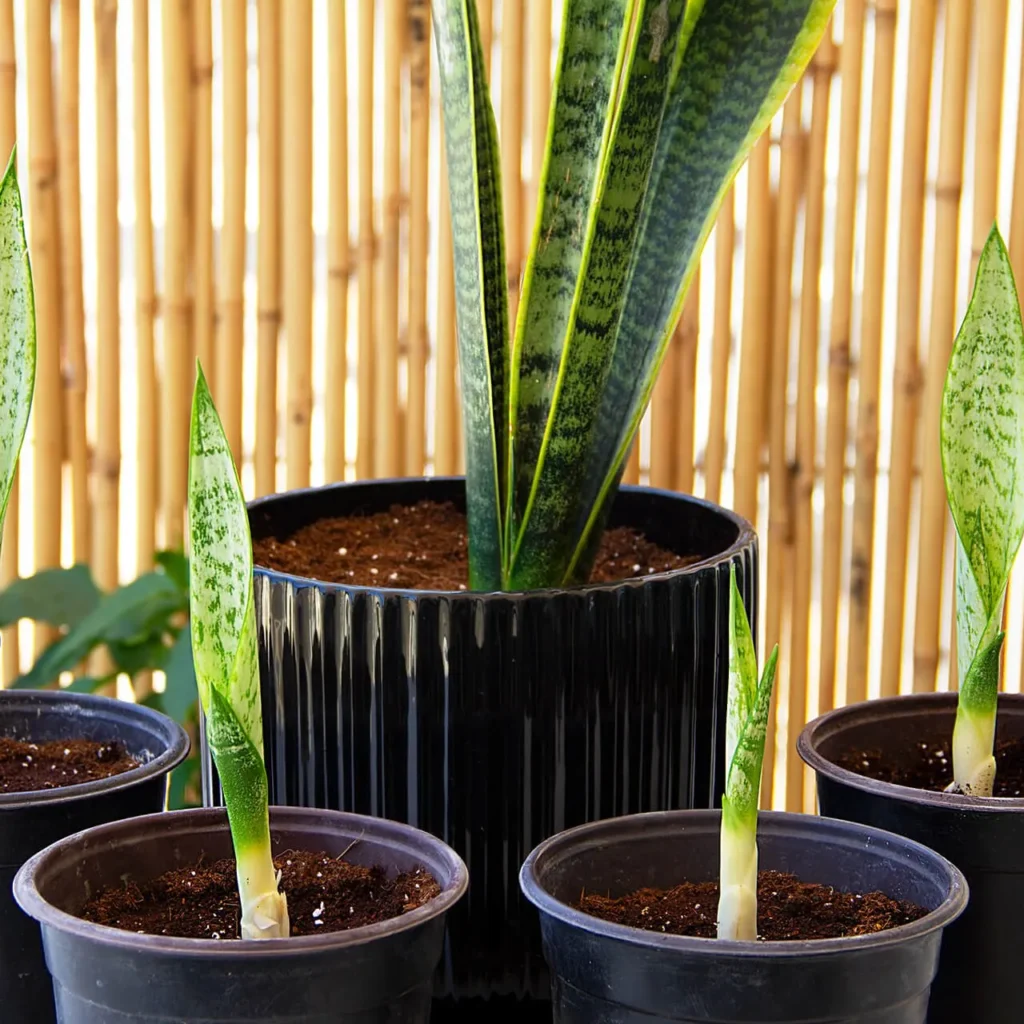
6. Place the Plant in the New Pot
- Add a thin layer of soil at the bottom of the pot.
- Position the snake plant upright in the center.
- Fill in around the sides with fresh soil, gently pressing it down to eliminate air pockets.
- Ensure the rhizome (base of the plant) sits at the same level as before—burying it too deep can lead to rot.
7. Watering After Repotting
Watering is the final but most critical step:
- Wait 2–3 days before watering after repotting. This allows cut or disturbed roots to heal and reduces rot risk.
- When you do water, give it a light drink and let excess drain out.
- Resume your normal snake plant watering schedule (every 2–3 weeks, depending on conditions).
Tips to Avoid Root Damage During Repotting
- Always handle roots gently—never tug or yank.
- Use sterilized scissors for trimming, reducing the risk of infection.
- Don’t oversize the pot; excess soil can suffocate roots.
- Allow roots to air dry for an hour if you had to trim rotten sections—this helps prevent fungal infection.
Aftercare for a Recently Repotted Snake Plant
Your snake plant may experience mild stress after repotting. Here’s how to help it recover:
- Light: Place it in bright, indirect light (not harsh direct sunlight).
- Water: Keep watering minimal until roots re-establish.
- Temperature: Maintain a warm environment (65–85°F).
- Patience: Don’t fertilize for at least 6 weeks post-repotting. Fertilizer can burn vulnerable new roots.
Common Mistakes to Avoid
- Overwatering right after repotting – causes root rot.
- Using the wrong soil – heavy garden soil retains too much moisture.
- Choosing an oversized pot – increases water retention, stressing roots.
- Not trimming rotten roots – allows diseases to spread.
- Repotting too often – snake plants prefer being slightly root-bound.
Conclusion
Repotting snake plants doesn’t have to be stressful—for you or the plant. By using the right tools, soil, and gentle handling techniques, you can safely move your snake plant into a new home without damaging its roots. Remember to water sparingly after repotting and provide proper aftercare to help the plant recover.

Snake plants reward you with low maintenance, air-purifying benefits, and bold architectural style. With careful repotting, you’ll ensure they remain a thriving, healthy centerpiece in your indoor garden for years to come.