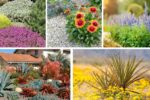
Flower bulbs are one of the simplest and most rewarding ways to add color, fragrance, and charm to your garden. Whether you want cheerful tulips in spring, elegant lilies in summer, or dazzling daffodils brightening up your yard, bulbs are an excellent choice for gardeners of all skill levels. Unlike many plants, bulbs contain everything they need to grow—making them reliable, low-maintenance, and perfect for both beginners and seasoned gardeners.
In this article, we’ll take you through a comprehensive step-by-step guide to planting flower bulbs, covering everything from bulb selection and preparation to aftercare and long-term maintenance, so you can enjoy vibrant blooms year after year.
Understanding Flower Bulbs
Before diving into planting, it’s important to understand what a flower bulb actually is. A bulb is a storage organ that holds all the nutrients a plant needs to grow and bloom. When planted at the right depth and season, bulbs sprout roots, stems, leaves, and flowers, then go dormant until the following year.
There are two main types of flower bulbs:
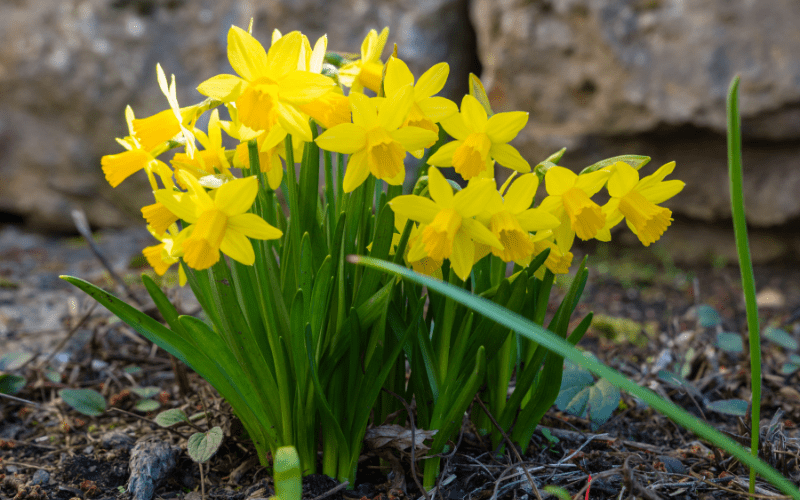
- Spring-flowering bulbs – such as tulips, daffodils, hyacinths, and crocuses. These are planted in autumn and bloom in spring.
- Summer-flowering bulbs – such as lilies, gladiolus, and dahlias. These are planted in spring and bloom in summer or early fall.
Knowing which bulbs bloom when will help you plan your garden so you can enjoy flowers all year round.
Step 1: Choosing the Right Bulbs
The first step is selecting healthy, high-quality bulbs. The quality of the bulb directly impacts the quality of the bloom.
- Check the firmness: A healthy bulb should feel firm and plump, not soft or shriveled.
- Avoid mold or rot: Stay away from bulbs with visible mold, cuts, or foul odor.
- Size matters: Larger bulbs usually produce bigger and stronger flowers.
- Choose for your climate: Some bulbs thrive in colder winters, while others prefer warmer climates.
Pro tip: Buy bulbs from trusted nurseries or suppliers rather than bargain bins, where bulbs may have dried out or been stored poorly.
Step 2: Selecting the Right Planting Site
The success of your bulb planting largely depends on location. Most bulbs prefer:
- Well-draining soil: Bulbs will rot if the soil stays soggy. Sandy or loamy soil is ideal.
- Sunlight: Many bulbs thrive in full sun (6–8 hours daily), but some like partial shade (e.g., snowdrops and bluebells).
- Protection from wind: Tall flowers like gladiolus may need shelter to prevent bending or breaking.
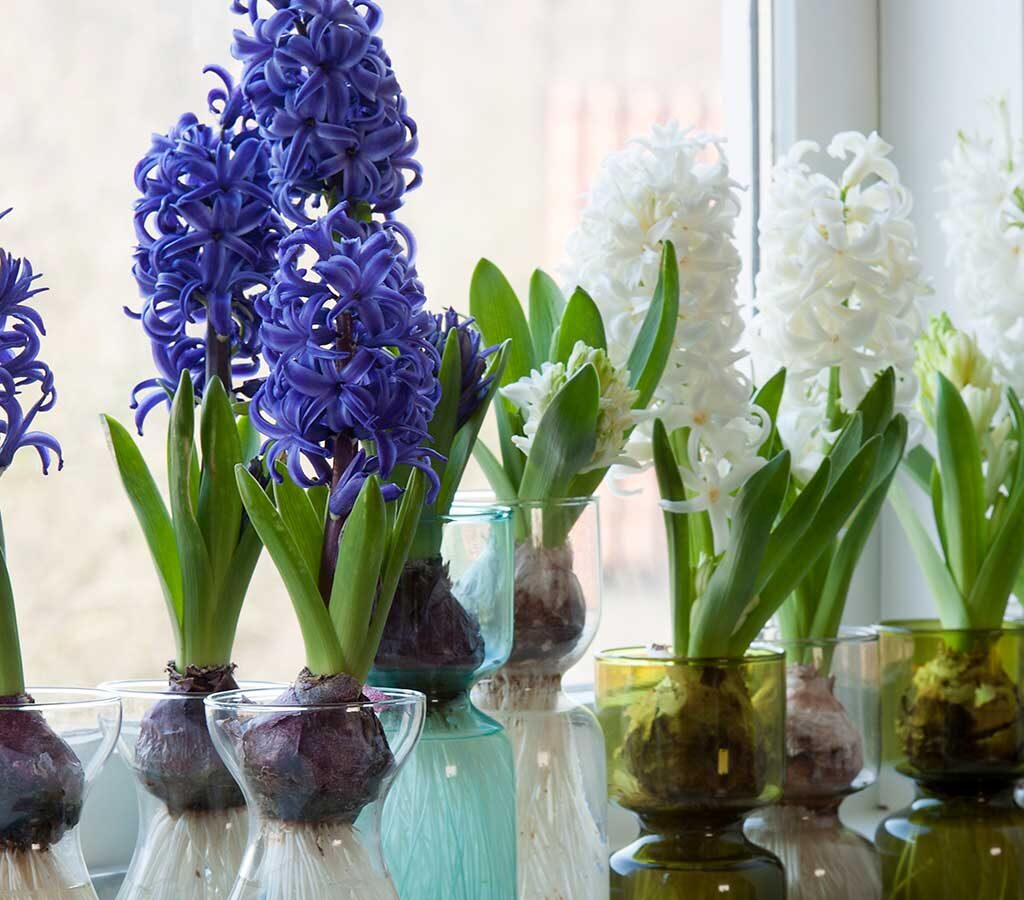
If you don’t have garden space, don’t worry! Bulbs also grow beautifully in containers and raised beds.
Step 3: Preparing the Soil
Healthy soil equals healthy blooms. Preparing the soil properly ensures bulbs receive the nutrients and drainage they need.
- Loosen the soil to a depth of at least 12 inches using a garden fork or trowel.
- Mix in organic matter such as compost, leaf mold, or well-rotted manure to improve fertility.
- Check pH levels – most bulbs prefer slightly acidic to neutral soil (pH 6–7).
- Add drainage material like sand or grit if your soil is heavy clay.
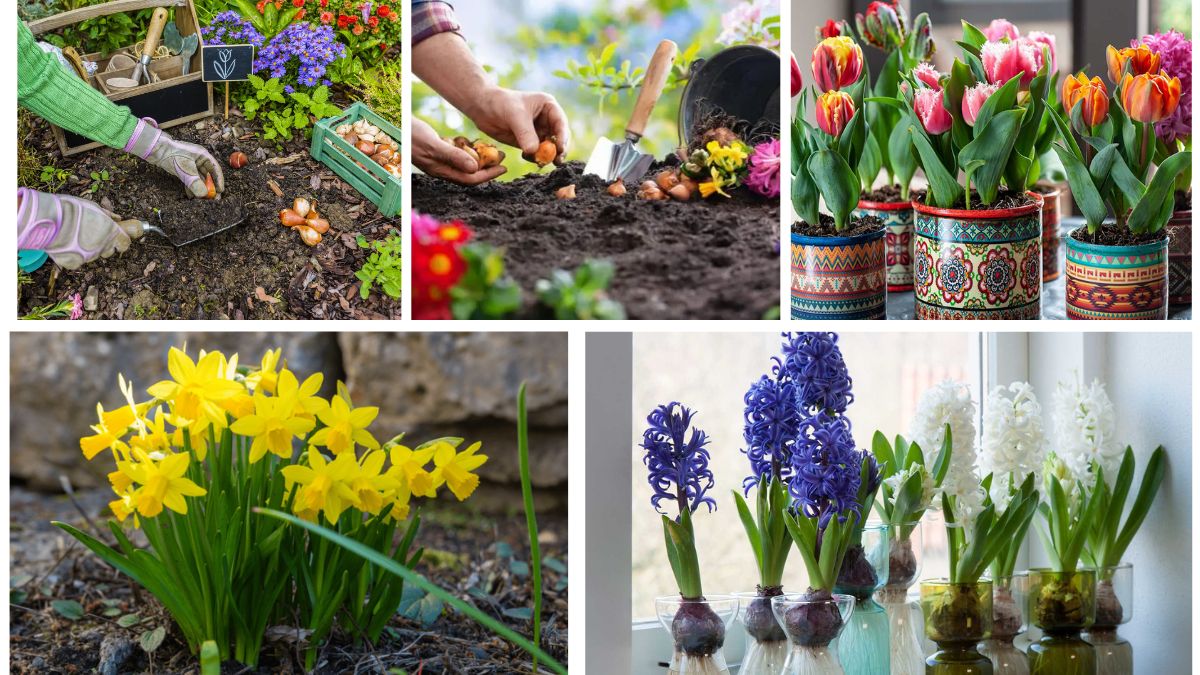
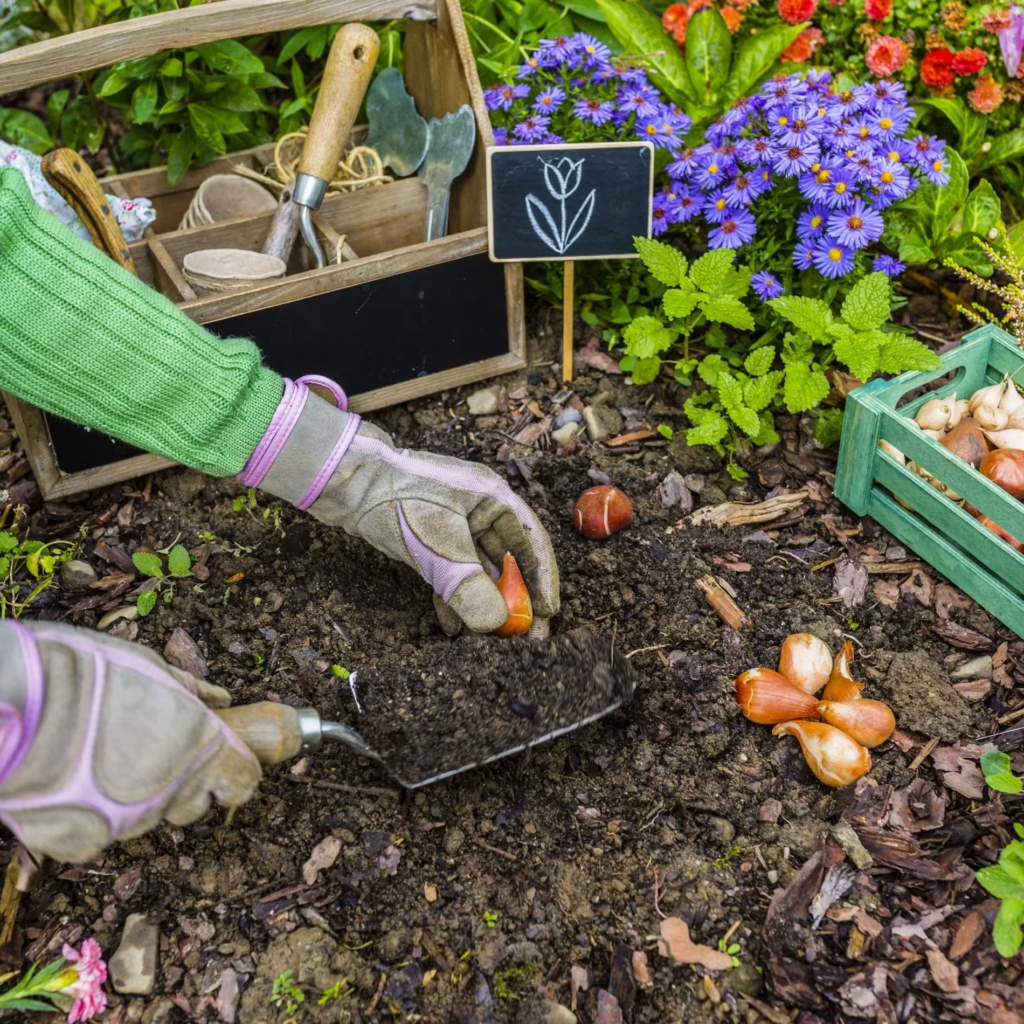
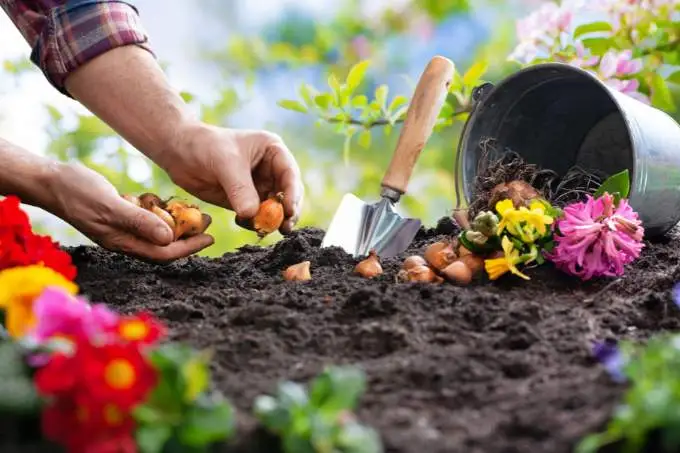
Step 4: Planting the Bulbs
Now comes the fun part—planting your bulbs!
- Planting Depth:
- A general rule is to plant bulbs two to three times as deep as their height. For example, a bulb that is 2 inches tall should be planted 4–6 inches deep.
- Small bulbs like crocuses need shallow planting, while large bulbs like daffodils and tulips go deeper.
- Spacing:
- Leave about 2–4 inches between small bulbs.
- Larger bulbs need 6–8 inches of space to grow freely.
- Positioning:
- Place bulbs with the pointed side facing up (this is where the stem will grow).
- If you can’t tell which side is up, plant the bulb sideways—it will naturally correct itself.
- Covering and Watering:
- Gently cover the bulbs with soil, pressing lightly to remove air pockets.
- Water thoroughly after planting to help the bulbs settle in.
Pro tip: Plant bulbs in clusters or drifts instead of single rows. This creates a more natural and eye-catching display when they bloom.
Step 5: Mulching and Protecting Bulbs
Mulching helps bulbs stay healthy and reduces maintenance.
- Apply a 2–3 inch layer of mulch (such as shredded bark or straw) over the planted area. This keeps soil moist, prevents weeds, and insulates against extreme temperatures.
- In colder climates, mulch is especially important to protect bulbs from frost.
- If squirrels or rodents are a problem, lay chicken wire or netting over the soil to stop them from digging up your bulbs.
Step 6: Watering and Fertilizing
Bulbs are relatively low-maintenance, but they do need proper care after planting.
- Watering:
- Right after planting, water deeply to encourage root growth.
- During the growing season, water regularly, but avoid overwatering.
- Once the flowers fade, reduce watering gradually.
- Fertilizing:
- Add a balanced bulb fertilizer (10-10-10) when planting.
- Feed again when shoots appear in spring.
- Avoid high-nitrogen fertilizers, which encourage leafy growth but fewer flowers.
Step 7: Caring for Bulbs After Blooming
One common mistake is cutting back leaves too soon after the flowers fade. The leaves are essential for photosynthesis, which replenishes the bulb’s energy for next year’s bloom.
- Deadhead spent flowers to prevent the plant from putting energy into seed production.
- Leave foliage to die back naturally (usually 6–8 weeks after blooming).
- Once the leaves turn yellow and dry, cut them off at ground level.
Step 8: Storing and Replanting Bulbs
Not all bulbs are hardy enough to survive winter in the ground. Tender summer bulbs like gladiolus, canna, and dahlias often need to be dug up and stored.

- Dig up the bulbs carefully after the first frost.
- Brush off excess soil and let them dry in a cool, ventilated place.
- Store in paper bags, mesh bags, or wooden crates filled with peat moss or sawdust.
- Keep in a cool, dark area (around 40–50°F).
Come spring, replant them for another season of blooms!
Extra Tips for Success
- Layering bulbs: For continuous color, try the “lasagna method.” Plant larger bulbs deep, medium bulbs in the middle, and smaller bulbs near the surface. This way, different flowers bloom one after another.
- Companion planting: Combine bulbs with perennials or ground covers. For example, tulips look lovely with pansies, and daffodils pair beautifully with hostas.
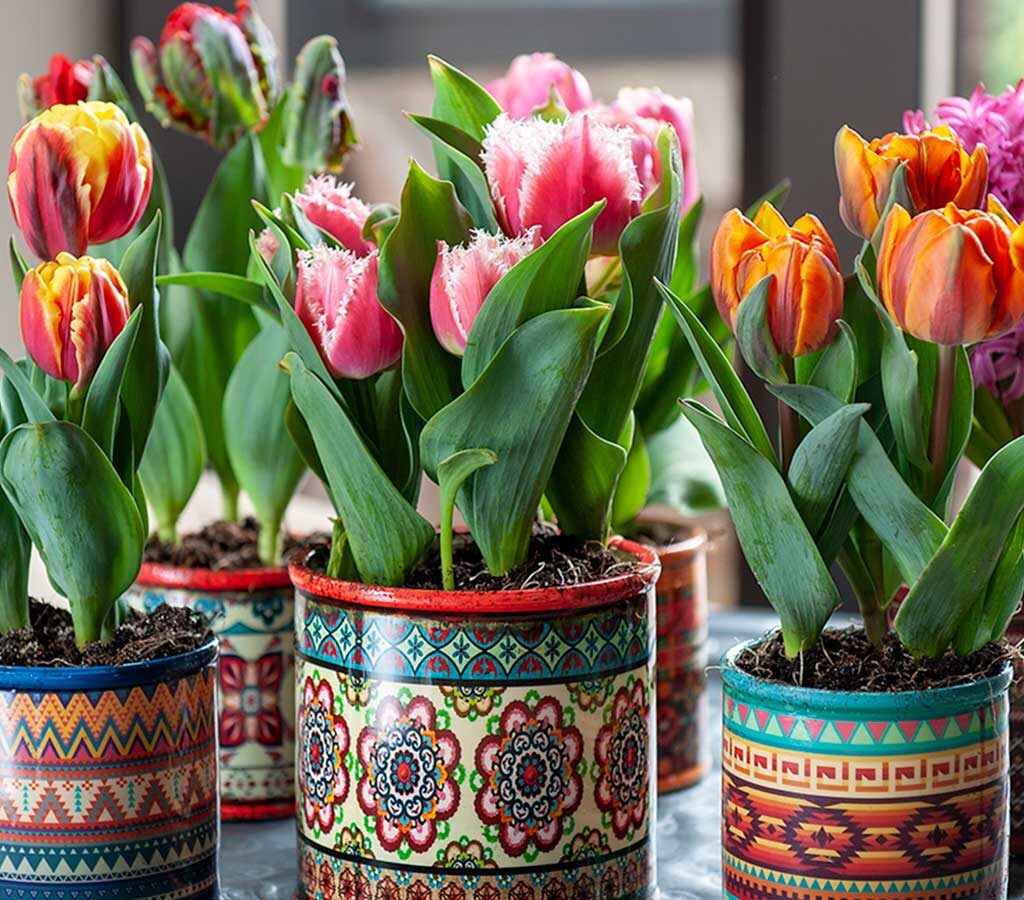
- Container planting: Use pots with good drainage and group bulbs close together for dramatic displays on patios and balconies.
Common Mistakes to Avoid
- Planting bulbs too shallow (they may dry out or freeze).
- Overwatering, which causes bulbs to rot.
- Cutting foliage too soon after blooming.
- Using poor-quality bulbs or planting in heavy, waterlogged soil.
Conclusion
Planting flower bulbs is a rewarding gardening activity that brings seasonal beauty to any home. With just a little planning and care, you can enjoy vibrant tulips in spring, majestic lilies in summer, and colorful gladiolus in late summer and fall. By following this step-by-step guide, you’ll give your bulbs the best chance to thrive and reward you with dazzling displays year after year.
Whether you’re planting in the ground, in raised beds, or in containers, bulbs are a simple yet transformative way to elevate your garden’s charm. With the right selection, planting techniques, and aftercare, you’ll soon have a garden bursting with color and life.