A lush, green lawn can transform the look and feel of your home, providing a soft, inviting space for recreation, relaxation, and curb appeal. While lawns can be maintained through sod, planting grass seed is a cost-effective and rewarding approach for homeowners and gardeners. Growing a lawn from seed requires careful planning, the right seed selection, proper soil preparation, and consistent care. This guide provides a complete step-by-step approach to growing grass seed for a vibrant, healthy lawn.
Introduction to Grass Seed Planting

Planting grass seed is more than scattering seeds on soil—it’s a systematic process that ensures strong root development, even growth, and long-lasting greenery. Unlike sod, seeded lawns require patience but offer more flexibility in grass variety, soil adaptation, and long-term care.
Grass seed is available in a variety of types, including cool-season and warm-season grasses, each suited to different climates. By choosing the right seed and following proper planting techniques, you can create a lawn that thrives in your environment and withstands foot traffic, drought, and pests.

Step 1: Selecting the Right Grass Seed
Choosing the right grass seed is the foundation of a successful lawn. Consider the following:
Cool-Season Grasses
- Thrive in northern climates and during fall and spring.
- Examples: Kentucky bluegrass, fescue, ryegrass.
- Ideal for areas with cold winters and moderate summers.
Warm-Season Grasses
- Thrive in southern climates with hot summers.
- Examples: Bermuda grass, zoysia, St. Augustine grass.
- Best for areas with mild winters and abundant sunshine.
Factors to Consider
- Sunlight exposure: Some grasses require full sun, while others tolerate shade.
- Soil type: Check your soil pH and texture; most grasses prefer well-draining soil with a pH between 6 and 7.
- Purpose: Decide whether the lawn is for high-traffic areas, ornamental beauty, or a combination.
Step 2: Preparing the Soil

Proper soil preparation is crucial for strong seed germination and root development. Follow these steps:
- Clear the area – Remove rocks, debris, weeds, and old grass to create a clean planting surface.
- Test and amend soil – Conduct a soil test to determine pH and nutrient levels. Add lime to raise pH or sulfur to lower it if needed.
- Till the soil – Loosen the top 2–3 inches of soil to promote root penetration and aeration.
- Add organic matter – Incorporate compost or well-rotted manure to improve soil fertility and moisture retention.
- Level the soil – Smooth the surface using a rake to ensure even seed coverage and prevent water pooling.
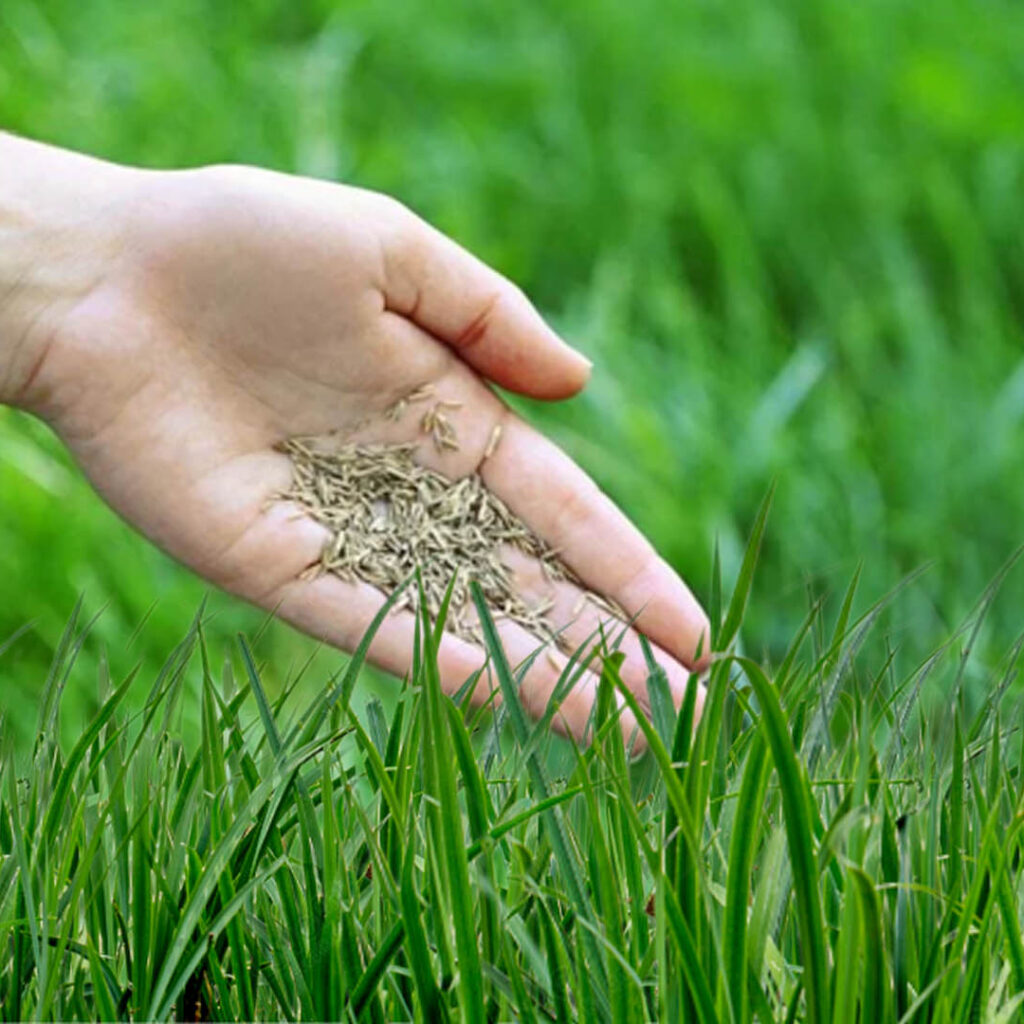
Step 3: Planting Grass Seed
Planting techniques vary slightly based on seed type, but the following steps are generally effective:

- Determine the seeding rate – Check the seed bag for recommended pounds per 1,000 square feet.
- Spread the seed – Use a broadcast spreader for even distribution. For small areas, hand scattering works well.
- Rake lightly – Gently rake the soil to ensure seeds make contact with the soil without burying them too deeply.
- Roll the lawn (optional) – Use a lawn roller to press seeds into soil for better germination.
- Mulch lightly (optional) – Apply a thin layer of straw or seed mulch to protect seeds from birds and drying out.
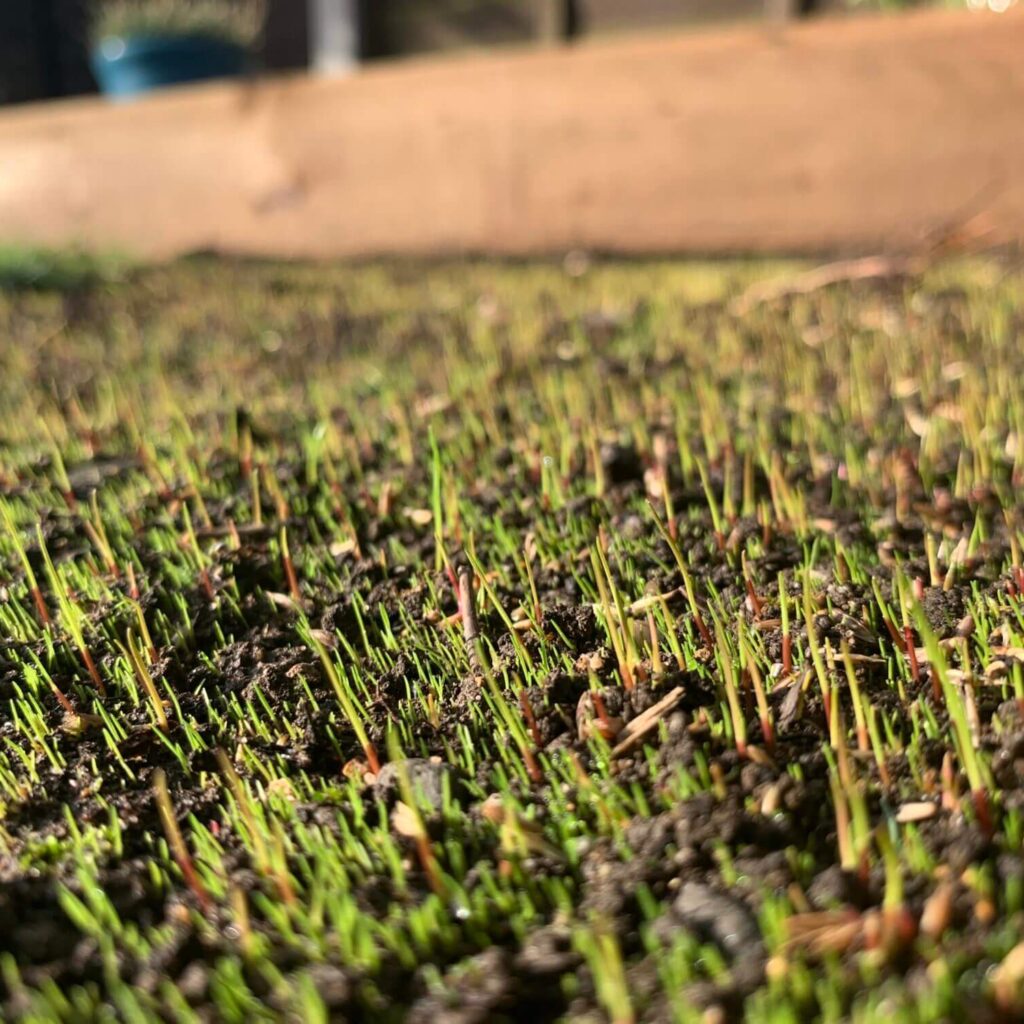
Step 4: Watering and Germination
Proper watering is essential for seed germination:
- Initial watering: Immediately water the newly planted area to moisten the soil thoroughly.
- Frequency: Keep the soil consistently moist for the first 2–3 weeks. Water lightly 1–2 times per day if needed, avoiding puddles or runoff.
- Transition: Once seedlings are established and 1–2 inches tall, reduce frequency but water more deeply to encourage strong root growth.
Tip: Avoid overwatering, which can lead to fungal problems or seed displacement.
Step 5: Fertilization
Fertilization provides essential nutrients for young grass seedlings:

- Starter fertilizer: Apply a phosphorus-rich starter fertilizer at planting to promote root development.
- Ongoing feeding: Use a balanced fertilizer after 4–6 weeks to encourage healthy leaf growth.
- Seasonal adjustments: Cool-season grasses benefit from fall fertilization, while warm-season grasses benefit from spring and summer feeding.
Step 6: Mowing Your Lawn

Mowing is a critical component of lawn care once the grass reaches 3–4 inches in height:
- Initial mowing: Wait until seedlings reach at least 3 inches tall to avoid uprooting young plants.
- Mowing height: Maintain 2.5–3 inches for cool-season grasses and 1–2 inches for warm-season grasses.
- Frequency: Avoid cutting more than one-third of the grass blade at a time to reduce stress.
- Sharp blades: Use sharpened mower blades to prevent tearing, which can make grass susceptible to disease.
Step 7: Weed and Pest Management
A newly seeded lawn is vulnerable to weeds and pests:
- Weed prevention: Avoid using herbicides until grass is established, typically after 6–8 weeks.
- Manual removal: Hand-pull weeds carefully to avoid disturbing grass seedlings.
- Pest control: Monitor for grubs, insects, and fungal diseases. Use appropriate treatments only if necessary.
- Healthy lawn practices: Regular watering, proper mowing, and fertilization reduce pest and weed problems naturally.
Step 8: Overseeding and Lawn Maintenance
Over time, a lawn may thin due to wear, drought, or pests. Overseeding restores density:

- Timing: Overseed cool-season lawns in early fall and warm-season lawns in late spring or early summer.
- Preparation: Mow existing grass shorter and lightly rake to expose soil.
- Seeding: Spread seed evenly and water consistently until new growth appears.
- Fertilization: Apply a light dose of fertilizer to support germination.
Other ongoing maintenance tips include:
- Aeration: Aerate the lawn annually to relieve soil compaction and improve root growth.
- Thatch control: Remove excess thatch buildup to enhance water and nutrient penetration.
- Regular watering: Deep, infrequent watering encourages deep roots and drought tolerance.
Step 9: Troubleshooting Common Lawn Problems
- Patchy Growth: May result from uneven seed distribution or soil quality. Reseed thin areas and improve soil conditions.
- Yellow Grass: Often caused by nutrient deficiencies or improper watering. Apply fertilizer and adjust watering.
- Weeds: Persistent weeds indicate weak grass coverage. Improve density with overseeding and proper care.
- Diseases: Fungal infections can occur in overly wet conditions. Ensure proper drainage and avoid overwatering.
Benefits of Growing a Lawn from Seed
- Cost-Effective: Seeds are less expensive than sod, especially for large areas.
- Variety Selection: Choose grass types suited to your climate and soil.
- Customizable Lawn: You can blend multiple grass varieties for texture, color, and resilience.
- Root Strength: Seed-grown lawns develop stronger roots compared to transplanted sod.
Growing a lawn from seed also offers a sense of accomplishment, as you nurture each stage from soil preparation to lush green growth.
Conclusion
Creating a lush lawn from grass seed requires planning, patience, and consistent care, but the results are well worth the effort. By selecting the right grass variety, preparing soil properly, planting seeds evenly, watering correctly, and providing ongoing maintenance, you can achieve a dense, vibrant lawn that enhances your home’s beauty and provides a comfortable space for outdoor activities.

From germination to mowing, fertilization, and pest management, each step contributes to the overall health and longevity of your lawn. With proper attention and seasonal care, your seeded lawn can thrive for years, offering a lush, green, and inviting outdoor environment that is both sustainable and aesthetically pleasing.
Growing grass from seed is not only economical but also rewarding, allowing you to take pride in cultivating a natural, green space that returns every season with renewed beauty.