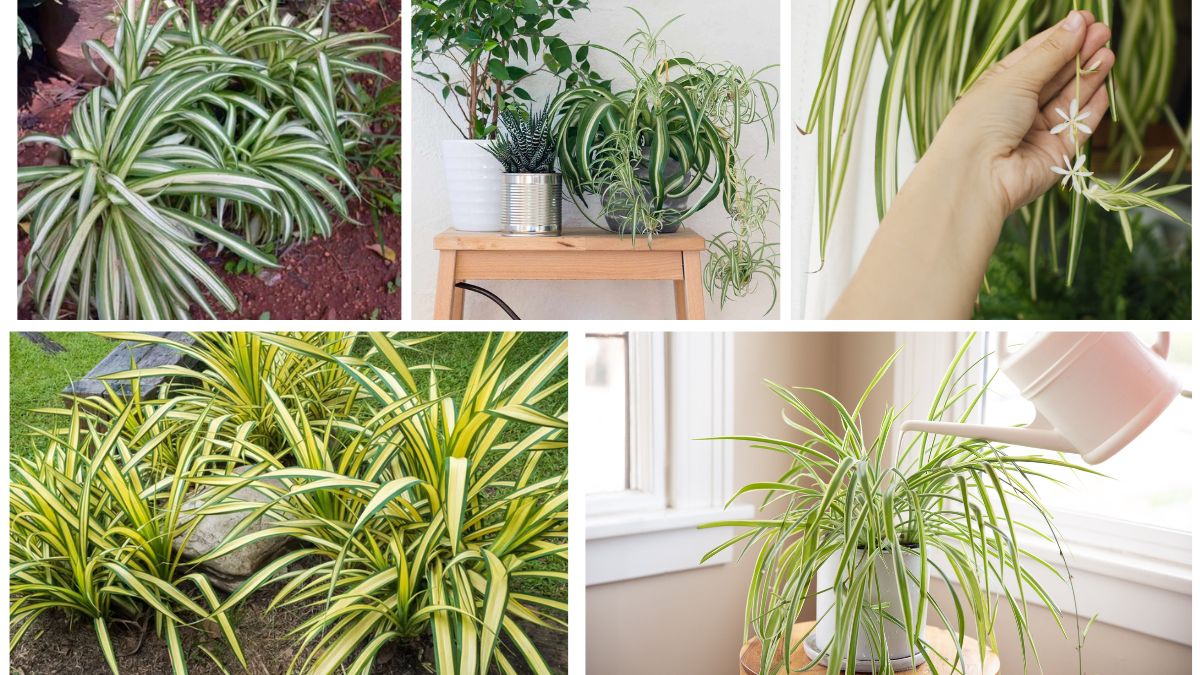
Spider plants (Chlorophytum comosum) are among the most popular and versatile houseplants, prized for their graceful arching leaves, easy care, and ability to purify indoor air. One of their most appealing traits is their remarkable capacity for propagation, allowing plant enthusiasts to multiply their collection without spending extra money. Propagating spider plants is simple, fun, and highly rewarding, making them perfect for beginners and seasoned gardeners alike. This guide provides a comprehensive step-by-step approach to propagating spider plants and expanding your indoor garden.
Introduction to Spider Plants
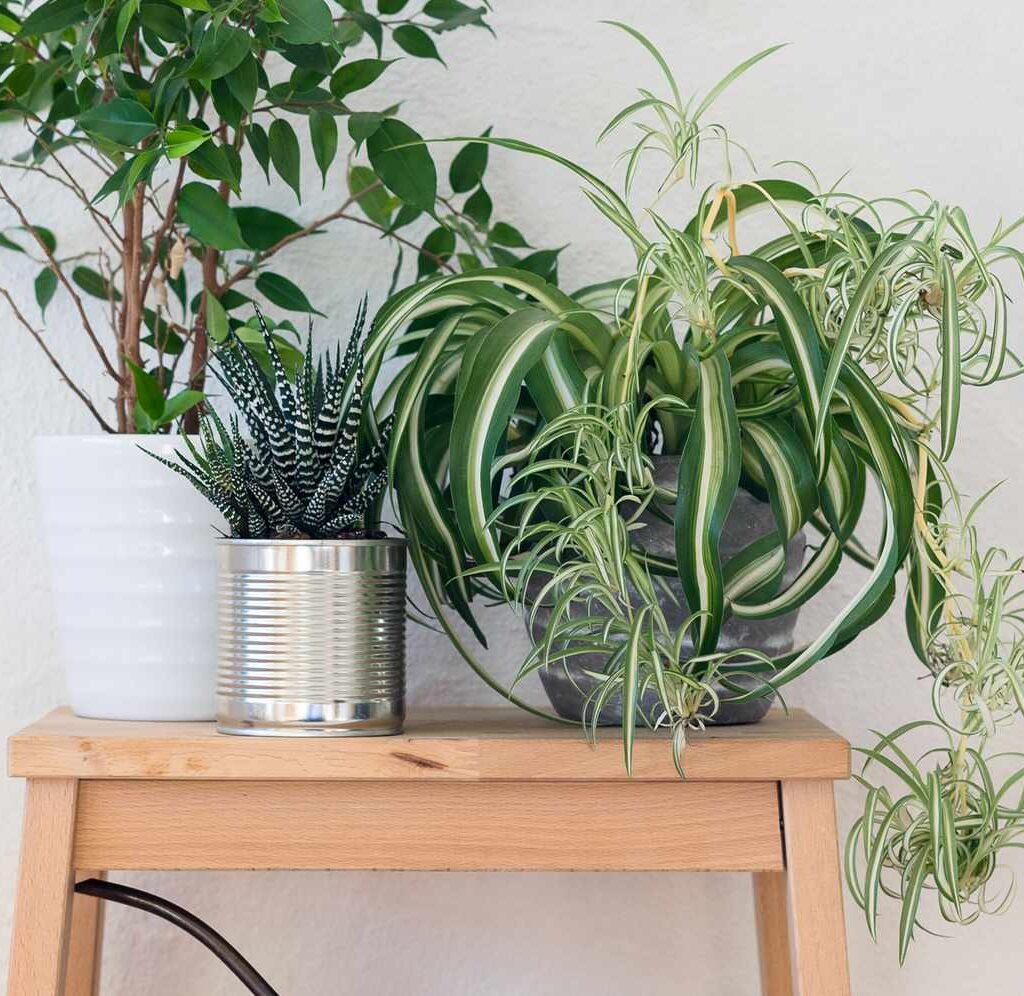
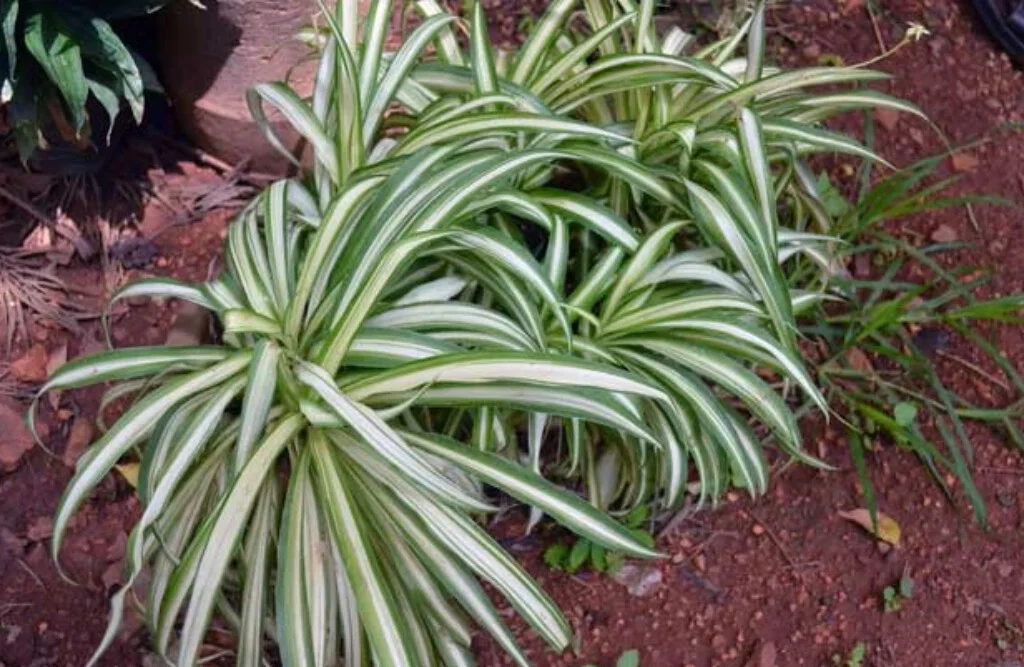
Spider plants are native to South Africa and have become a staple in homes worldwide due to their adaptability, low maintenance, and air-purifying qualities. They thrive in various indoor conditions, from moderate to bright indirect light, and require minimal care.
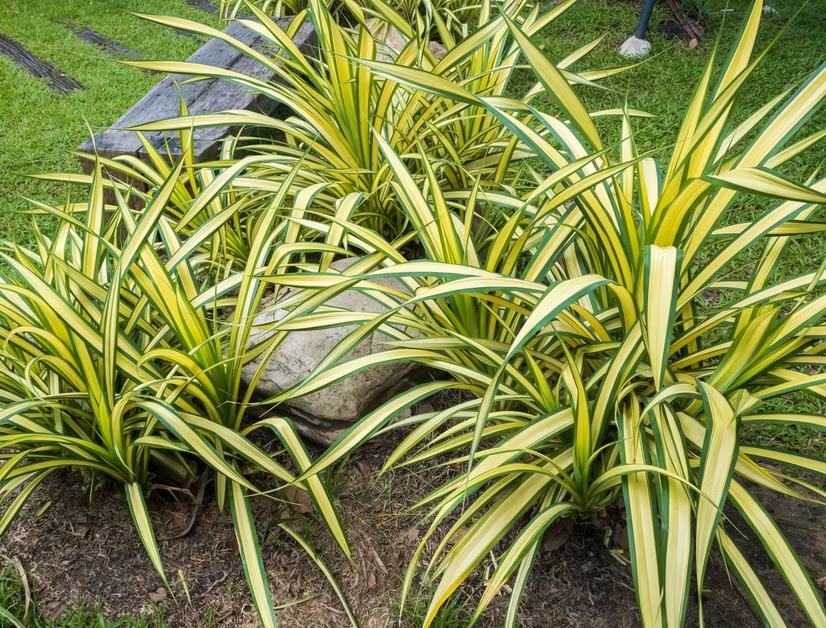
The plant produces long, arching leaves with green-and-white stripes, and during growth, it develops small plantlets, commonly known as “pups” or “spiderettes.” These plantlets can easily be separated and rooted to create new plants, allowing gardeners to expand their indoor greenery rapidly.
Step 1: Understanding Spider Plant Propagation
Spider plants propagate naturally via runners. Each runner grows from the main plant and produces small plantlets at its tip. These plantlets are miniature versions of the parent plant and often come with tiny roots, making them ideal for propagation.

Propagation can be done in three main ways:
- Water Propagation – Rooting plantlets in water before planting in soil.
- Soil Propagation – Directly planting plantlets into soil.
- Division of Mature Plants – Separating the main plant’s root ball to create multiple plants.
Each method is effective, and the choice depends on convenience and space availability.
Step 2: Selecting Healthy Spider Plantlets
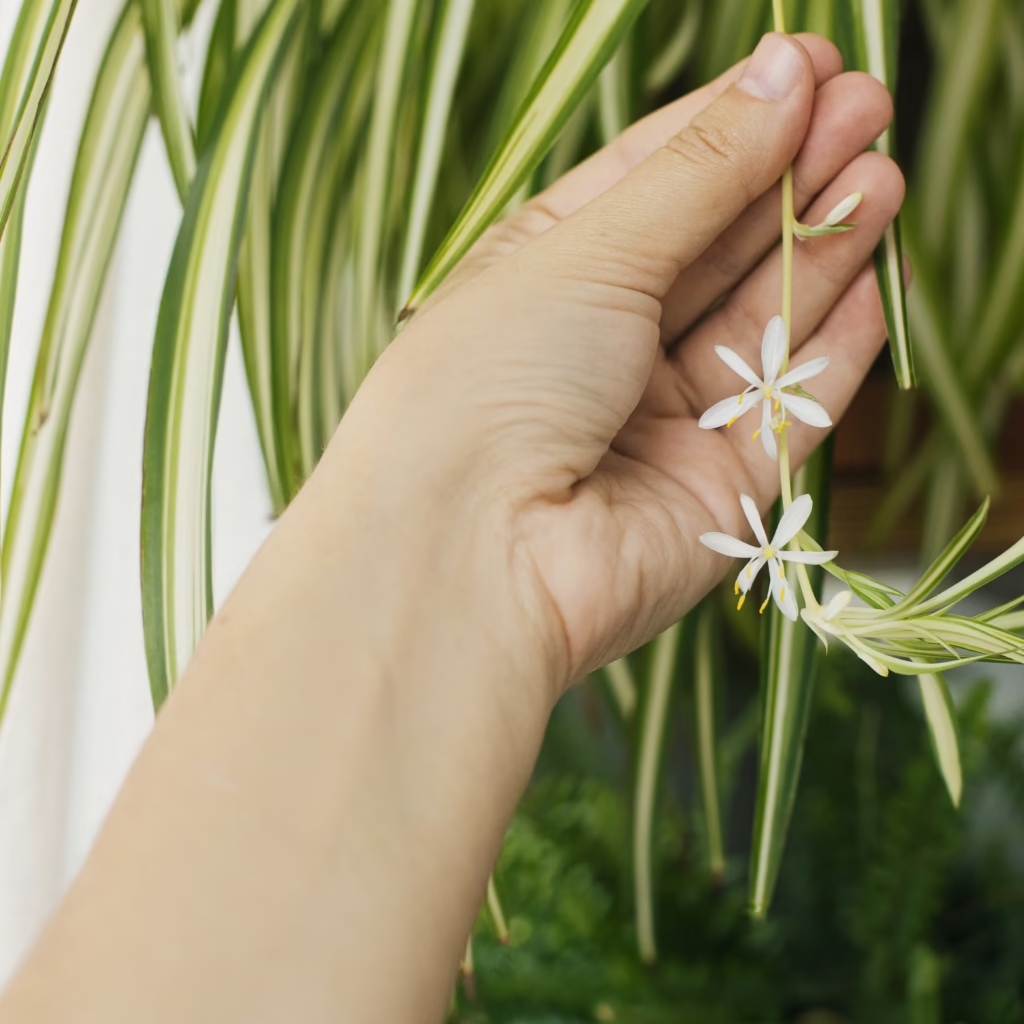
Before propagating, it’s crucial to select healthy plantlets:
- Look for firm, green leaves without brown tips or yellowing.
- Ensure the plantlet has visible tiny roots, which greatly increase propagation success.
- Choose moderately sized plantlets for best results; very small ones may take longer to establish.
Healthy plantlets have a higher survival rate and will grow quickly once propagated.

Step 3: Water Propagation Method
Water propagation is ideal for beginners and allows you to monitor root growth:
- Cut the plantlet from the parent plant, leaving a short stem attached.
- Place the plantlet in a small container of water, ensuring only the roots or base touch the water.
- Position the container in bright, indirect light.
- Change the water every 2–3 days to prevent bacterial growth.
- In 1–3 weeks, roots will grow longer and stronger, signaling readiness for soil transfer.
Tip: Avoid submerging the leaves in water to prevent rotting.
Step 4: Soil Propagation Method
Soil propagation allows plantlets to establish roots directly in a medium similar to their final home:
- Fill a small pot with well-draining potting soil. A mix of peat, perlite, and garden soil works well.
- Make a small hole in the soil and place the plantlet in it, gently covering the base with soil.
- Water lightly, ensuring the soil is moist but not soggy.
- Keep the pot in bright, indirect sunlight.
- Roots typically develop in 2–4 weeks.
Tip: Soil propagation avoids the shock of transplanting from water, providing a more seamless growth transition.

Step 5: Division of Mature Spider Plants
Another effective propagation method is dividing mature plants:
- Remove the entire parent plant from its pot.
- Gently shake off excess soil from the roots.
- Identify natural divisions in the root ball, separating them carefully into smaller clumps.
- Replant each division into a separate pot with fresh, well-draining soil.
- Water thoroughly and place in indirect light for recovery.
Tip: This method works best for overcrowded spider plants or when repotting is due, allowing you to create multiple plants from one parent.
Step 6: Caring for Newly Propagated Spider Plants
Proper care ensures plantlets grow into healthy, vibrant plants:
Light
- Place plants in bright, indirect sunlight. Avoid direct sunlight, which can scorch leaves.
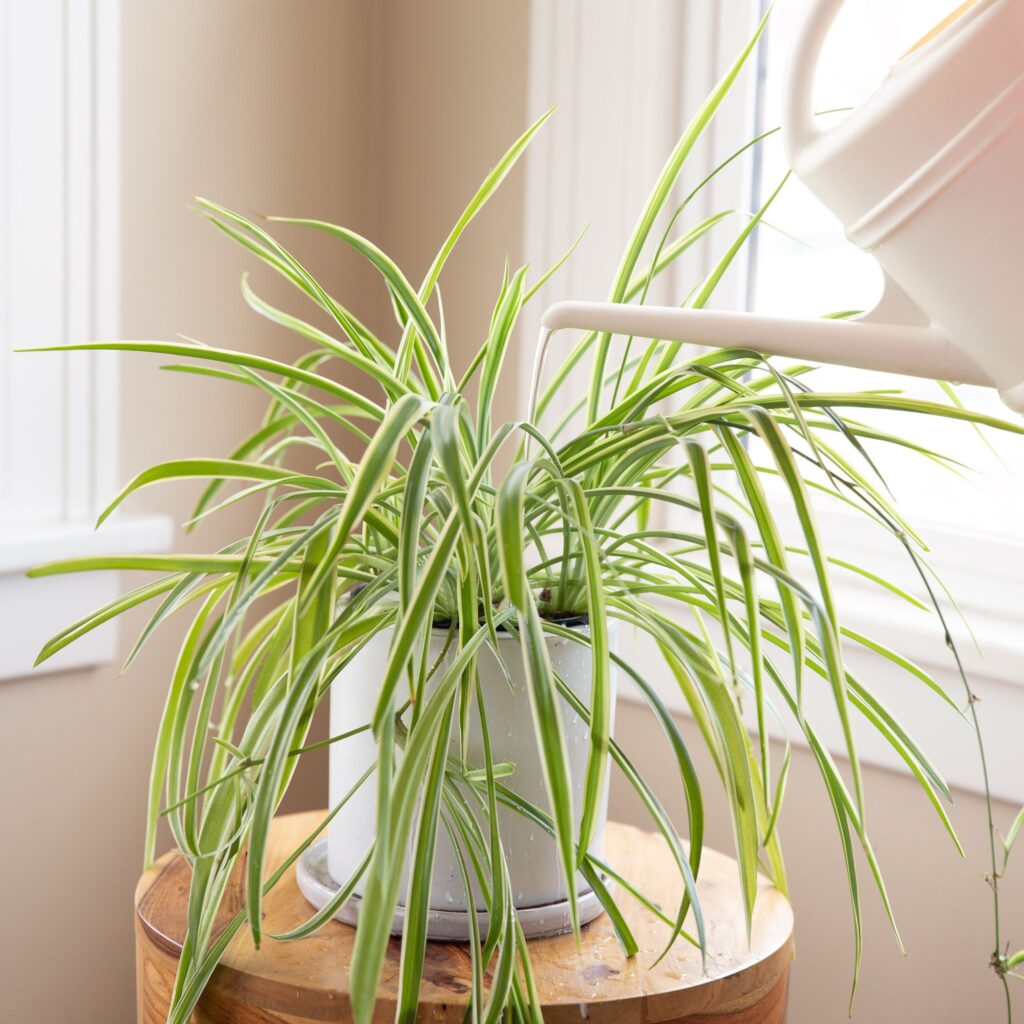
Watering
- Keep soil consistently moist during the initial rooting phase.
- Once established, water moderately, allowing the top inch of soil to dry out between watering.
Humidity and Temperature
- Spider plants thrive in average indoor humidity.
- Ideal temperature range: 60–75°F (15–24°C).
- Avoid cold drafts and sudden temperature fluctuations.
Fertilization
- Begin light feeding after 4–6 weeks using a balanced liquid fertilizer diluted to half strength.
- Fertilize monthly during the growing season for optimal leaf and root development.
Step 7: Common Problems and Solutions
- Brown Leaf Tips – Often caused by fluoride in tap water or over-fertilization. Solution: Use filtered water and moderate fertilizer.
- Yellow Leaves – May indicate overwatering or root rot. Solution: Reduce watering frequency and ensure proper drainage.
- Plantlet Failures – Weak or rootless plantlets may fail to establish. Solution: Select healthy plantlets and consider water propagation first.
- Pest Infestations – Spider plants can attract spider mites or aphids. Solution: Wipe leaves with mild soap solution or use neem oil as needed.
Step 8: Multiplying Your Indoor Garden
Propagating spider plants is not just a way to create new plants—it’s an opportunity to expand your indoor garden creatively:

- Gifting – Share new plantlets with friends and family.
- Indoor landscaping – Use multiple plants to fill shelves, hanging baskets, or window sills.
- Layered displays – Combine spider plants with other indoor plants for varied textures and visual appeal.
Over time, you can cultivate a lush indoor jungle with minimal investment, all starting from a single parent plant.
Step 9: Long-Term Maintenance
Spider plants are remarkably resilient but benefit from ongoing care:
- Repotting – Repot every 1–2 years as roots fill the container.
- Pruning – Trim older, yellowing leaves to maintain plant health.
- Cleaning – Wipe leaves occasionally to remove dust and improve photosynthesis.
- Propagation Continuation – Repeat propagation regularly to maintain a constant supply of plantlets for expansion or gifting.
Benefits of Propagating Spider Plants
- Cost-Effective – Multiply plants without purchasing new ones.
- Low Maintenance – Easy to care for and resilient to indoor conditions.
- Air Purification – Spider plants remove toxins like formaldehyde and xylene from the air.
- Educational – Ideal for learning plant propagation techniques and root development.
- Decorative Value – Adds greenery, texture, and visual interest to indoor spaces.
By propagating spider plants, you can create a sustainable and thriving indoor garden with multiple plants flourishing year after year.
Conclusion
Propagating spider plants is one of the simplest and most rewarding ways to expand your indoor garden. Whether using water propagation, soil planting, or division of mature plants, these resilient houseplants grow quickly and reliably, providing lush greenery, air purification, and decorative beauty.
With proper selection of healthy plantlets, attention to light, water, and soil, and ongoing maintenance, your spider plants will flourish and continuously provide new offsets for propagation. Not only does this save money, but it also enhances your indoor environment, creating a vibrant, healthy, and sustainable indoor garden that grows season after season.
From a single parent plant, you can multiply your indoor greenery endlessly, enjoy the satisfaction of nurturing each new plant, and share the joy of gardening with friends and family. Spider plants truly embody the essence of easy, rewarding indoor horticulture.