
Harvesting sweet potatoes is more than just digging up roots; it’s an essential step that determines the quality, shelf-life, and taste of your homegrown crop. If done incorrectly, the sweet, starchy tubers can be bruised, broken, or rot quickly. But don’t worry — with the right timing, technique, and tools, you can enjoy a bountiful, damage-free harvest. This comprehensive guide will walk you through how to harvest sweet potatoes without causing harm, ensuring that every tuber you pull from the ground is healthy and ready for storage or eating.
Understanding the Sweet Potato Plant
Sweet potatoes (Ipomoea batatas) are tropical root vegetables that grow underground from trailing vines. Unlike regular potatoes, they don’t form from the eyes of tubers but instead grow from “slips” — sprouts that emerge from mature sweet potatoes.
Once planted, these slips grow into lush vines with roots forming beneath the soil. These underground roots swell over time to become the delicious sweet potatoes we harvest. The key to damage-free harvesting lies in knowing when and how to dig them up properly.

1. Know the Right Time to Harvest
Harvesting too early or too late can impact both yield and tuber quality.
Signs Your Sweet Potatoes Are Ready:
- Maturity Time: Most sweet potato varieties are ready 90 to 120 days after planting.
- Yellowing Leaves: As the plant nears maturity, its leaves and vines will begin to yellow and die back naturally.
- Thickening Skin: Test a small tuber—gently rub the skin with your thumb. If it resists peeling, it’s mature.
Avoiding Late Harvest:
Leaving sweet potatoes in the ground too long can lead to overgrowth, cracking, or rot, especially in cold or wet soil.
2. Stop Watering Before Harvest
About 1-2 weeks before harvesting, reduce or completely stop watering your sweet potato vines. Dry soil helps the skin toughen and minimizes the risk of rot during and after harvesting.

3. Loosen Soil Gently
The biggest cause of damage to sweet potatoes during harvest is using force or sharp tools too close to the roots. Follow these best practices:
Tools You’ll Need:
- Garden fork or spade
- Gardening gloves
- Tarp or basket for collection
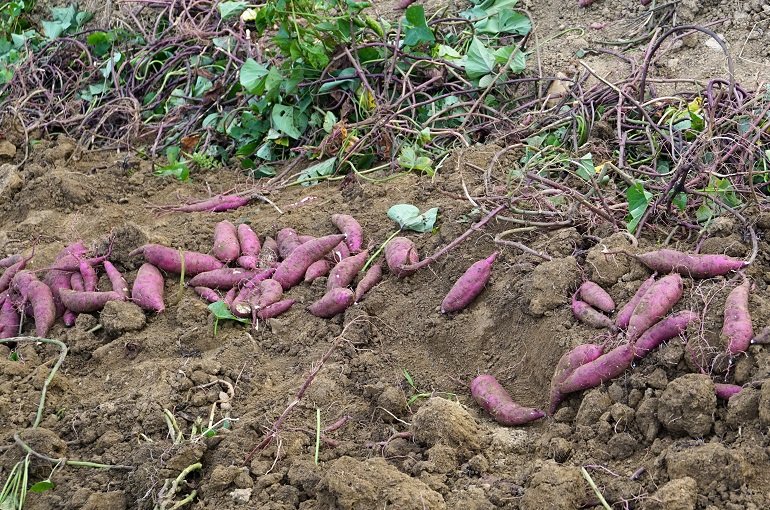
Step-by-Step Harvest Method:
- Start at the Edge: Begin digging 12–18 inches away from the center of the plant to avoid hitting tubers directly.
- Loosen Soil Carefully: Use a garden fork to lift the soil gently, rocking it back and forth.
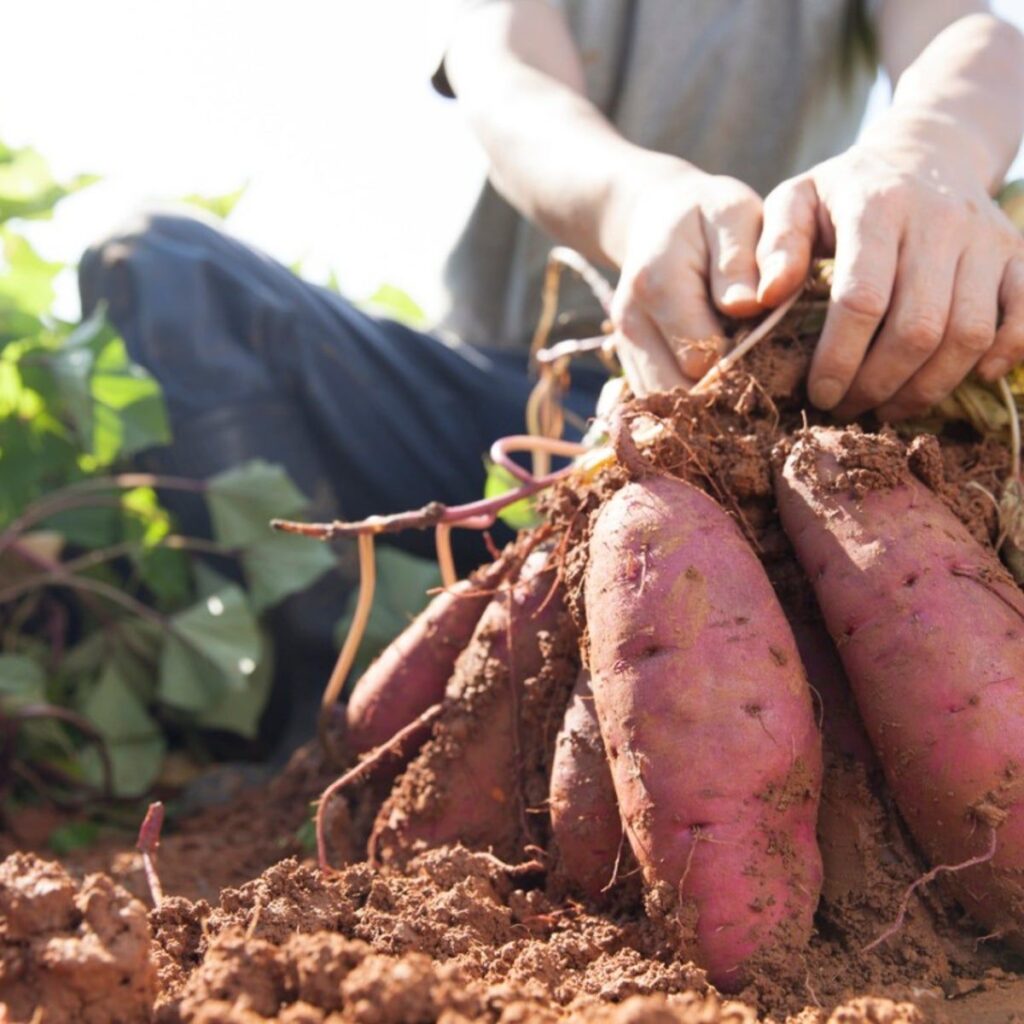
- Lift, Don’t Pull: Once the soil is loose, gently lift the plant and tubers by hand. Avoid yanking the vines—they can break the sweet potatoes.
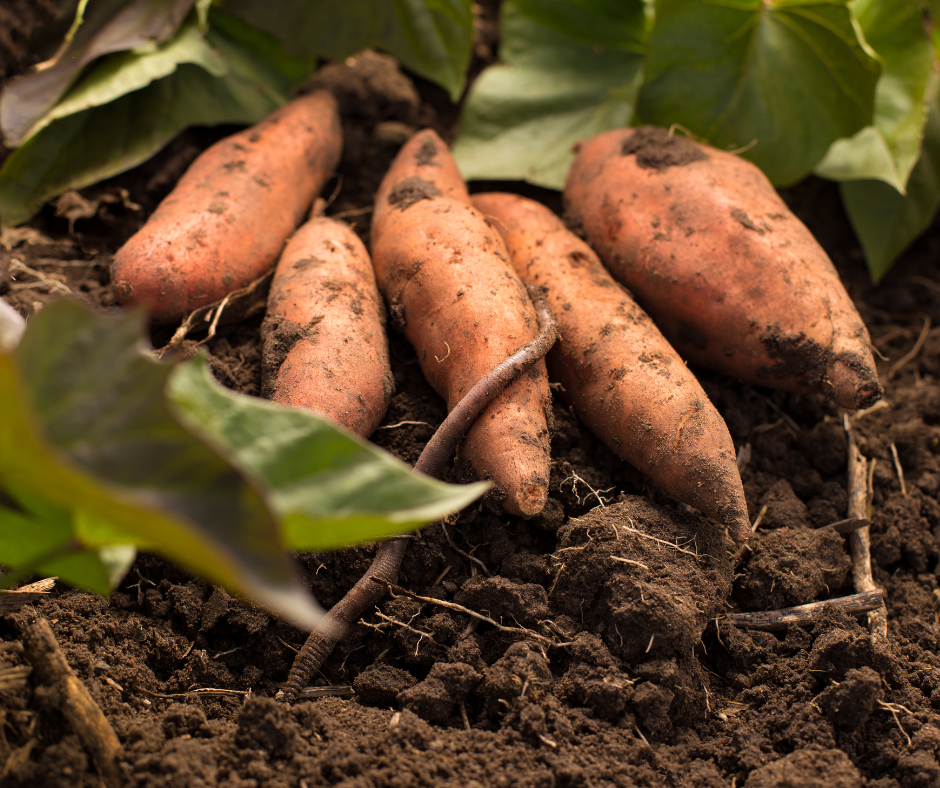
4. Handle with Care
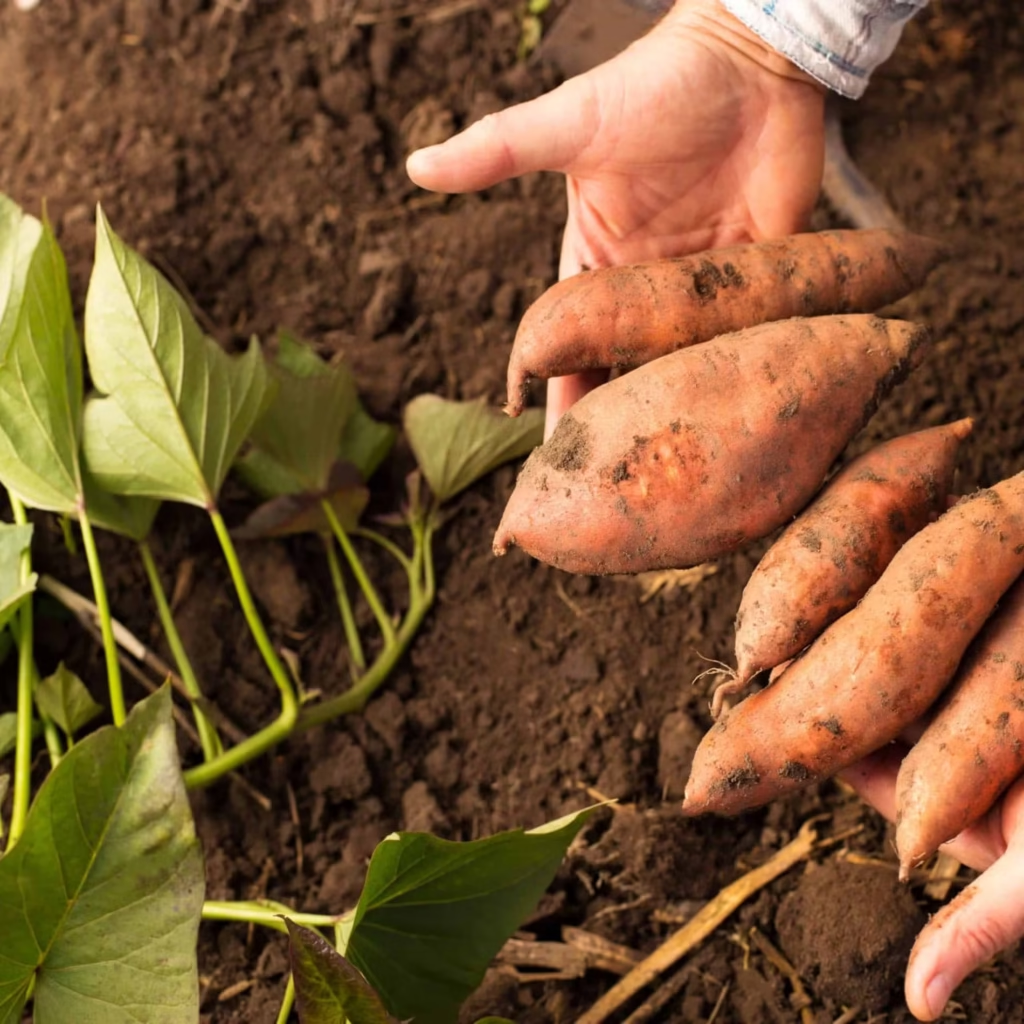
Sweet potatoes bruise easily, especially just after harvest when their skins are still thin and fragile.
To Avoid Damage:
- Don’t toss tubers into buckets or bins.
- Place them gently onto a soft surface like a tarp or blanket.
- Avoid rubbing off the skin during handling.
Even small cuts or bruises can lead to rot during storage, so be as gentle as possible.

5. Cure Before Storage

After harvesting, sweet potatoes are not quite ready to eat or store long-term. They need to go through a curing process to toughen their skin and convert starches into sugars.
Curing Instructions:
- Temperature: Keep them at 80–85°F (27–29°C).
- Humidity: Maintain high humidity (85–90%) for about 7–10 days.
- Ventilation: Store in a well-ventilated area, such as a garage or warm shed with good airflow.
After curing, the sweet potatoes will be sweeter, more flavorful, and can last up to 6 months in storage if kept cool and dry.
6. Storage Tips to Avoid Post-Harvest Damage
Once cured, store sweet potatoes in ideal conditions to keep them firm and rot-free.

Ideal Storage Conditions:
- Temperature: 55–60°F (13–16°C)
- Dark, ventilated space: Pantry, cellar, or storage bin
- Avoid refrigeration: Cold temps can damage texture and flavor
Keep tubers away from ethylene-producing fruits like apples or bananas, which can accelerate decay.
7. Troubleshooting Harvest Mistakes
If Tubers Are Nicked or Cut:
- Use them first. Don’t store damaged tubers.
- You can also cut off the injured part and cook immediately.
If Tubers Are Small or Misshapen:
- Consider whether they were harvested too early.
- Next season, ensure proper spacing and soil nutrition for better root development.
8. Tips to Prevent Future Harvest Damage
To consistently grow and harvest healthy sweet potatoes without damage:
- Use raised beds or loose, sandy soil. This makes digging easier and reduces the risk of cutting tubers.
- Space plants adequately. Crowded roots lead to competition and misshapen tubers.
- Mulch well. Keeps soil temperature even and protects developing roots.
- Harvest on a dry day. Wet soil increases the risk of slipping, pulling, and breakage.
9. Bonus: Extend Your Growing Season
For gardeners in cooler regions, consider these strategies:

- Use row covers or low tunnels to warm soil and extend growing time.
- Choose fast-maturing varieties (like ‘Beauregard’ or ‘Georgia Jet’).
- Grow in containers with rich, well-draining soil for easier access and harvest.
Conclusion
Harvesting sweet potatoes without damage is all about timing, technique, and tenderness. From identifying maturity signs to using the right tools and handling methods, each step plays a critical role in ensuring that your homegrown tubers are unbruised, flavorful, and storage-ready.
By following these expert tips, you’ll not only protect your harvest but also enjoy the full reward of your gardening efforts — a delicious, nutritious crop of sweet potatoes that lasts for months. Whether you’re a beginner or an experienced grower, mastering the harvest can take your sweet potato gardening success to the next level.
Leave A Comment