
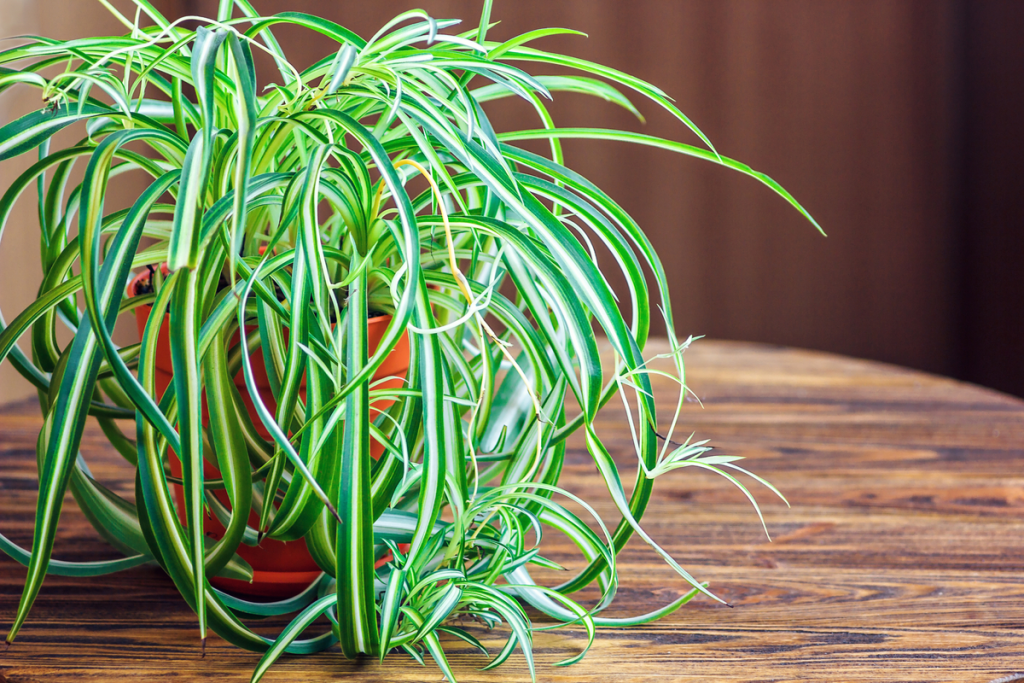
Spider plants (Chlorophytum comosum) are among the most popular and easy-to-care-for houseplants, known for their arching green-and-white striped foliage and resilience. One of the reasons they’re a favorite among beginners and plant lovers alike is their ease of propagation. If you’ve ever wondered how to turn one spider plant into many, you’re in luck—this guide will walk you through all the simple methods of spider plant propagation and provide care tips for your new baby plants.
Why Propagate a Spider Plant?
Before diving into how to propagate a spider plant, let’s explore why it’s worth doing:
- Cost-effective: Create new plants without spending a dime.
- Great gifts: Baby spider plants make thoughtful, eco-friendly presents.
- Home aesthetics: Fill your home with lush greenery quickly.
- Healthy mother plant: Removing pups can encourage more vigorous growth.
The Magic of Spiderettes (Plantlets)
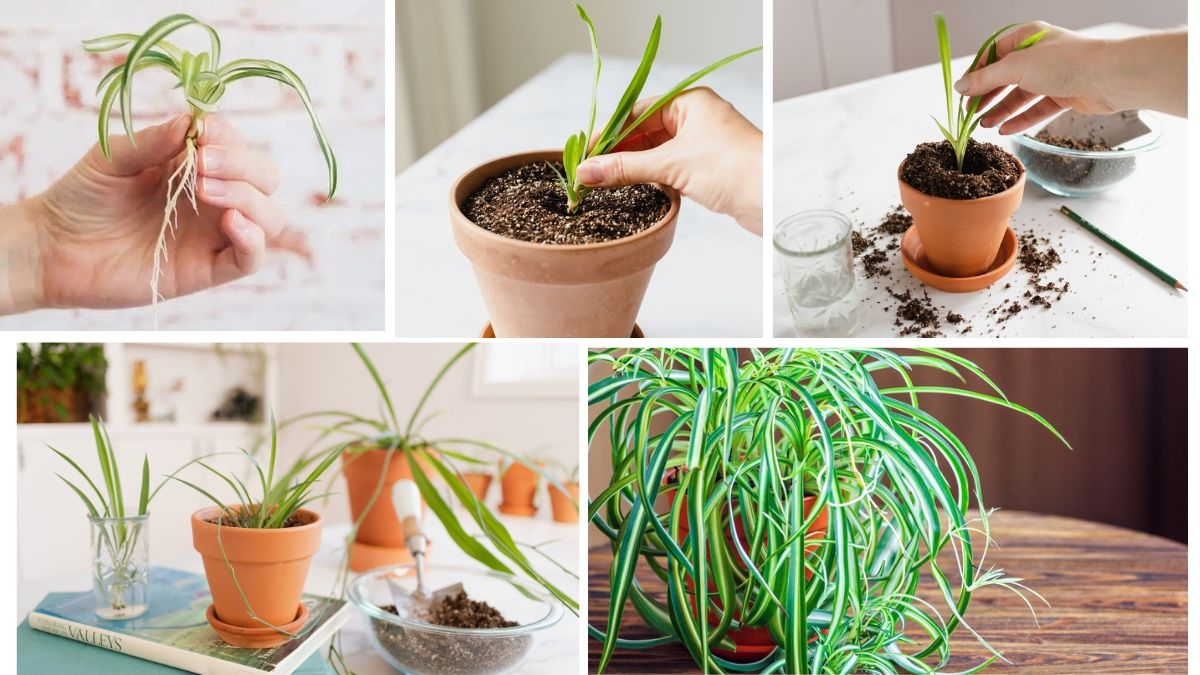
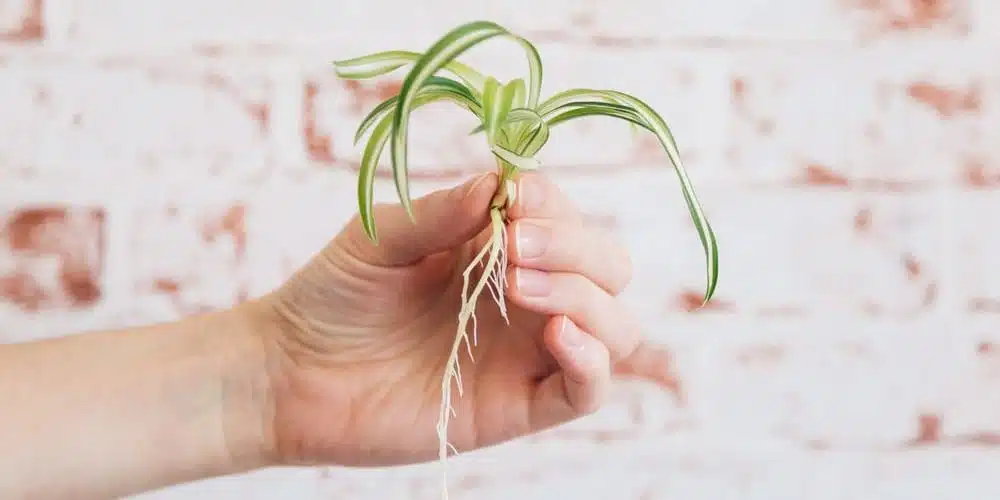
Spider plants produce small offshoots, also called spiderettes or pups, which dangle from the parent plant on long stems. These spiderettes often already have tiny roots when still attached to the mother plant, making propagation incredibly easy.

These babies are nature’s way of giving you free plants.
Supplies You’ll Need
To get started with propagation, gather the following materials:
- A healthy spider plant with pups
- Sharp scissors or pruning shears
- Small pots (4-6 inch size works well)
- Potting soil (well-draining mix preferred)
- Water
- Optional: clear glass or jar (for water propagation)
Method 1: Propagating in Water (Best for Beginners)
Water propagation is a great way to watch your spiderette grow roots. Here’s how to do it:

Step-by-Step Guide:
- Choose a healthy pup: Look for a spiderette with tiny visible roots or leaf growth.
- Cut it off: Use clean scissors to snip the spiderette from the long stem near the base.
- Place in water: Set the spiderette in a jar or glass filled with filtered or room temperature water. Make sure only the root area is submerged.
- Provide light: Put the glass in a bright, indirect light spot (not direct sun).
- Wait for roots to grow: In 1–2 weeks, you’ll notice more root development.
- Transplant: Once roots are 1–2 inches long, transfer the baby plant into a pot with soil.
Tip: Change the water every 3–5 days to prevent stagnation and bacterial growth.
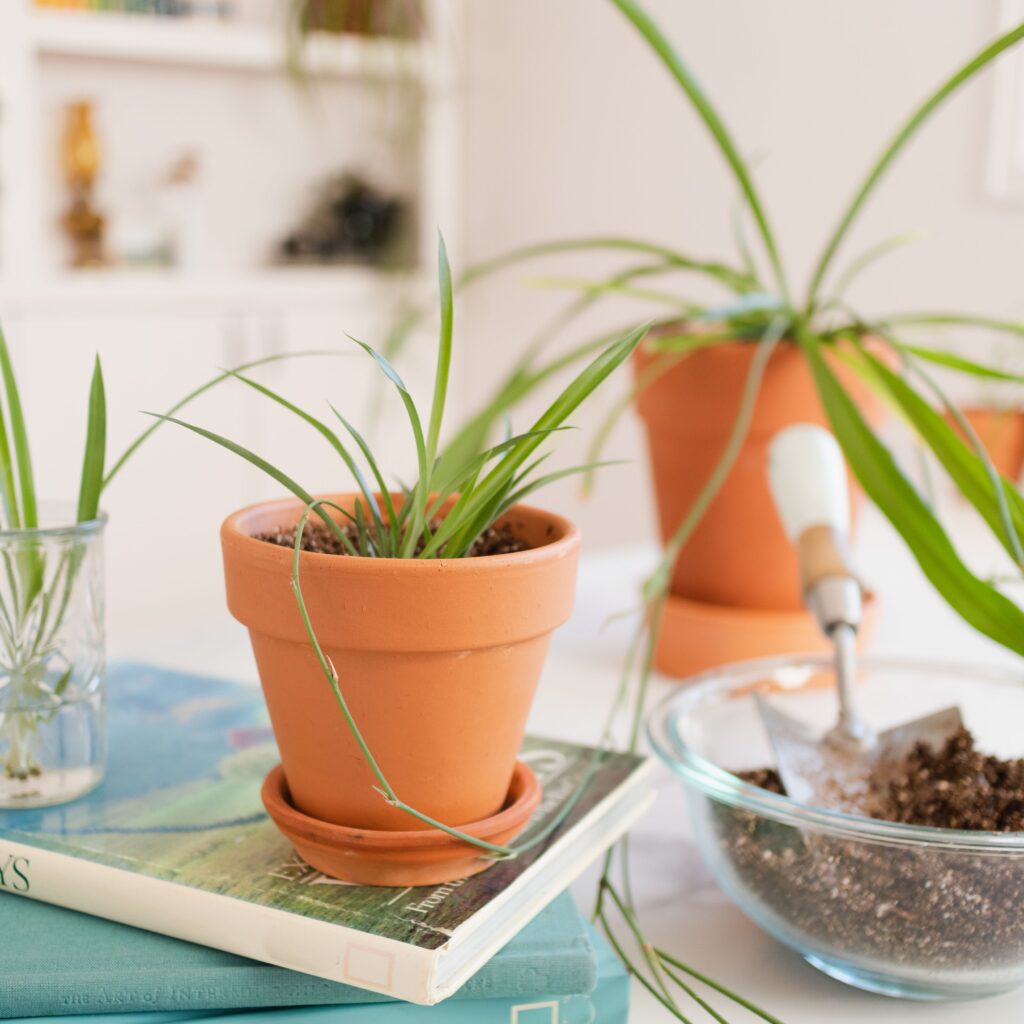
Method 2: Propagating in Soil (Faster Adaptation to Growing Medium)
Some gardeners prefer rooting spiderettes directly in soil, especially when they already have visible roots.
Step-by-Step Guide:
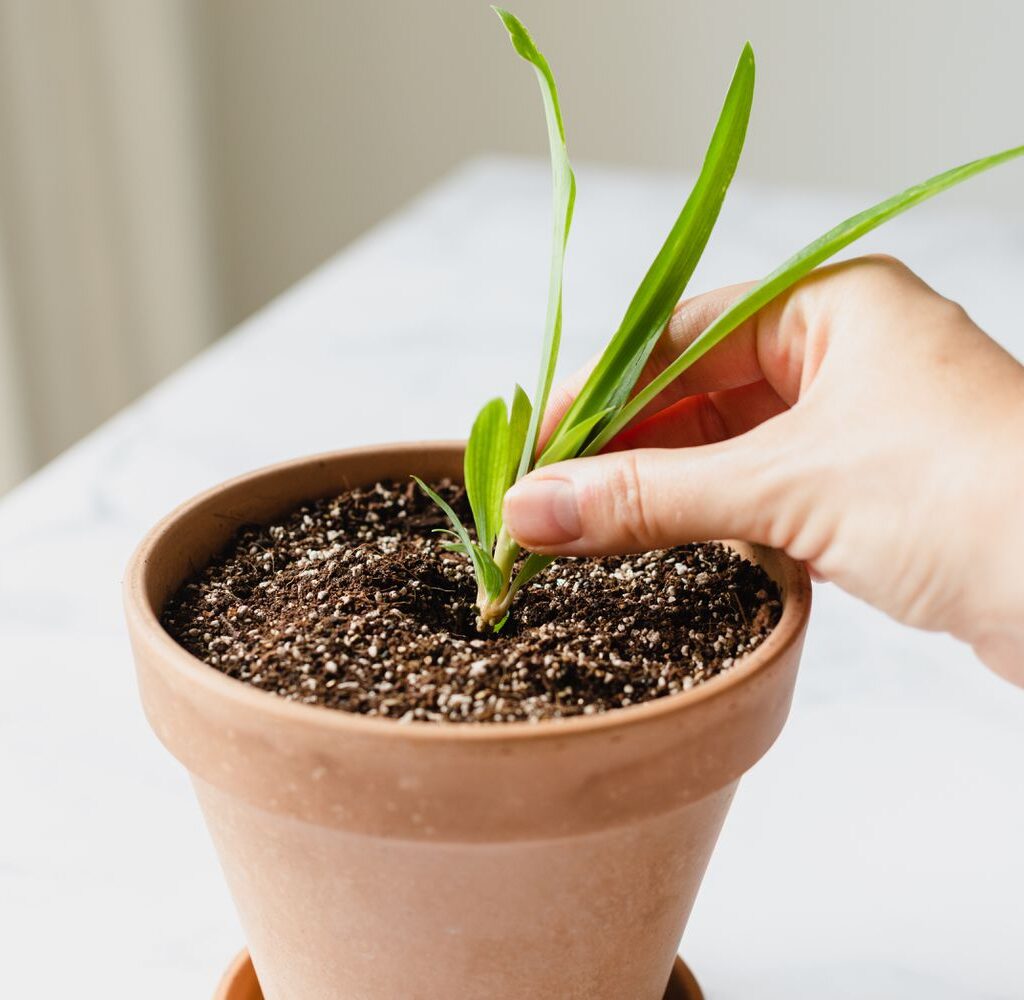
- Choose your pup: As with water propagation, pick a healthy spiderette.
- Snip it cleanly: Remove it from the mother plant.
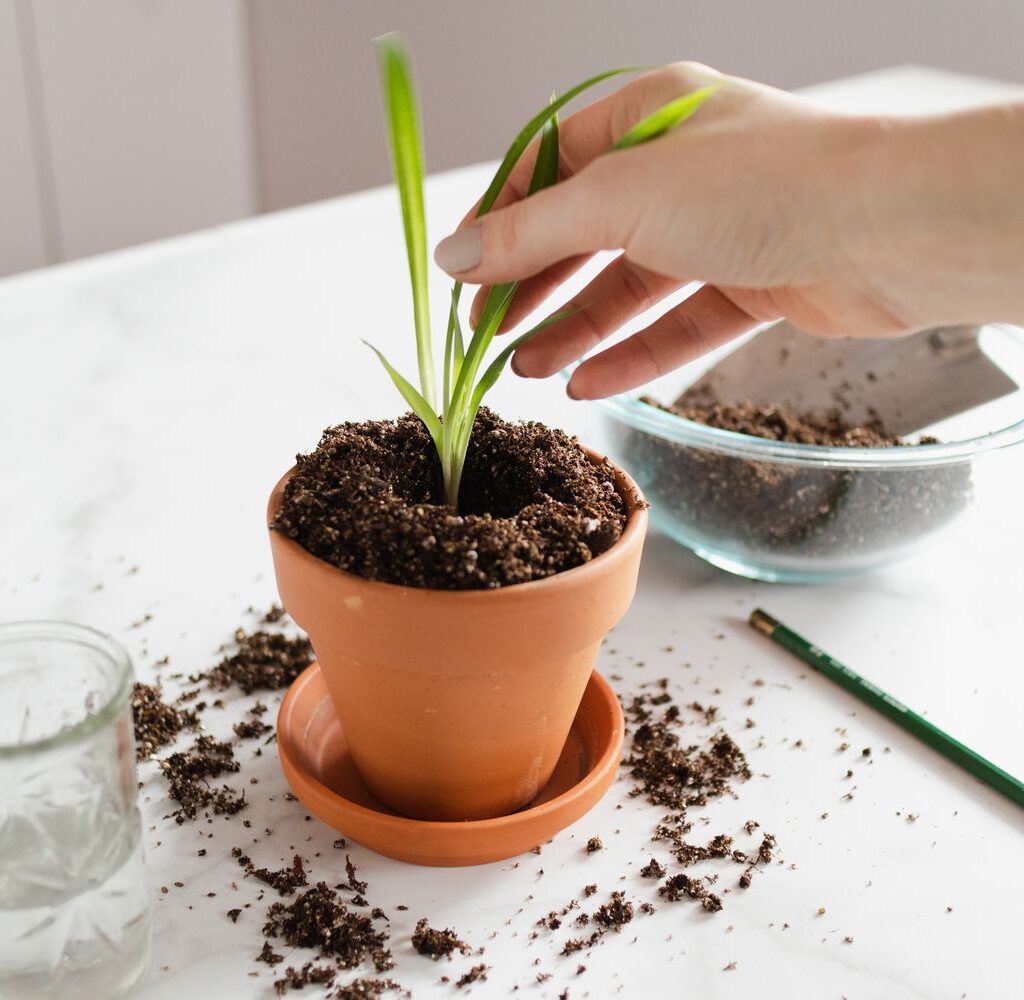
- Plant it: Insert the pup about an inch deep into moist potting soil.
- Keep moist: Water lightly and maintain even moisture (but not soggy soil).
- Provide warmth: Keep the pot in a warm location with bright, indirect light.
- Observe growth: Within a few weeks, the baby plant will establish roots and begin producing new leaves.
Tip: You can plant multiple pups in a single pot for a bushier look.

Method 3: Propagating While Attached to the Mother Plant
This method allows the spiderette to root while still drawing nutrients from the mother plant.
Step-by-Step Guide:
- Choose a spiderette: It should have tiny root nubs.
- Pot a small container with soil: Place it near the mother plant.
- Secure the spiderette: Without cutting it off, gently pin or weigh down the spiderette into the soil using a bent paperclip or floral pin.
- Water and wait: Keep the soil slightly moist.
- Check for roots: After 2–3 weeks, check for resistance when you tug gently.
- Cut the cord: Once it’s rooted, snip the connecting stem.
Tip: This method reduces shock for the baby plant.
Best Soil for Spider Plant Propagation
Use a well-draining, nutrient-rich soil mix. You can create your own using:

- 2 parts regular potting mix
- 1 part perlite or sand (for aeration)
- 1 part coco coir or peat moss (for moisture retention)
Spider plants don’t like waterlogged soil, so avoid heavy mixes.
Best Time to Propagate Spider Plants
While you can propagate any time indoors, spring and early summer are ideal. During these seasons, the plant is in active growth, and rooting will occur faster.
Common Mistakes to Avoid
- Overwatering: Especially in soil propagation, soggy conditions can cause rot.
- Low light: Spiderettes need bright, indirect light to root successfully.
- Cutting too early: Ensure the spiderette has visible roots or is at least 2-3 inches long.
- Using dirty tools: Always sterilize scissors to prevent infections.
Caring for the New Spider Plant
Once your spiderette has rooted and is happily potted:

- Water: Let the top inch of soil dry out between waterings.
- Light: Provide bright, indirect sunlight.
- Humidity: Average indoor humidity is fine.
- Fertilizer: Feed with diluted houseplant fertilizer every 4–6 weeks during growing season.
- Repot when needed: Once roots fill the pot, it’s time to size up.
Bonus: Troubleshooting Propagation Issues
| Problem | Cause | Solution |
|---|---|---|
| No roots after 2 weeks in water | Low light or poor cutting | Move to a brighter spot and try a healthier pup |
| Wilting after planting in soil | Root rot or transplant shock | Reduce watering and place in stable conditions |
| Yellow leaves | Overwatering or poor drainage | Use a better draining soil mix and check pot holes |
Conclusion
Spider plant propagation is one of the easiest and most rewarding activities for both beginner and experienced gardeners. Whether you choose water or soil propagation, following a few basic steps will ensure success. With just a few tools, some patience, and a love for greenery, you’ll soon have a house full of spider plants thriving in every corner.
Start with one, and before you know it, your home will be a mini indoor jungle—no green thumb required!
Leave A Comment