
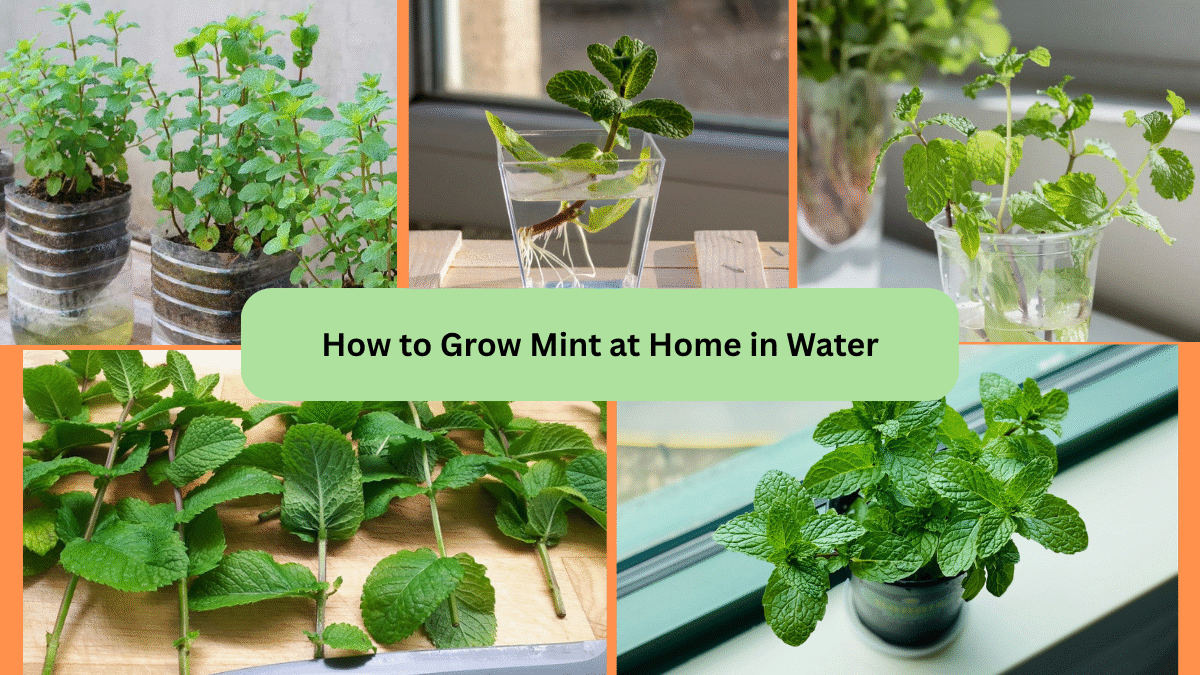
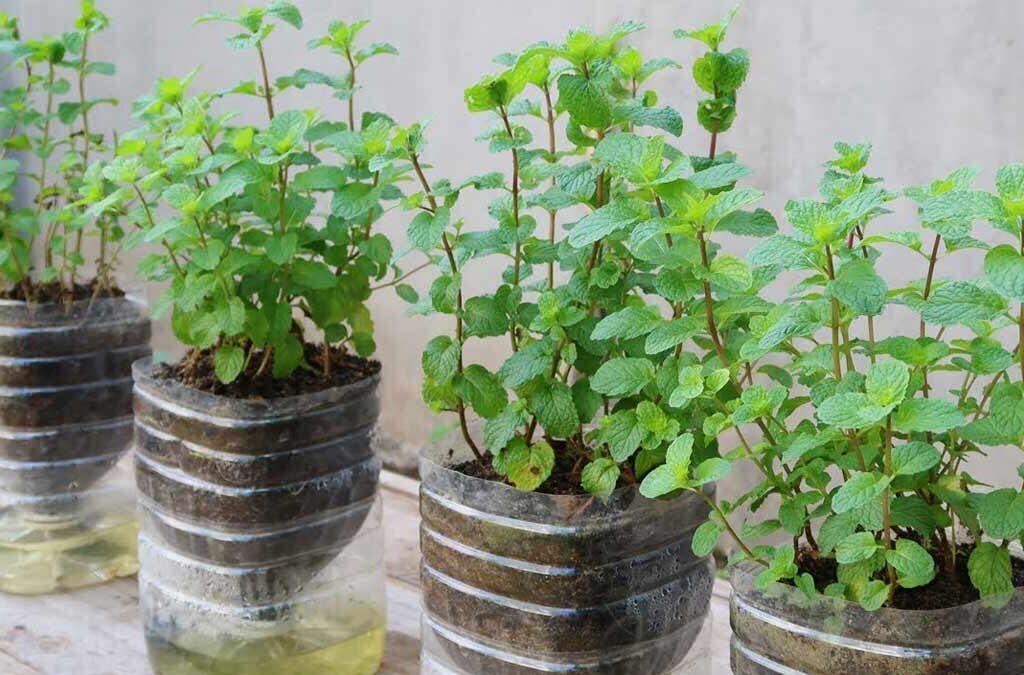
Mint is one of the easiest and most rewarding herbs to grow at home. Known for its refreshing aroma, cooling taste, and culinary versatility, mint thrives both in soil and — surprisingly — in water! Growing mint in water is a simple, space-saving method that requires no garden space or fancy equipment.
In this comprehensive guide, you’ll learn exactly how to grow mint at home in water, why it’s an excellent method for beginner gardeners, and expert tips to keep your mint plants lush, aromatic, and thriving year-round.
Why Grow Mint in Water?
Growing mint in water is not only easy but also highly practical, especially for small-space dwellers. Here’s why this method is worth trying:
✔ Low maintenance — no soil, no mess
✔ Great for apartments, kitchens, or balconies
✔ Fresh mint on hand for teas, recipes, and garnishes
✔ Perfect for beginner gardeners
✔ Doubles as a natural air freshener indoors
✔ Easy to propagate from store-bought or garden cuttings
Plus, you’ll get to watch roots grow and stems flourish in clear containers, adding a decorative, green touch to your home.
What You’ll Need
Growing mint in water doesn’t require many tools. Here’s a quick list of what you’ll need to get started:
- Healthy mint cuttings (from your garden or grocery store)
- A clean glass jar, bottle, or vase
- Fresh, non-chlorinated water (filtered or boiled and cooled)
- Sharp scissors or garden shears
- A bright, indirect sunlight spot (like a kitchen windowsill)
- Optional: A label or marker for variety identification
Tip: Avoid direct, scorching sunlight as it can wilt mint leaves.
How to Grow Mint in Water: Step-by-Step
Step 1: Select Healthy Mint Cuttings
Look for a healthy, mature mint plant with vibrant, green leaves and strong stems. If buying from a store, choose a fresh bunch of mint with sturdy, upright stems.
Ideal cutting size:
4–6 inches long with a few sets of leaves.
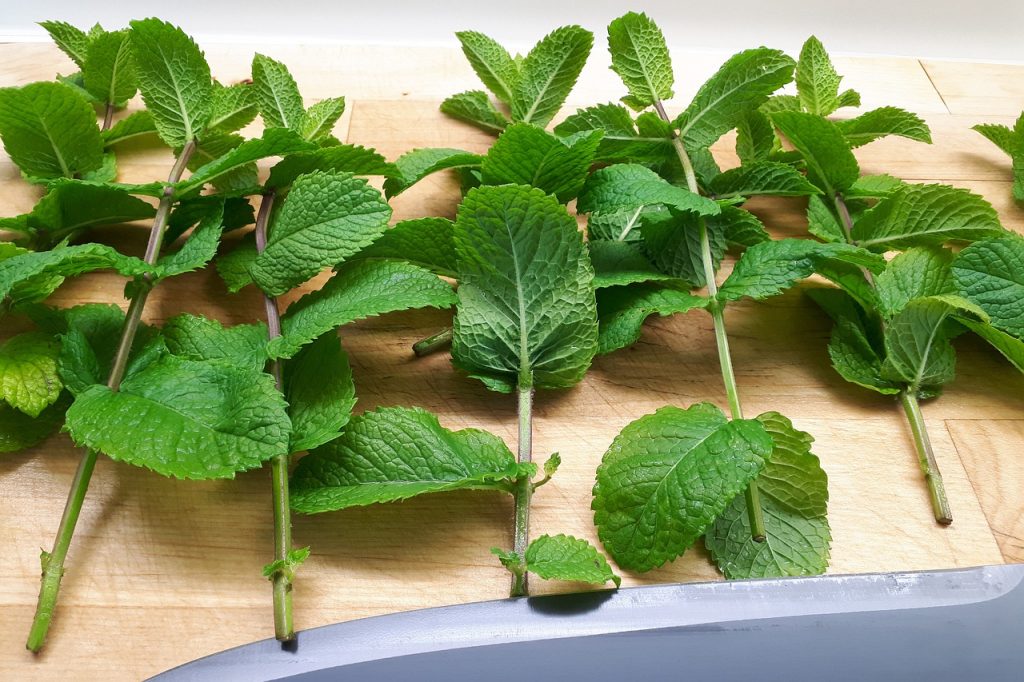
Step 2: Prepare the Cuttings
- Using clean, sharp scissors or shears, cut the stem just below a leaf node (the bumpy joint where leaves grow).
- Remove the lower leaves from the bottom 2 inches of the stem to prevent rot in water.
- Leave a few healthy leaves at the top.
Pro tip: The leaf nodes submerged in water will sprout new roots.
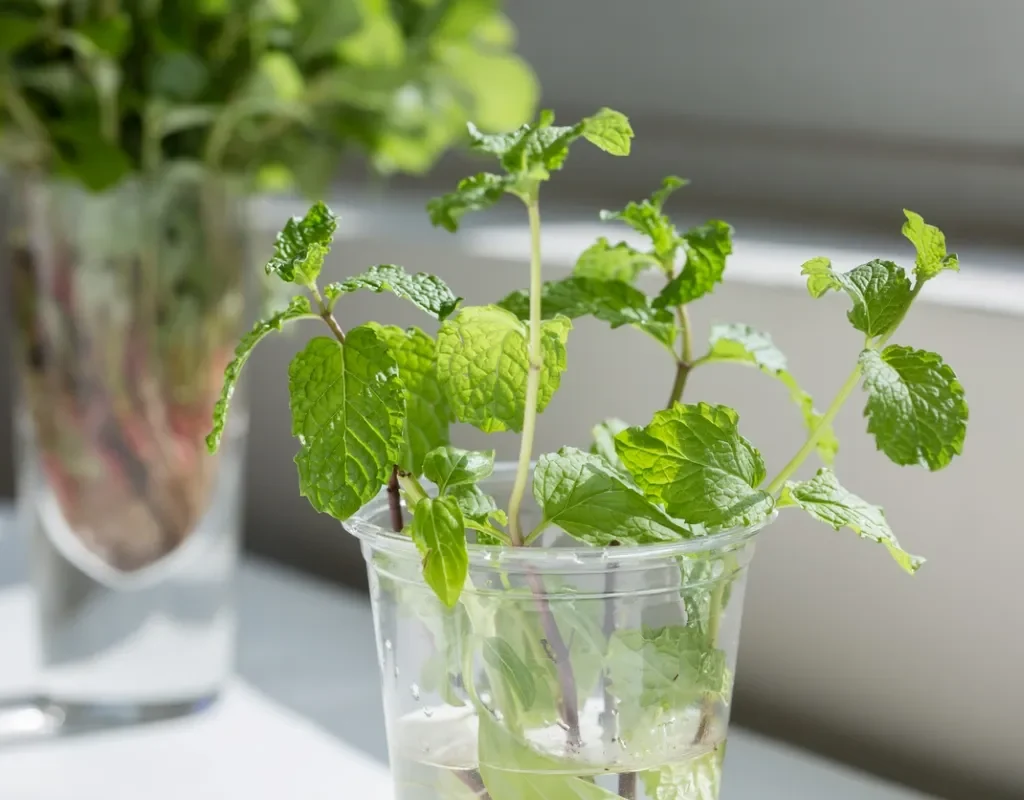
Step 3: Place Cuttings in Water
- Fill a clean jar or glass container with fresh, room-temperature water.
- Insert the prepared mint cuttings into the water, ensuring that at least one or two leaf nodes are submerged.
- Keep the remaining leaves above the waterline.
Optional: Use multiple cuttings in a single jar for a fuller display.
Step 4: Choose a Bright Spot
Place the container in a well-lit area with indirect sunlight — a kitchen windowsill, balcony corner, or bright shelf works perfectly.
Avoid:
- Direct afternoon sun
- Dark or drafty spots
- Overcrowded shelves without ventilation
Step 5: Maintain Water Quality
Change the water every 2–3 days to keep it fresh, prevent stagnation, and discourage bacterial growth.
- Rinse the container and refill with clean water.
- Check for any decayed or yellowing leaves and remove them immediately.
Tip: If your tap water is heavily chlorinated, let it sit for a few hours before using or use filtered water.
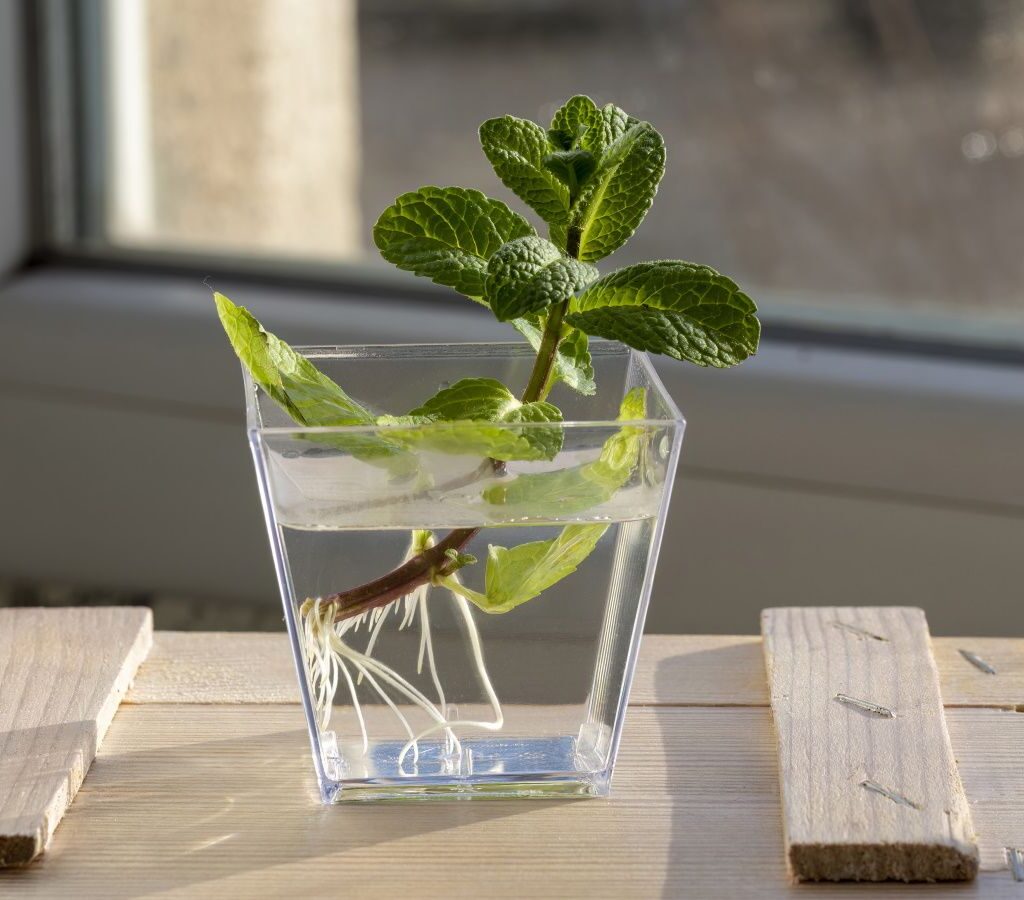
Step 6: Watch for Root Growth
Within 7–10 days, you’ll notice white, thread-like roots forming at the submerged nodes.
After 2–3 weeks, roots should be long and healthy, and the cutting will begin producing new leaves.
Step 7: Harvest Mint Leaves
Once the plant has several sets of leaves, you can start harvesting.
- Use clean scissors to snip off leaves or tips just above a node.
- Regular harvesting encourages bushier growth and prevents legginess.
Pro tip: Don’t harvest more than one-third of the plant at a time.
How Long Can Mint Grow in Water?
Mint can thrive in water for several months if cared for properly. Regularly changing the water, trimming the roots, and removing decaying leaves will extend its lifespan.
For long-term success:
- Every 4–6 weeks, gently trim the roots if they get too long.
- Add fresh cuttings to replenish the jar if some stems weaken.
Optional: You can transfer rooted mint to soil anytime for stronger growth.
Tips for Healthier Water-Grown Mint
✔ Keep water clean and free of algae
✔ Avoid placing jars near heat sources (stoves, heaters)
✔ Remove wilting or yellow leaves promptly
✔ Top up water regularly to keep nodes submerged
✔ Use transparent containers to enjoy the view — or opaque ones to prevent algae if you prefer
Common Issues and How to Fix Them
Yellowing leaves:
Likely due to poor water quality, lack of light, or overcrowding. Change water more often and check your lighting.
No root growth after 2 weeks:
Try using fresher cuttings and ensure nodes are submerged. Place in a brighter spot if necessary.
Slimy roots or cloudy water:
Clean the container thoroughly and replace water every 2 days.
Creative Ways to Display Water-Grown Mint
Use colored glass bottles for a decorative touch
Hang small jars on a vertical rack or window rail
Combine mint with other herbs like basil or oregano in a multi-herb water garden
Place small jars on kitchen shelves or dining tables for an aromatic accent
Benefits of Growing Mint at Home in Water
✔ No soil mess
✔ Easy to manage and propagate
✔ Cost-effective — start from store-bought sprigs
✔ Enjoy fresh mint year-round
✔ Stylish, natural home décor
✔ Beginner and child-friendly plant project
Final Thoughts
Growing mint at home in water is a simple, rewarding, and beautiful way to keep fresh herbs at your fingertips. With minimal effort and a little care, you can enjoy aromatic, lush green sprigs for your teas, recipes, and home décor — all without a single bag of potting mix.
It’s the perfect gardening project for anyone with a love for fresh herbs, whether you live in a spacious home or a cozy apartment.
So grab a bunch of mint, a glass jar, and start growing your water garden today — your kitchen (and your taste buds) will thank you!
Leave A Comment