
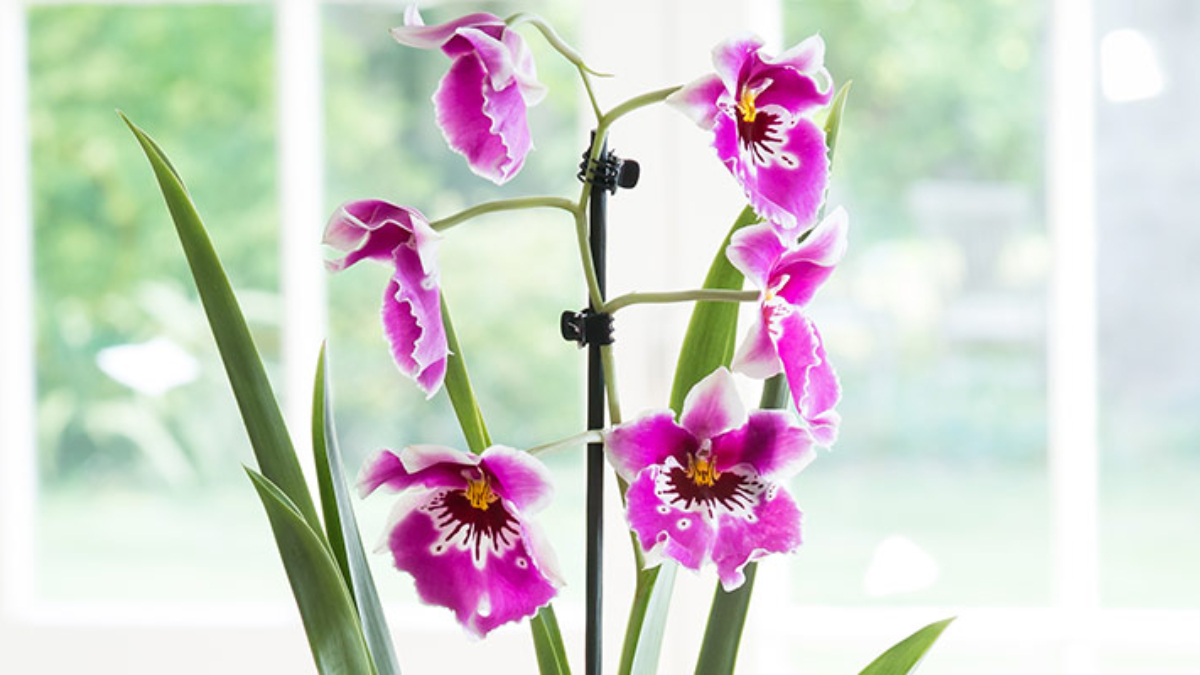
Orchids are among the most elegant and exotic flowering plants, admired worldwide for their stunning blooms and intricate shapes. However, many people shy away from growing orchids indoors because they believe these plants are difficult to care for. The truth is, with the right knowledge and a little attention, orchids can flourish beautifully, rewarding you with long-lasting blooms and lush foliage.
In this article, we will explore the essential care tips, common challenges, and expert advice on how to care for orchid plants efficiently so that your orchids stay healthy, bloom often, and bring joy to your home.
Understanding Orchids: The Basics
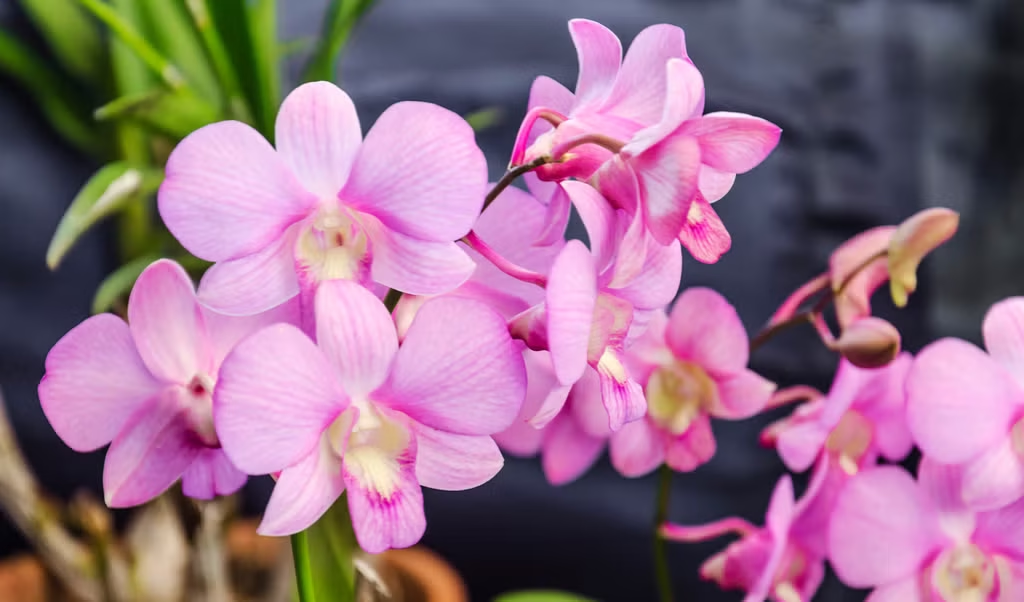
Orchids belong to one of the largest plant families, with over 25,000 species globally. The most popular houseplant orchids belong to the genus Phalaenopsis, also called moth orchids, prized for their easy care and spectacular flowers.
Orchids are epiphytes in nature, meaning they grow on other plants (like tree trunks) and get their nutrients from the air, rain, and debris rather than soil. This unique growing habit shapes how we care for them indoors.
Choosing the Right Orchid for Your Home
Before diving into care tips, it’s essential to select the right orchid species that suits your environment and experience level.

- Phalaenopsis (Moth Orchid): Best for beginners; blooms long and thrives in moderate light.
- Dendrobium: Prefers bright light and has a longer blooming cycle.
- Cattleya: Known for fragrant, large blooms; needs more light and humidity.
- Oncidium: Requires cooler temps and good airflow.
For most indoor gardeners, Phalaenopsis orchids are the easiest to care for and the best choice to start with.
1. Light Requirements for Orchids
Orchids need bright, indirect light to thrive and bloom. Placing your orchid near an east-facing window is ideal, where it receives gentle morning light. Avoid harsh direct sunlight, especially from south or west-facing windows, as it can scorch the leaves.
Signs of insufficient light:
- Dark green, limp leaves.
- Lack of blooms or buds dropping prematurely.
Signs of too much light:
- Yellowing leaves.
- Brown or scorched leaf tips.
If natural light is inadequate, consider using fluorescent grow lights to provide 12–14 hours of light daily.

2. Watering Your Orchid Efficiently
Watering is one of the most common challenges in orchid care. Overwatering can lead to root rot, while underwatering stresses the plant and inhibits blooming.
How often to water?
- Generally, water orchids once a week during growing season (spring and summer).
- In winter, reduce watering to every 10-14 days as growth slows.
- The exact frequency depends on your home’s temperature and humidity.
Best watering method:
- Use room temperature water.
- Water early in the day to allow leaves and crown to dry before night.
- Thoroughly soak the potting medium and roots, then let excess water drain completely.
- Avoid water pooling in the crown or leaf axils, which causes crown rot.
Tips to know when to water:
- Feel the potting mix — water when it feels dry about an inch below the surface.
- Use a moisture meter or lift the pot to judge its weight — lighter means dry.
3. Humidity and Temperature
Orchids thrive in high humidity environments, typically between 50-70%. Most homes are drier than that, especially in winter with heating systems running.
How to increase humidity:
- Use a humidity tray: Place a shallow dish with water and pebbles under the orchid pot.
- Mist the orchid daily or place a humidifier nearby.
- Group plants together to create a microclimate.
Ideal temperature range:
- Daytime: 65°F to 80°F (18°C to 27°C)
- Nighttime: 55°F to 65°F (13°C to 18°C)
Orchids benefit from a temperature drop of about 10°F (5-6°C) at night to encourage blooming.
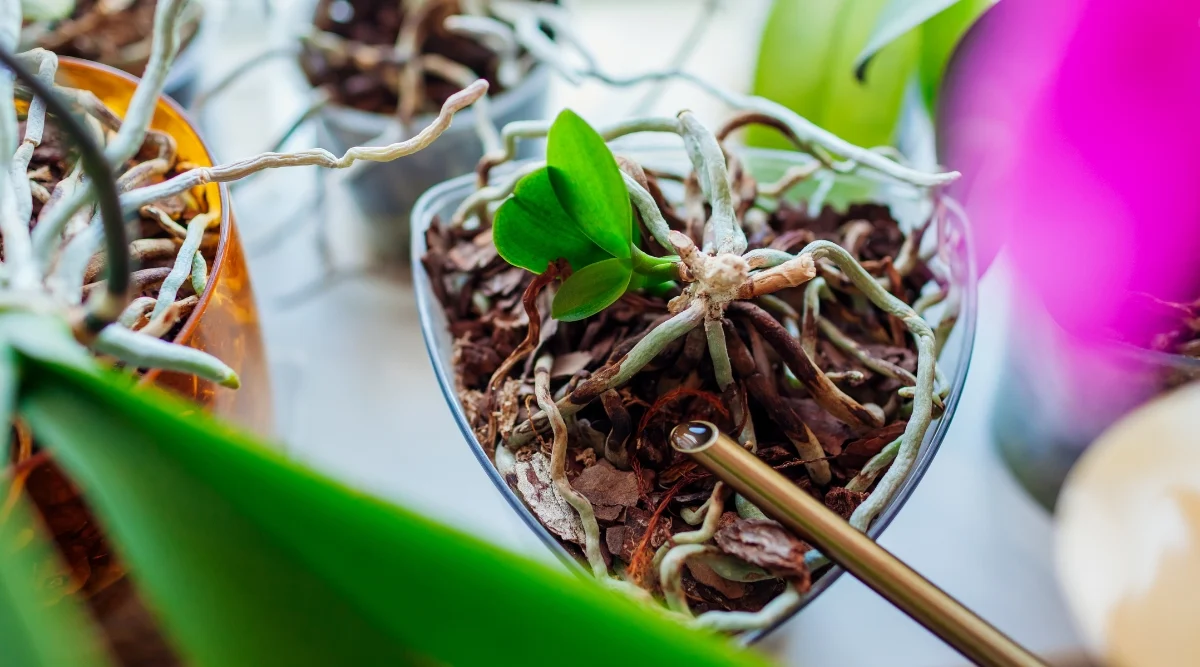
4. Orchid Potting Medium and Repotting
Unlike traditional plants, orchids grow best in aerated potting media like bark, sphagnum moss, or coconut husk chips that provide airflow around roots.
When to repot:
- Every 1-2 years to refresh the medium and prevent root rot.
- If the potting mix breaks down and becomes soggy.
- After flowering or when the orchid outgrows its container.
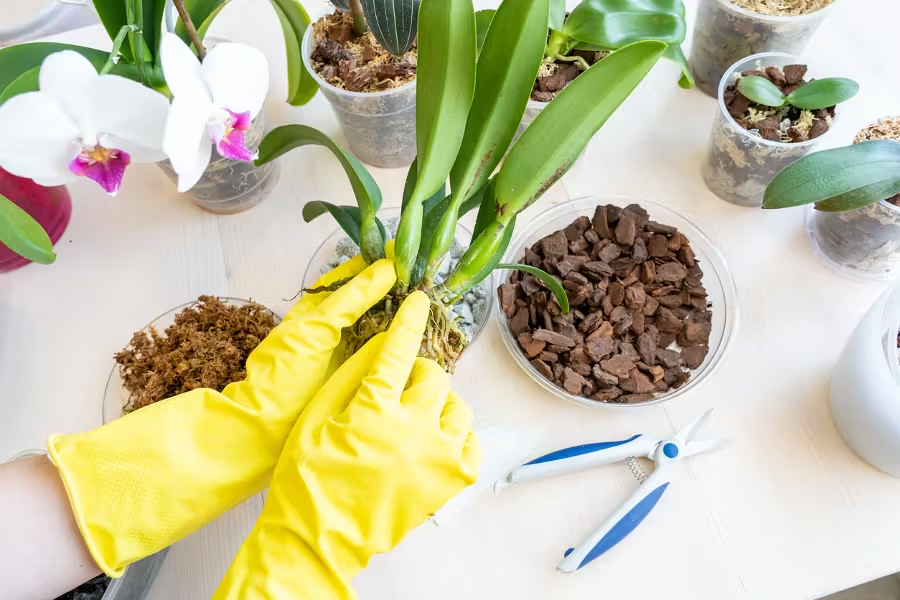
How to repot efficiently:
- Gently remove the orchid from its pot.
- Trim any dead or rotted roots with sterilized scissors.
- Place the orchid in a slightly larger pot with fresh orchid bark mix.
- Do not bury the crown; roots should be spread out loosely.
- Water lightly after repotting and avoid fertilizing for 2-3 weeks.
5. Fertilizing Your Orchid
Orchids benefit from regular fertilization to encourage blooming and healthy growth.

- Use a balanced orchid fertilizer (20-20-20) or one specifically formulated for orchids.
- Dilute the fertilizer to half or quarter strength to avoid overfeeding.
- Fertilize every two weeks during the growing season (spring and summer).
- Reduce feeding in fall and winter when growth slows.
6. Encouraging Your Orchid to Bloom
With proper care, orchids can bloom once or even twice a year.
Tips to encourage flowering:
- Maintain proper light and temperature conditions.
- Provide a nighttime temperature drop (10°F cooler) during fall.
- Avoid overwatering and keep humidity levels consistent.
- Fertilize regularly but carefully.
- Remove spent flower spikes by cutting them just above a node to encourage reblooming.
7. Common Orchid Problems and How to Fix Them
- Yellow leaves: Usually caused by too much light or overwatering.
- Wrinkled leaves: Sign of underwatering or low humidity.
- No blooms: Could mean insufficient light, nutrients, or improper temperature.
- Pests: Watch for aphids, mealybugs, and spider mites; treat with insecticidal soap or neem oil.
- Root rot: Result of soggy potting mix; improve drainage and watering habits.
8. Orchid Pests and Diseases
While orchids are generally resilient, they can occasionally attract pests like:
- Mealybugs: White cottony clusters on leaves and roots.
- Spider mites: Tiny webs and stippled leaves.
- Scale insects: Brown, waxy bumps on leaves.
Prevent infestations by regularly inspecting your plants, maintaining good air circulation, and cleaning leaves gently.
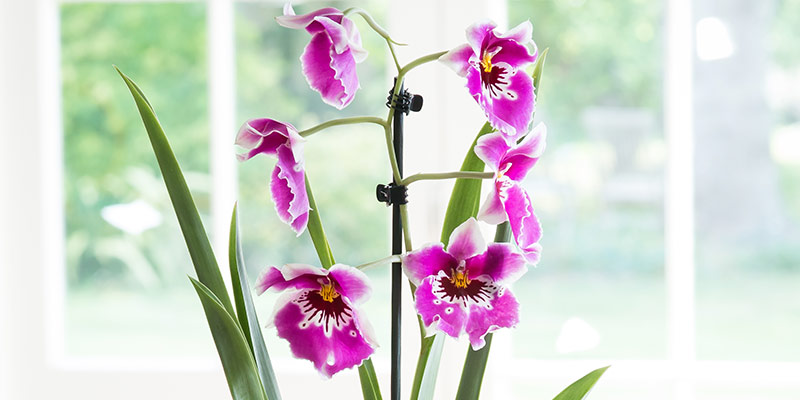
9. Creative Ways to Display Your Orchid Indoors
Orchids look stunning when thoughtfully displayed:
- Use decorative pots with drainage holes.
- Place on bright windowsills with filtered light.
- Mount orchids on wood or cork bark for a natural look.
- Group orchids with other humidity-loving plants.
- Use orchid stands or hangers to elevate their beauty.
10. Final Thoughts: Efficient Orchid Care Made Easy
Orchids are remarkable plants that add elegance and sophistication to any indoor space. With a few simple care routines — proper watering, lighting, humidity, and feeding — you can efficiently nurture your orchid to bloom again and again.

Don’t be discouraged if you face challenges early on; orchids are resilient and rewarding with patience and attention. Embrace their unique needs, and you’ll enjoy the spectacular floral displays that have enchanted gardeners worldwide.
Leave A Comment