
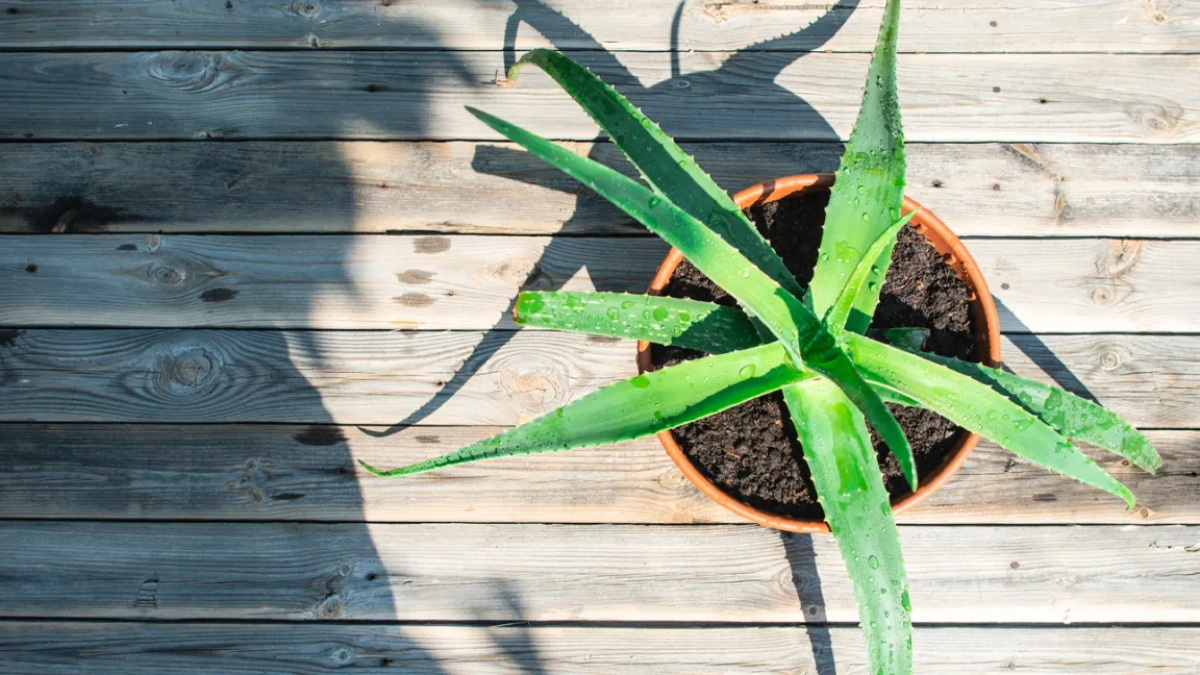
Aloe plants, particularly Aloe vera, have long been cherished for their medicinal, cosmetic, and decorative qualities. Known for their thick, succulent leaves filled with a soothing gel, these hardy plants thrive in both indoor and outdoor settings, making them a favorite among beginner and experienced plant enthusiasts alike.
If you’ve ever wondered how to take care of an aloe plant at home, this comprehensive guide will walk you through everything you need to know—from choosing the perfect spot to watering, repotting, and troubleshooting common problems.
Why You Should Grow Aloe Plants at Home
Before diving into care instructions, let’s explore why aloe plants deserve a spot in your home:
- Natural skin soother: Aloe gel is a trusted remedy for burns, cuts, and dry skin.
- Air-purifying qualities: It removes toxins from the air and adds a fresh, clean vibe.
- Minimal maintenance: Aloe plants require little attention compared to other houseplants.
- Aesthetic appeal: Their sculptural, fleshy leaves add a modern, minimalist touch to any room.
Choosing the Right Spot for Your Aloe Plant
The first step in aloe plant care is choosing an ideal location where your plant can thrive.

1. Light Requirements
Aloe plants love bright, indirect sunlight.
- Indoors: Place your aloe near a sunny window, preferably one facing south or west.
- Outdoors: If placing it outside during warm months, ensure it gets morning sun and light afternoon shade.
Too much direct sunlight can scorch the leaves, while too little light can cause the plant to become leggy.
2. Temperature and Environment
Aloe plants prefer warm, dry conditions.
- Ideal temperature range: 55°F to 80°F (13°C to 27°C).
- Avoid freezing temperatures. Bring outdoor plants inside when temperatures drop below 50°F (10°C).
- Humidity: Aloe plants prefer low humidity and dry air, making them perfect for typical household environments.
Choosing the Right Pot and Soil
Proper potting is crucial for aloe health, as these succulents are prone to root rot if left in wet soil.

1. Pot Selection
- Choose a container with drainage holes. Terracotta or clay pots are ideal as they allow moisture to evaporate.
2. Soil Requirements
Aloe plants require well-draining, sandy soil.
- Recommended mix: A commercial cactus or succulent soil blend works best.
- DIY mix: Combine regular potting soil with sand, perlite, or pumice for improved drainage.
How to Water an Aloe Plant at Home
Watering is where most aloe plant owners go wrong. Aloe plants prefer the “soak and dry” method.
Watering Guidelines:
- Allow the soil to dry completely between waterings.
- Water thoroughly until it drains from the bottom.
- In summer: Water every 2-3 weeks, depending on light and temperature.
- In winter: Water sparingly, about once a month, as the plant enters dormancy.
Tip: Use your finger to check soil moisture 2 inches below the surface. If it feels dry, it’s time to water.
Fertilizing Your Aloe Plant
Aloe plants don’t need heavy feeding, but occasional fertilizing can boost growth and health.

Fertilizer Tips:
- Use a balanced, water-soluble fertilizer diluted to half strength.
- Feed once in spring and once in midsummer.
- Avoid over-fertilizing, which can damage the plant.
Repotting an Aloe Plant
Aloe plants grow slowly but may outgrow their pots or produce baby plants (pups) that need separating.
How to Repot:
- Remove the plant from its pot.
- Gently shake off excess soil and inspect the roots.
- Trim away any dead or rotten roots.
- Place in a slightly larger pot with fresh succulent soil.
- Allow it to settle for a few days before watering.
Repot every 2-3 years or when the plant becomes root-bound.
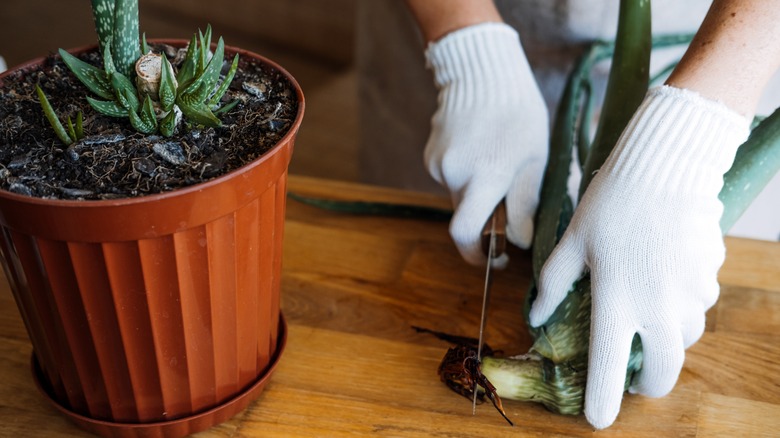
How to Propagate Aloe Plants
Aloe propagation is simple and satisfying, thanks to its natural offsets or pups.
Propagation Steps:
- Identify a pup that’s at least 3-4 inches tall.
- Remove the plant from its pot and separate the pup from the parent plant. Ensure it has some roots attached.
- Let the pup dry for a day or two.
- Plant it in a small pot with succulent soil.
- Water lightly after a few days, then follow standard care.
Common Aloe Plant Problems and Solutions
Even though aloe plants are hardy, they may face a few issues if neglected.

1. Yellowing or Browning Leaves
- Cause: Overwatering or insufficient light.
- Solution: Adjust watering frequency and move to a brighter spot.
2. Soft, Mushy Leaves
- Cause: Root rot from excess moisture.
- Solution: Remove affected leaves, let the soil dry out, and consider repotting in fresh soil.
3. Leggy Growth
- Cause: Insufficient sunlight.
- Solution: Move the plant to a sunnier location.
4. Pests (Mealybugs, Aphids)
- Solution: Wipe leaves with a cloth dipped in mild soapy water or use neem oil.
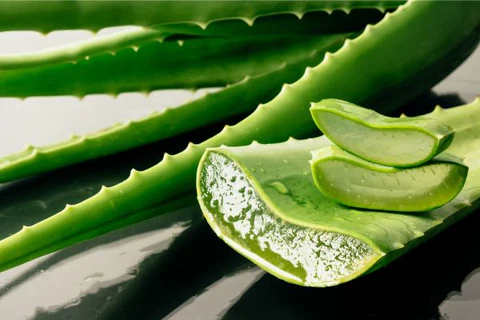
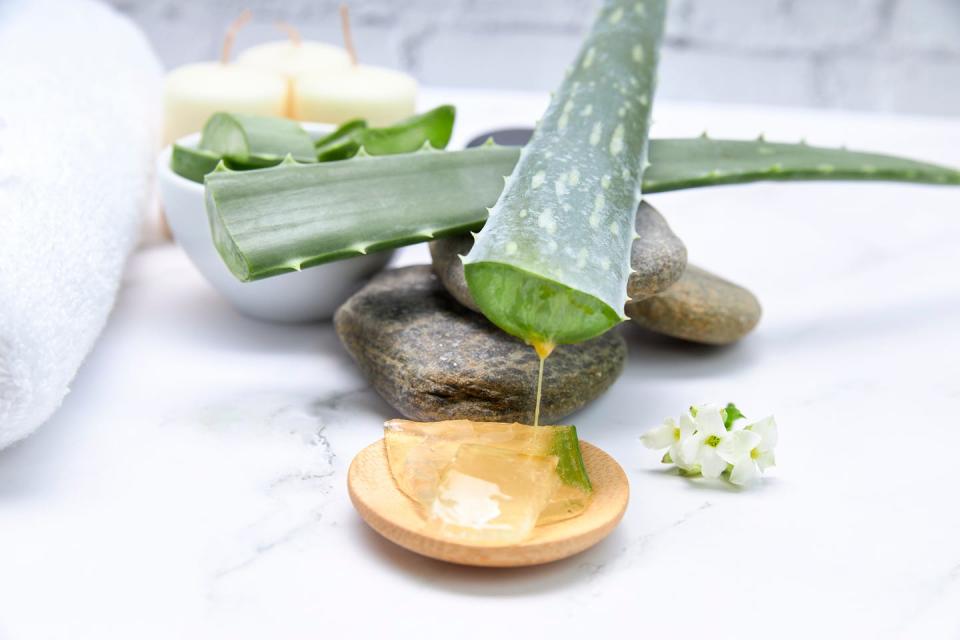
How to Harvest Aloe Vera Gel at Home
Aloe vera gel is known for its soothing, anti-inflammatory properties and is easy to harvest.
Steps to Harvest Gel:
- Select a mature, outer leaf.
- Cut it at the base using a sharp knife.
- Let the yellow sap drain out (this can be irritating to the skin).
- Cut the leaf open and scoop out the clear gel inside.
- Use immediately or store in an airtight container in the fridge.
Bonus Aloe Plant Care Tips
- Rotate the plant occasionally to ensure even sun exposure.
- Wipe leaves gently to remove dust and help the plant breathe.
- Use distilled or rainwater if your tap water is high in fluoride or chlorine.
- Avoid placing the plant near cold drafts or air conditioning vents.
- Pair with other succulents for a striking, low-maintenance plant arrangement.
Final Thoughts
Aloe plants are perfect for busy homeowners, apartment dwellers, and anyone seeking an attractive, easy-care plant. By providing the right light, soil, and watering schedule, you’ll enjoy a healthy, thriving aloe plant that not only enhances your home decor but also serves as a handy natural remedy.
Following this detailed care guide will help you keep your aloe plant flourishing for years to come. Whether you’re a seasoned plant parent or just starting your indoor garden journey, aloe vera is a must-have addition to your home.
Leave A Comment