
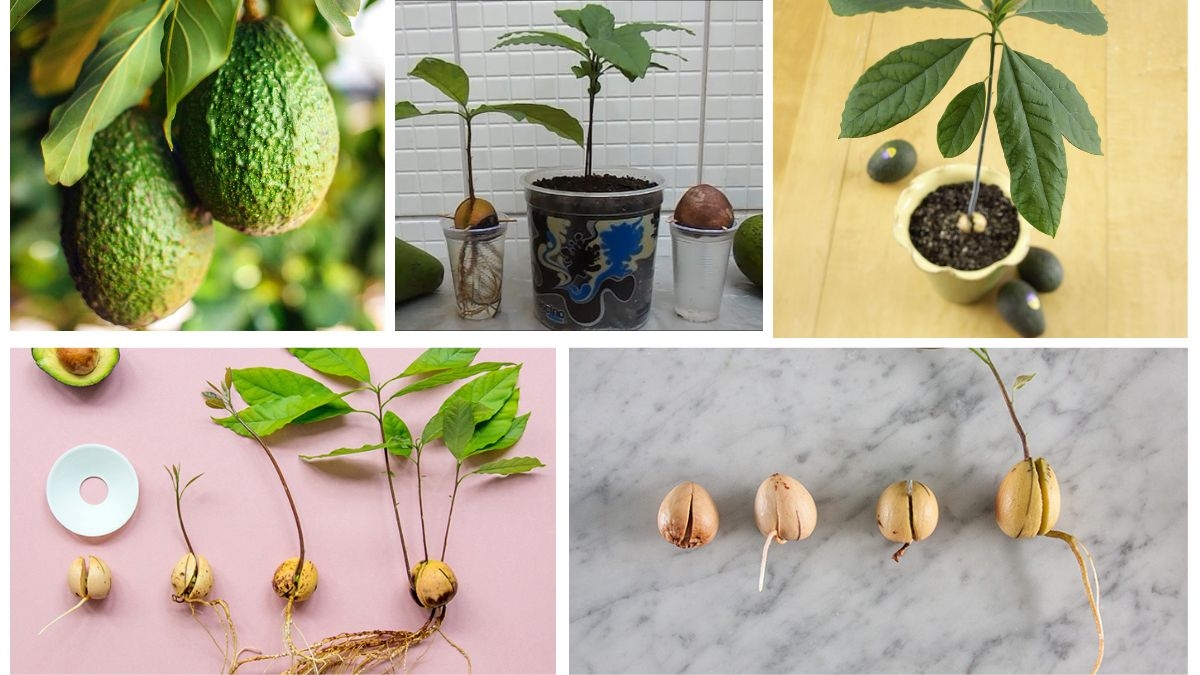
Avocados are not only delicious and packed with nutrients, but they also offer a fun, educational, and rewarding way to bring greenery into your home. Growing an avocado tree from a pit is a satisfying project that requires patience, a little care, and the right techniques. This complete at-home guide will walk you through every step of the process—from saving the pit to nurturing your new avocado plant.
Why Grow an Avocado Pit at Home?

Avocado plants are stunning indoor companions with their large, glossy leaves and tree-like structure. While growing an avocado tree from a pit doesn’t guarantee fruit production (especially indoors), it’s an eco-friendly way to recycle kitchen scraps and enjoy a bit of nature in your living space. It’s also a perfect activity for families, kids, or beginner gardeners looking to build confidence and experience.
Step 1: Choose and Clean the Pit
Start with a ripe, healthy avocado. Once you’ve scooped out the flesh, gently remove the pit and rinse it under lukewarm water. Be careful not to damage the brown skin, called the seed coat, which protects the inner seed. Avoid using soap or abrasive materials—just gently rub off any remaining avocado flesh.
Tip: Soaking the pit in water for a few minutes can make it easier to clean.
Step 2: Determine the Top and Bottom
The avocado pit has a slightly pointed top and a flat, broader bottom. The top is where the sprout will emerge, and the bottom is where the roots will grow. It’s crucial to plant it correctly, with the broader end facing down.
Step 3: The Toothpick Method for Water Germination
To sprout the pit, use the classic toothpick method:

- Insert 3–4 toothpicks evenly around the middle of the pit.
- Rest the pit over a glass of water, so the bottom sits in the water and the top stays above the surface.
- Place the glass in a warm, bright spot—ideally near a window that receives indirect sunlight.
Change the water every 3–5 days to prevent bacterial buildup and encourage root growth.
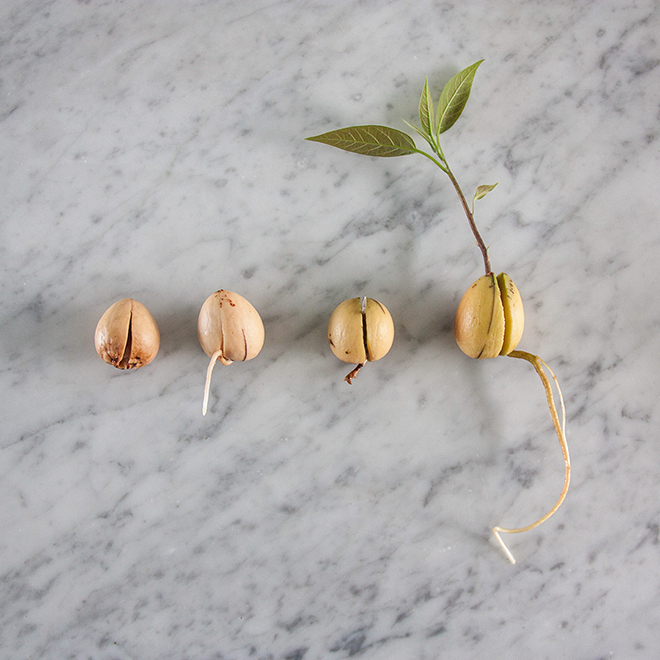
Step 4: Watch for Sprouting (2–8 Weeks)
Patience is key. It may take anywhere from 2 to 8 weeks for your pit to sprout, depending on environmental conditions.
Here’s what you’ll observe:
- The pit will crack open after a few weeks.
- A root will grow down into the water.
- A shoot will eventually emerge from the top.
Note: If there’s no growth after 8 weeks, try again with a different pit.
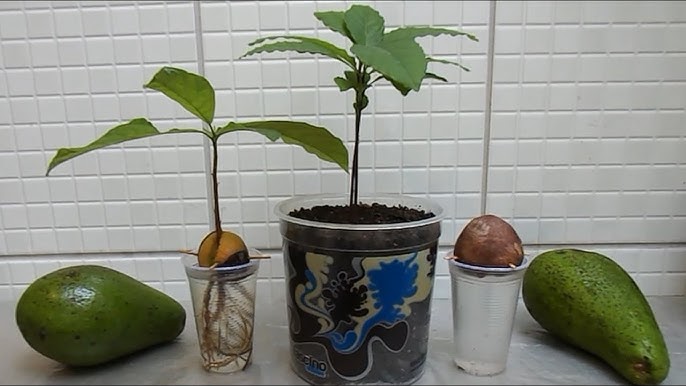
Step 5: Transplant to Soil
Once the roots are 2–3 inches long and the stem is about 6–7 inches tall, it’s time to move your avocado into a pot with soil.
How to Plant:
- Choose a pot with drainage holes (6–10 inches in diameter).
- Use a loose, well-draining soil mix, ideally one that is slightly acidic.
- Plant the pit so that the top half remains above the soil.
- Water the plant well and place it in a bright, warm spot indoors.
Step 6: Ongoing Care for Your Avocado Plant
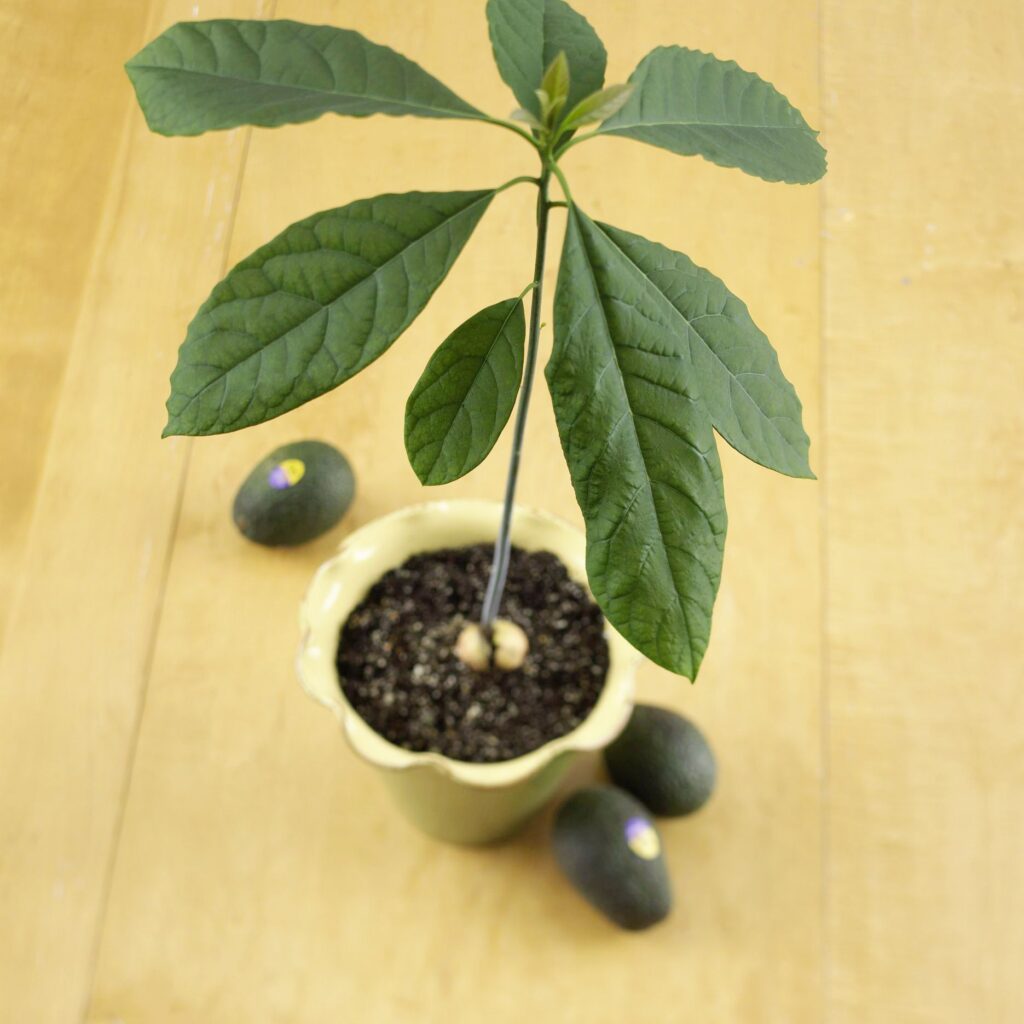
Even though it starts from a simple pit, your avocado plant still needs attention to thrive.

Light:
Avocados need plenty of light. Place your plant near a sunny window where it gets at least 6 hours of light per day.
Water:
Keep the soil moist but not soggy. Overwatering can lead to root rot. Water only when the top inch of soil feels dry.
Humidity:
Avocados prefer moderate to high humidity. If your home is dry, consider misting the leaves or using a humidity tray.
Step 7: Pruning for Shape and Strength
Once your plant reaches about 10 inches tall, you can encourage bushier growth by pruning the stem.
- Pinch or cut off the top two sets of leaves.
- Repeat this process each time the plant grows another 6–8 inches.
This promotes side branching and helps the plant grow stronger rather than just taller.
Step 8: Fertilizing for Healthy Growth
After the plant has been in soil for a month or more, begin feeding it:

- Use a balanced liquid fertilizer (10-10-10 or similar).
- Apply every 4–6 weeks during the growing season (spring to early fall).
- Reduce or stop feeding during the dormant winter months.
Step 9: Troubleshooting Common Problems
Even indoor plants have their challenges. Here are a few common issues:
Yellow Leaves?
This could be due to overwatering. Allow the soil to dry out before watering again.
Brown Leaf Tips?
Usually caused by low humidity or salt buildup in the soil. Mist the leaves and flush the soil with fresh water occasionally.
Leggy Growth?
Not enough light. Move the plant to a brighter location.
Step 10: Will It Ever Bear Fruit?
One of the most common questions: Will my avocado tree bear fruit?
The answer is maybe—but it’s unlikely without ideal outdoor conditions. Here’s why:

- Avocado trees can take 5 to 13 years to produce fruit from a pit.
- Most indoor trees won’t get the necessary size, light, or pollination.
- Commercial avocados are grafted for quicker fruiting, unlike homegrown pits.
However, even without fruit, the plant is a beautiful houseplant worth the wait.
Bonus Tips for Success
- Rotate the plant occasionally so it grows evenly.
- Repot into a larger container as it outgrows the current one.
- Protect it from cold drafts or sudden temperature drops.
Conclusion: Nature’s Reward in a Pit
Growing an avocado pit into a thriving plant is a joyful and engaging experience. While you might not harvest your own avocados anytime soon, the process offers invaluable lessons in patience, nurturing, and the magic of plant life. With the right steps, a bit of care, and a sunny spot, your avocado plant can become a green showpiece in your home, reminding you daily of the power of growth from the simplest of beginnings.
Leave A Comment